Dirty pretty things
30 Mar
With our gas inspection and DOB drama behind us (until the next filing), some of the more attractive details are starting to appear in the house. Let us start with the floors.
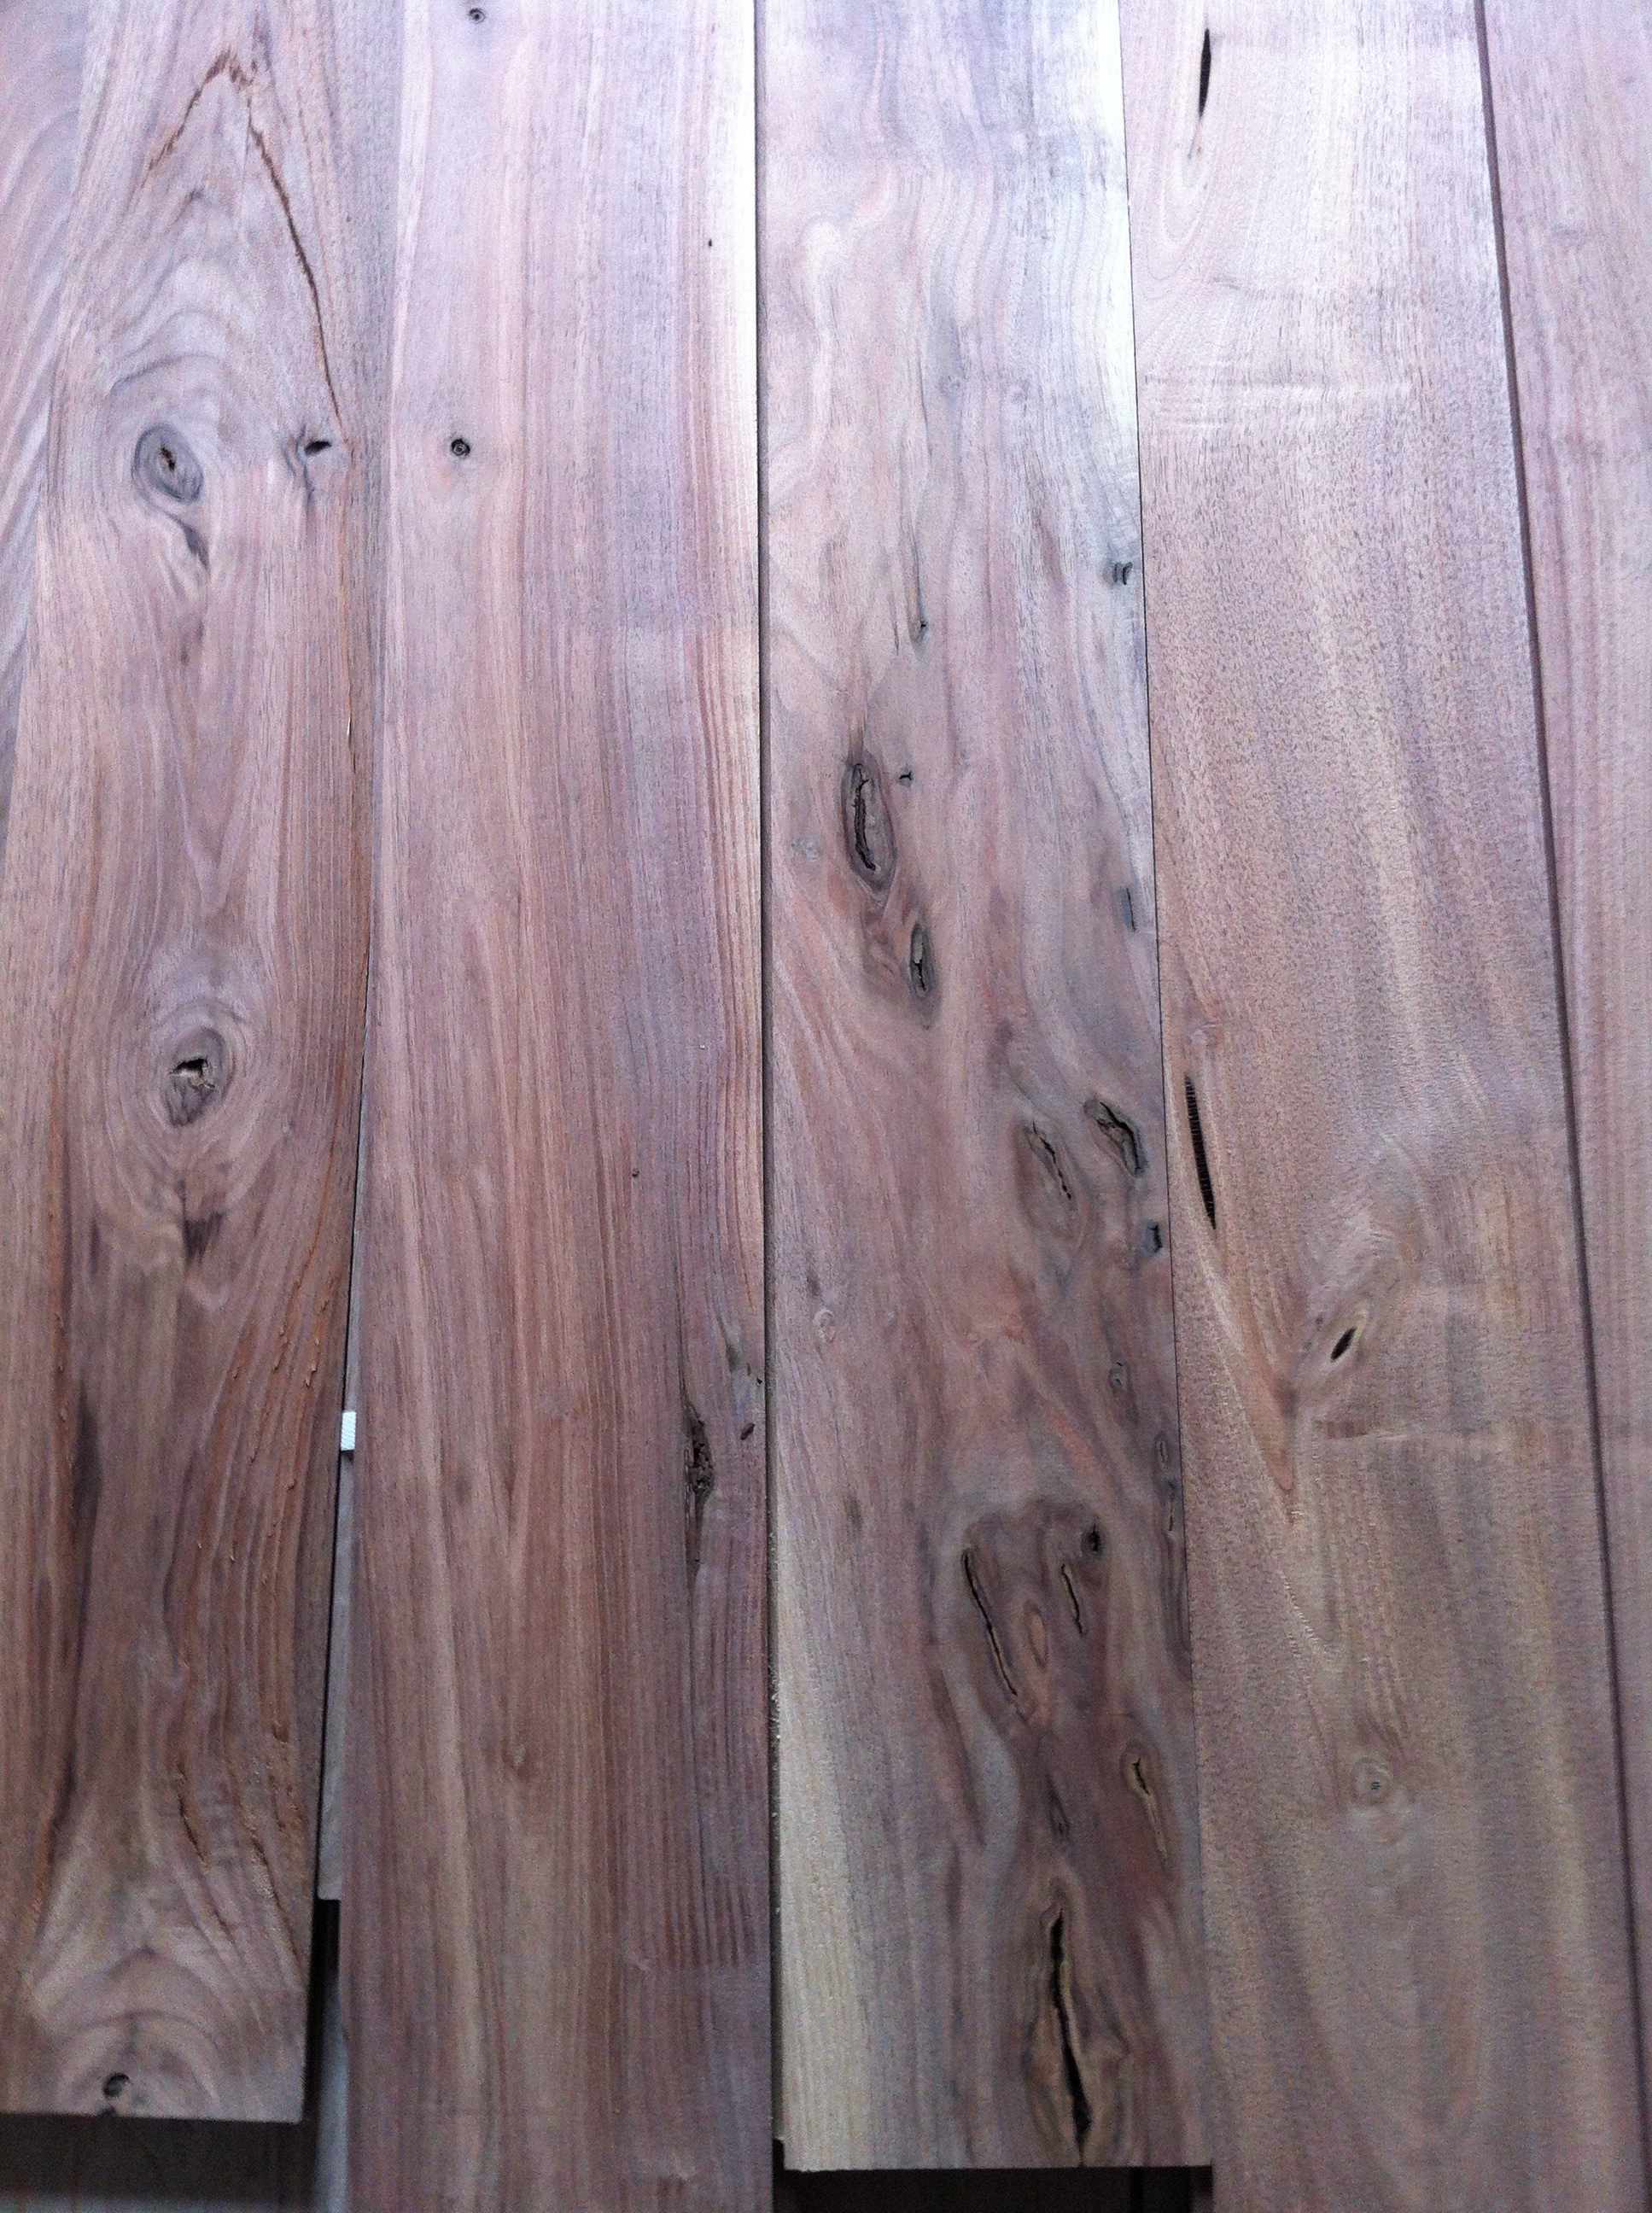
Early on in the material selection process, we fell in love with character grade walnut floors. While softer than other types of woods, we loved the color and the variation of the wood. With kids we knew any floors will get banged up over time so wanted something where ‘kid-made imperfections’ would just blend in with the other imperfections.
When the wood arrived we were a little concerned that the character grade was a little too character. In fact, our contractor expressed concern that there may not be enough good wood to complete all the floors.
While we shared this concern as well, we felt that if we sort the wood and put the best stuff in high trafficked areas, the lessor pieces under beds and other furniture and the worst pieces under cabinets that we would be enough.
We began the process by marking up our floor plan to show where we would like the different grades of wood to go.

Instructions for the installers
Next, we spent about six hours sorting through the wood. Creating a green pile for the best wood, a yellow pile for under furniture wood and red for discard or under cabinets.
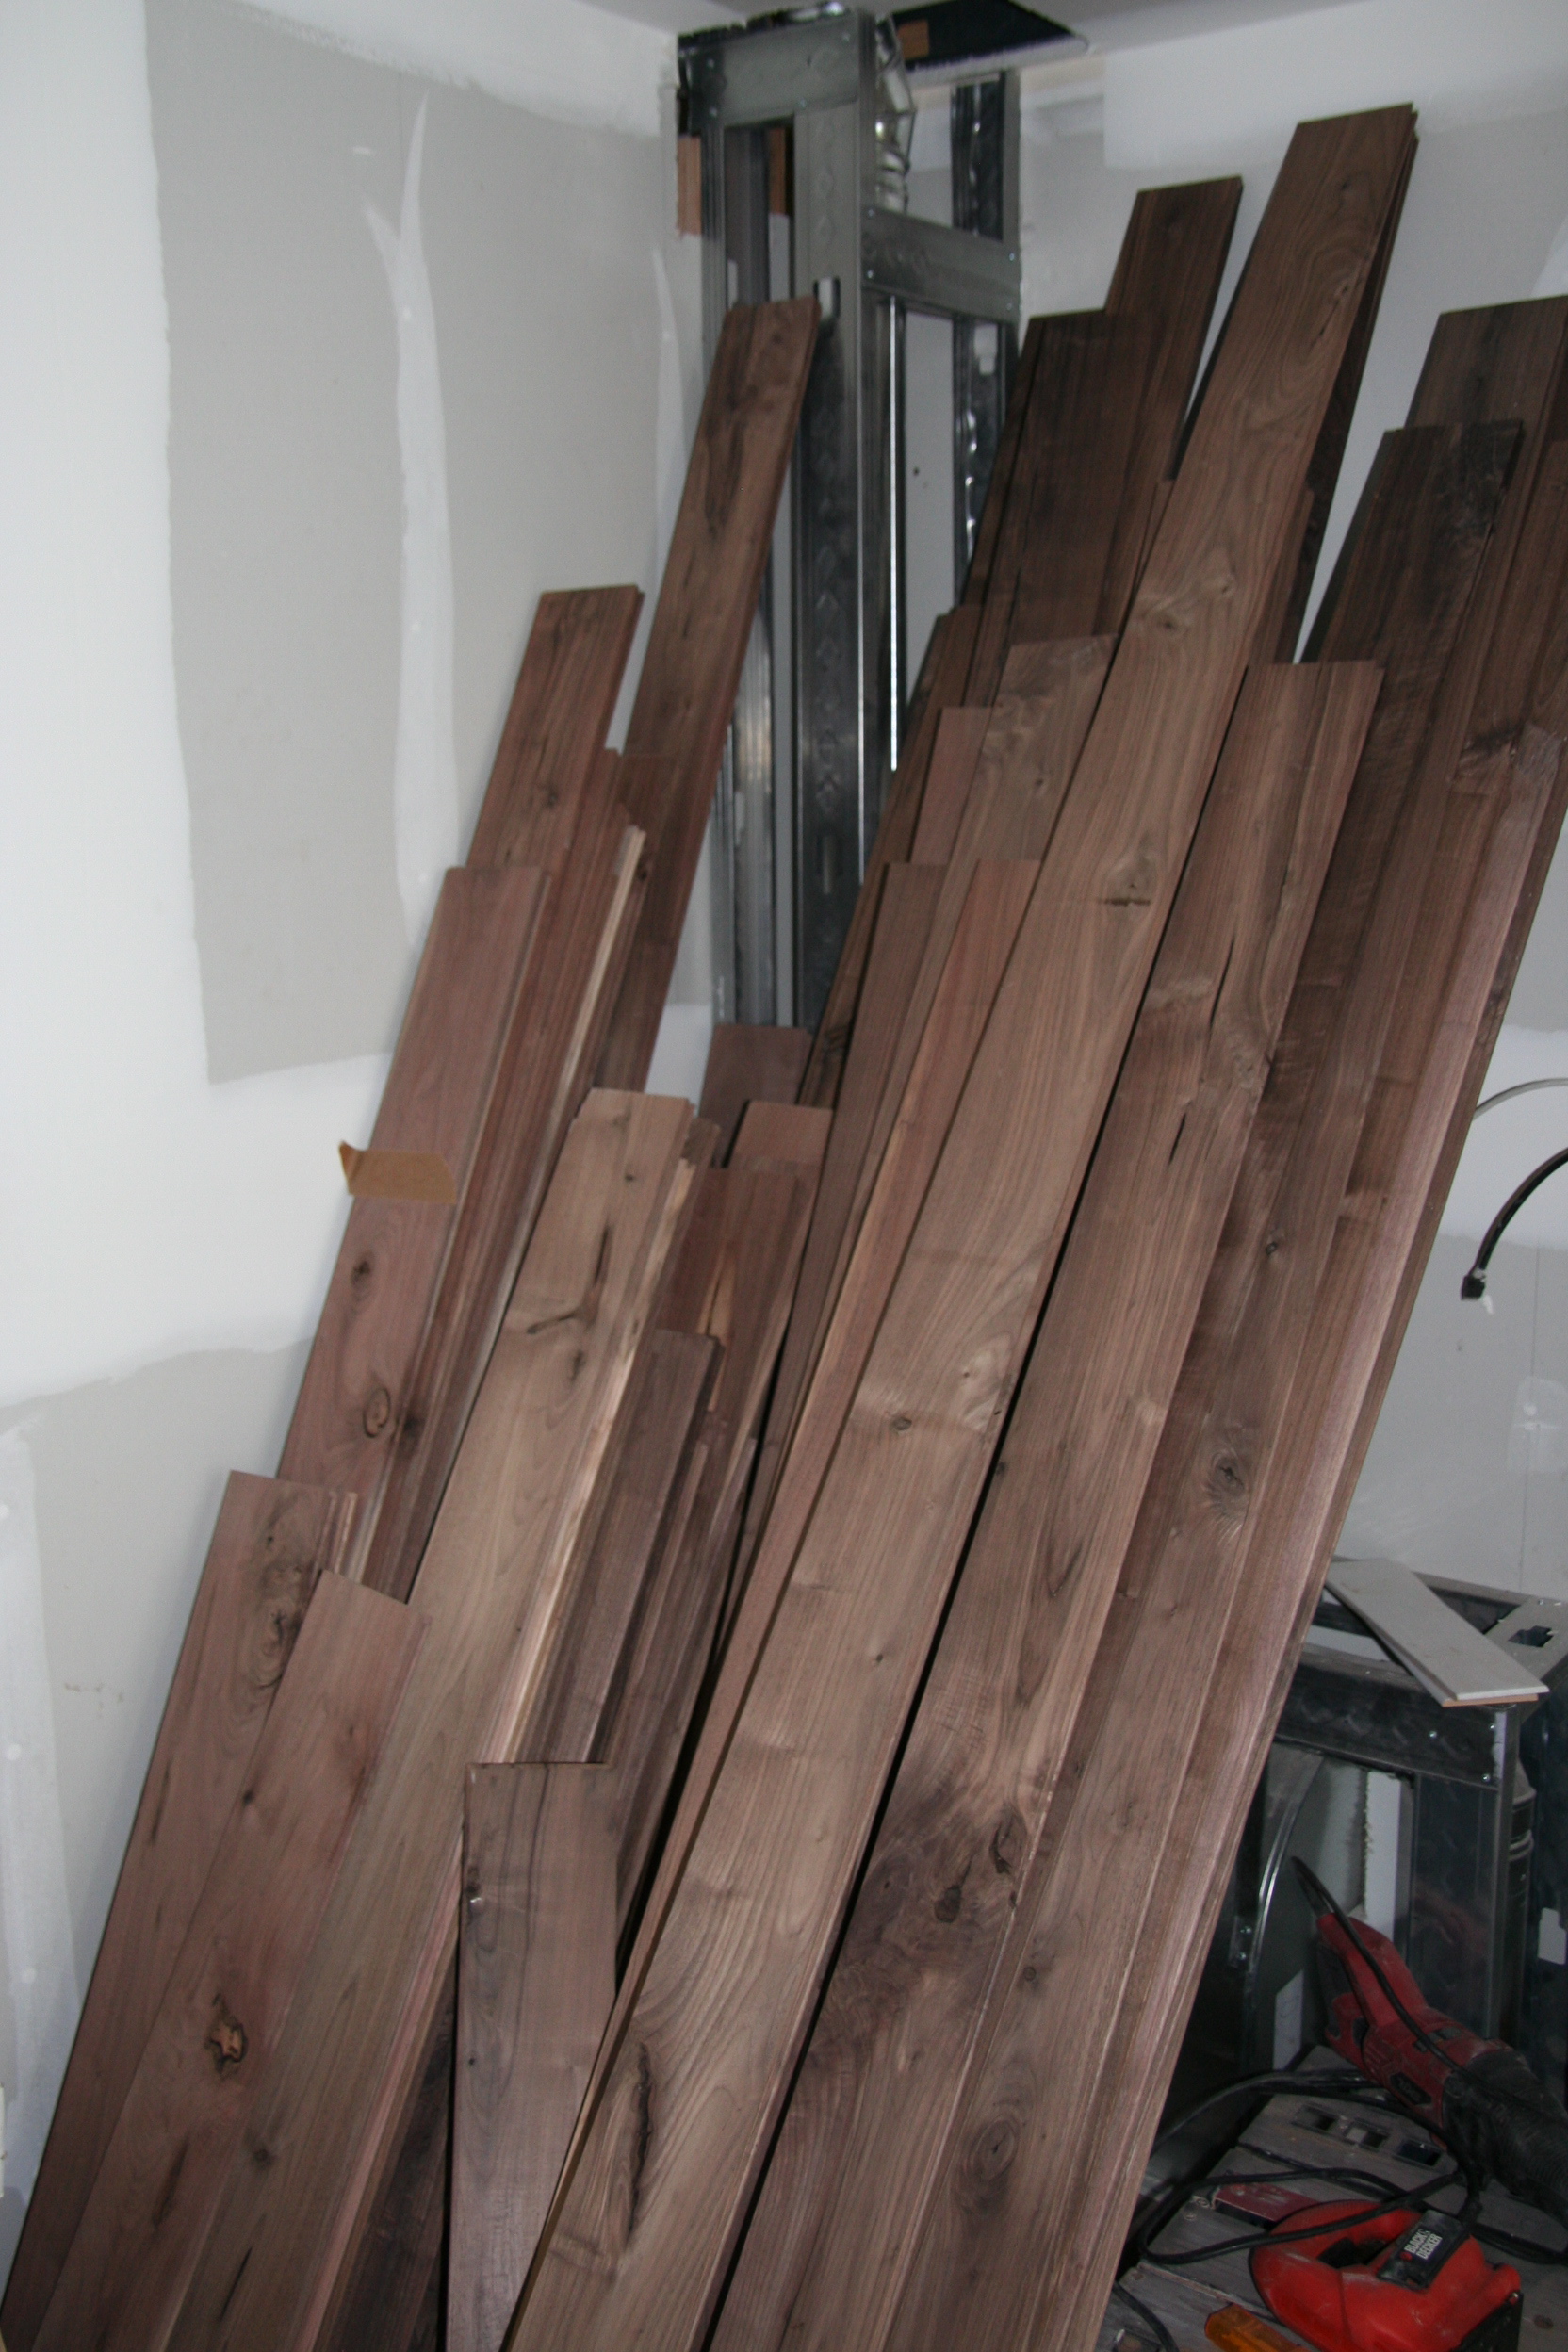
A yellow pile
With the last of the floors being laid yesterday, we are very happy with the result. Even before we do any of the floor finishing work they are looking great.
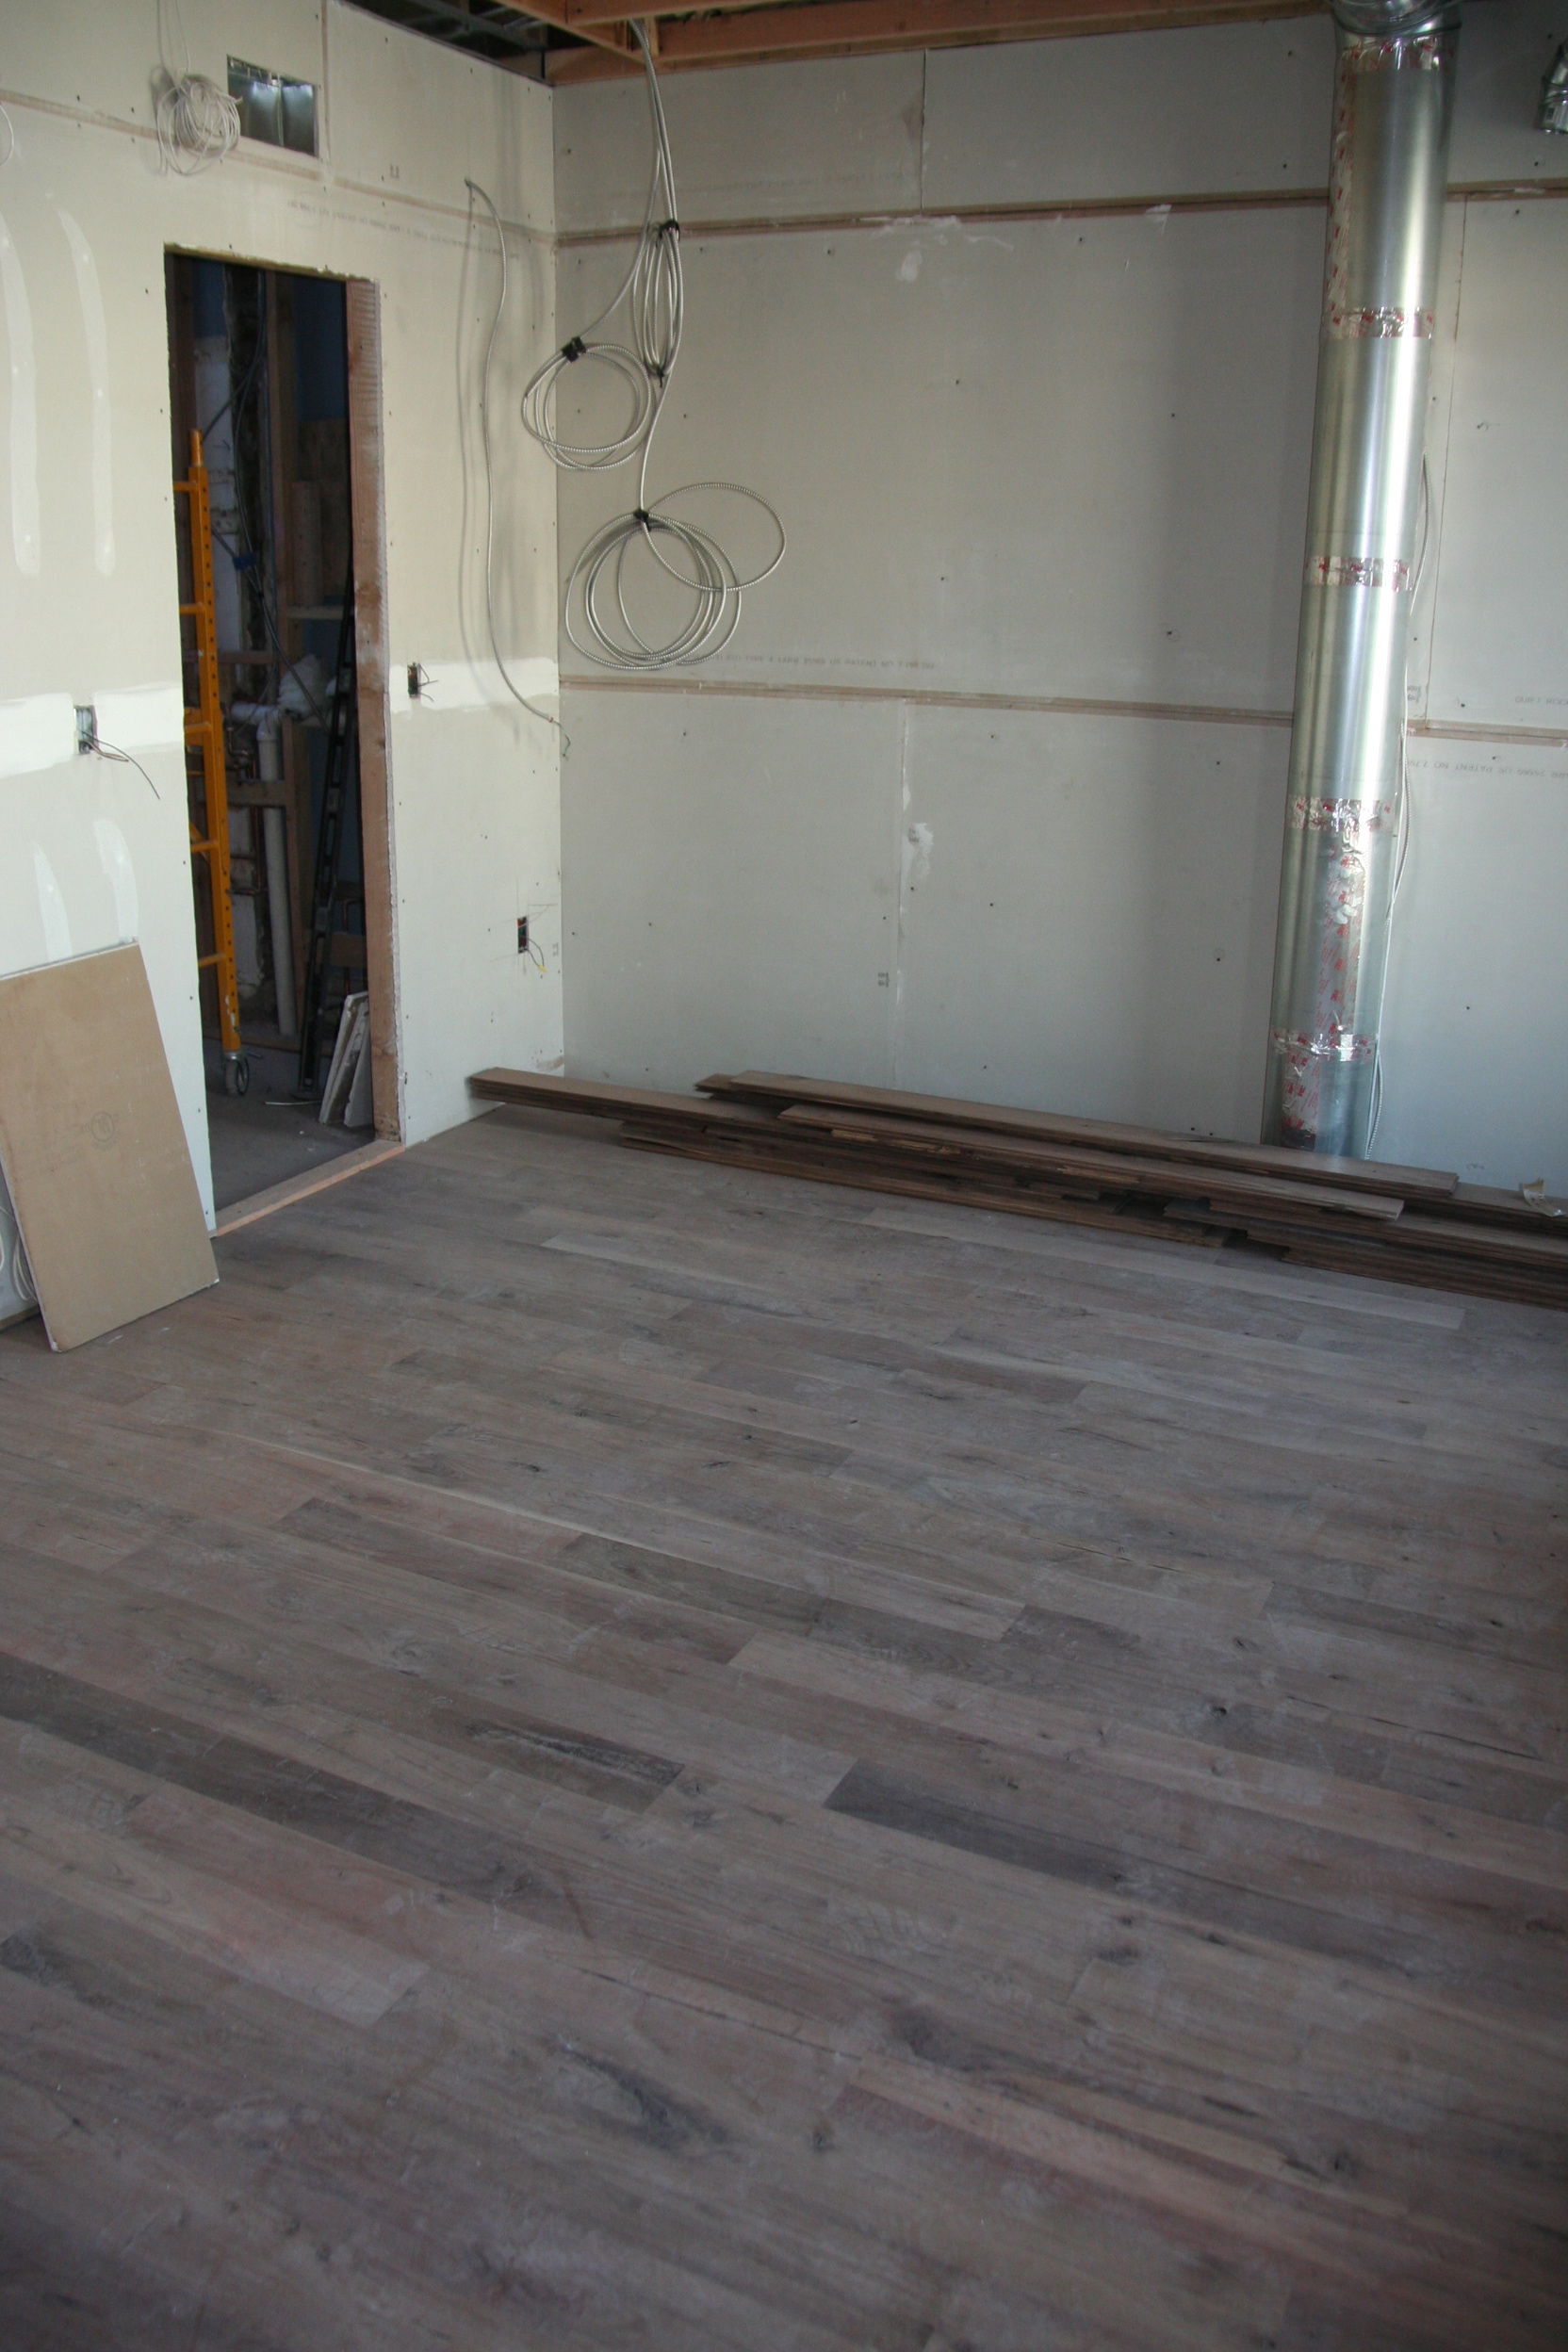
Master bedroom floor. The yellow wood went where the bed will go. Green in the walkways.
We will be finishing with 100% tung oil. To better absorb, it needs to be mixed with some kind of thinner. Most are man-made chemicals but we found a natural solvent made from citrus with no VOC (ordered from Real Milk Paint).
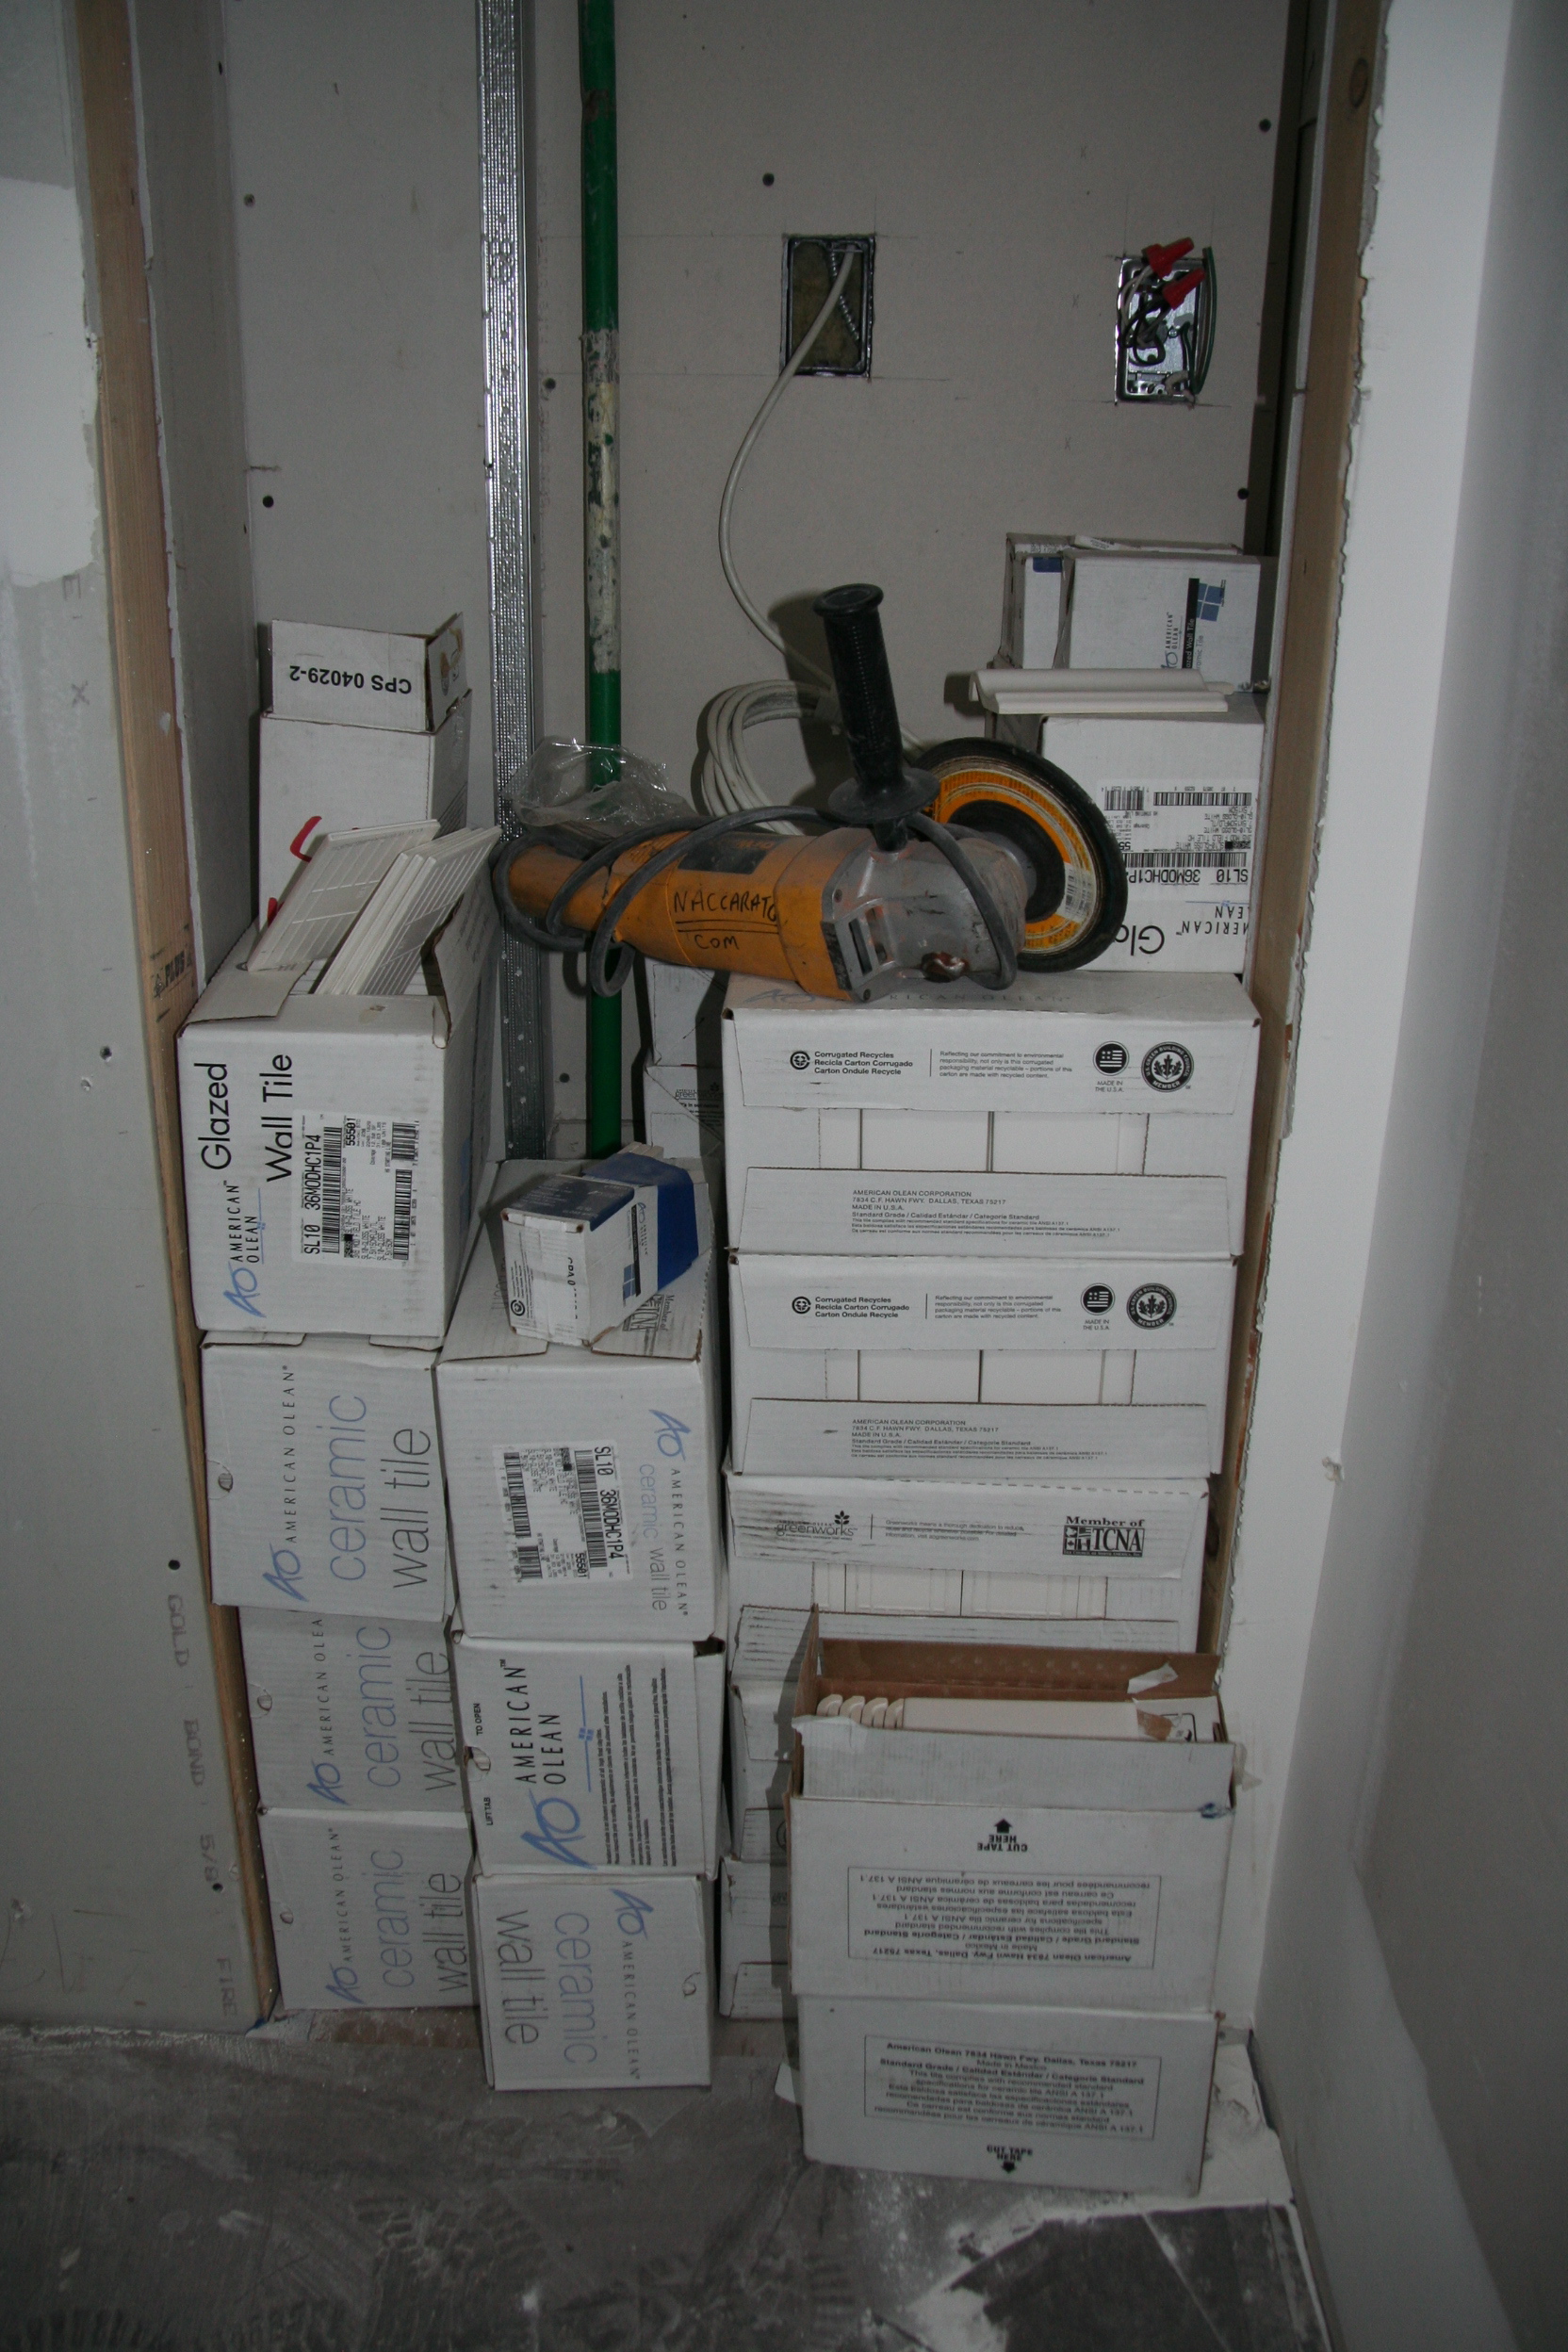
Passing the gas inspection also meant that we could finally close up the bathroom walls and start tiling the three bathrooms (the powder room on the parlor floor will have no tile).
Kids Tile
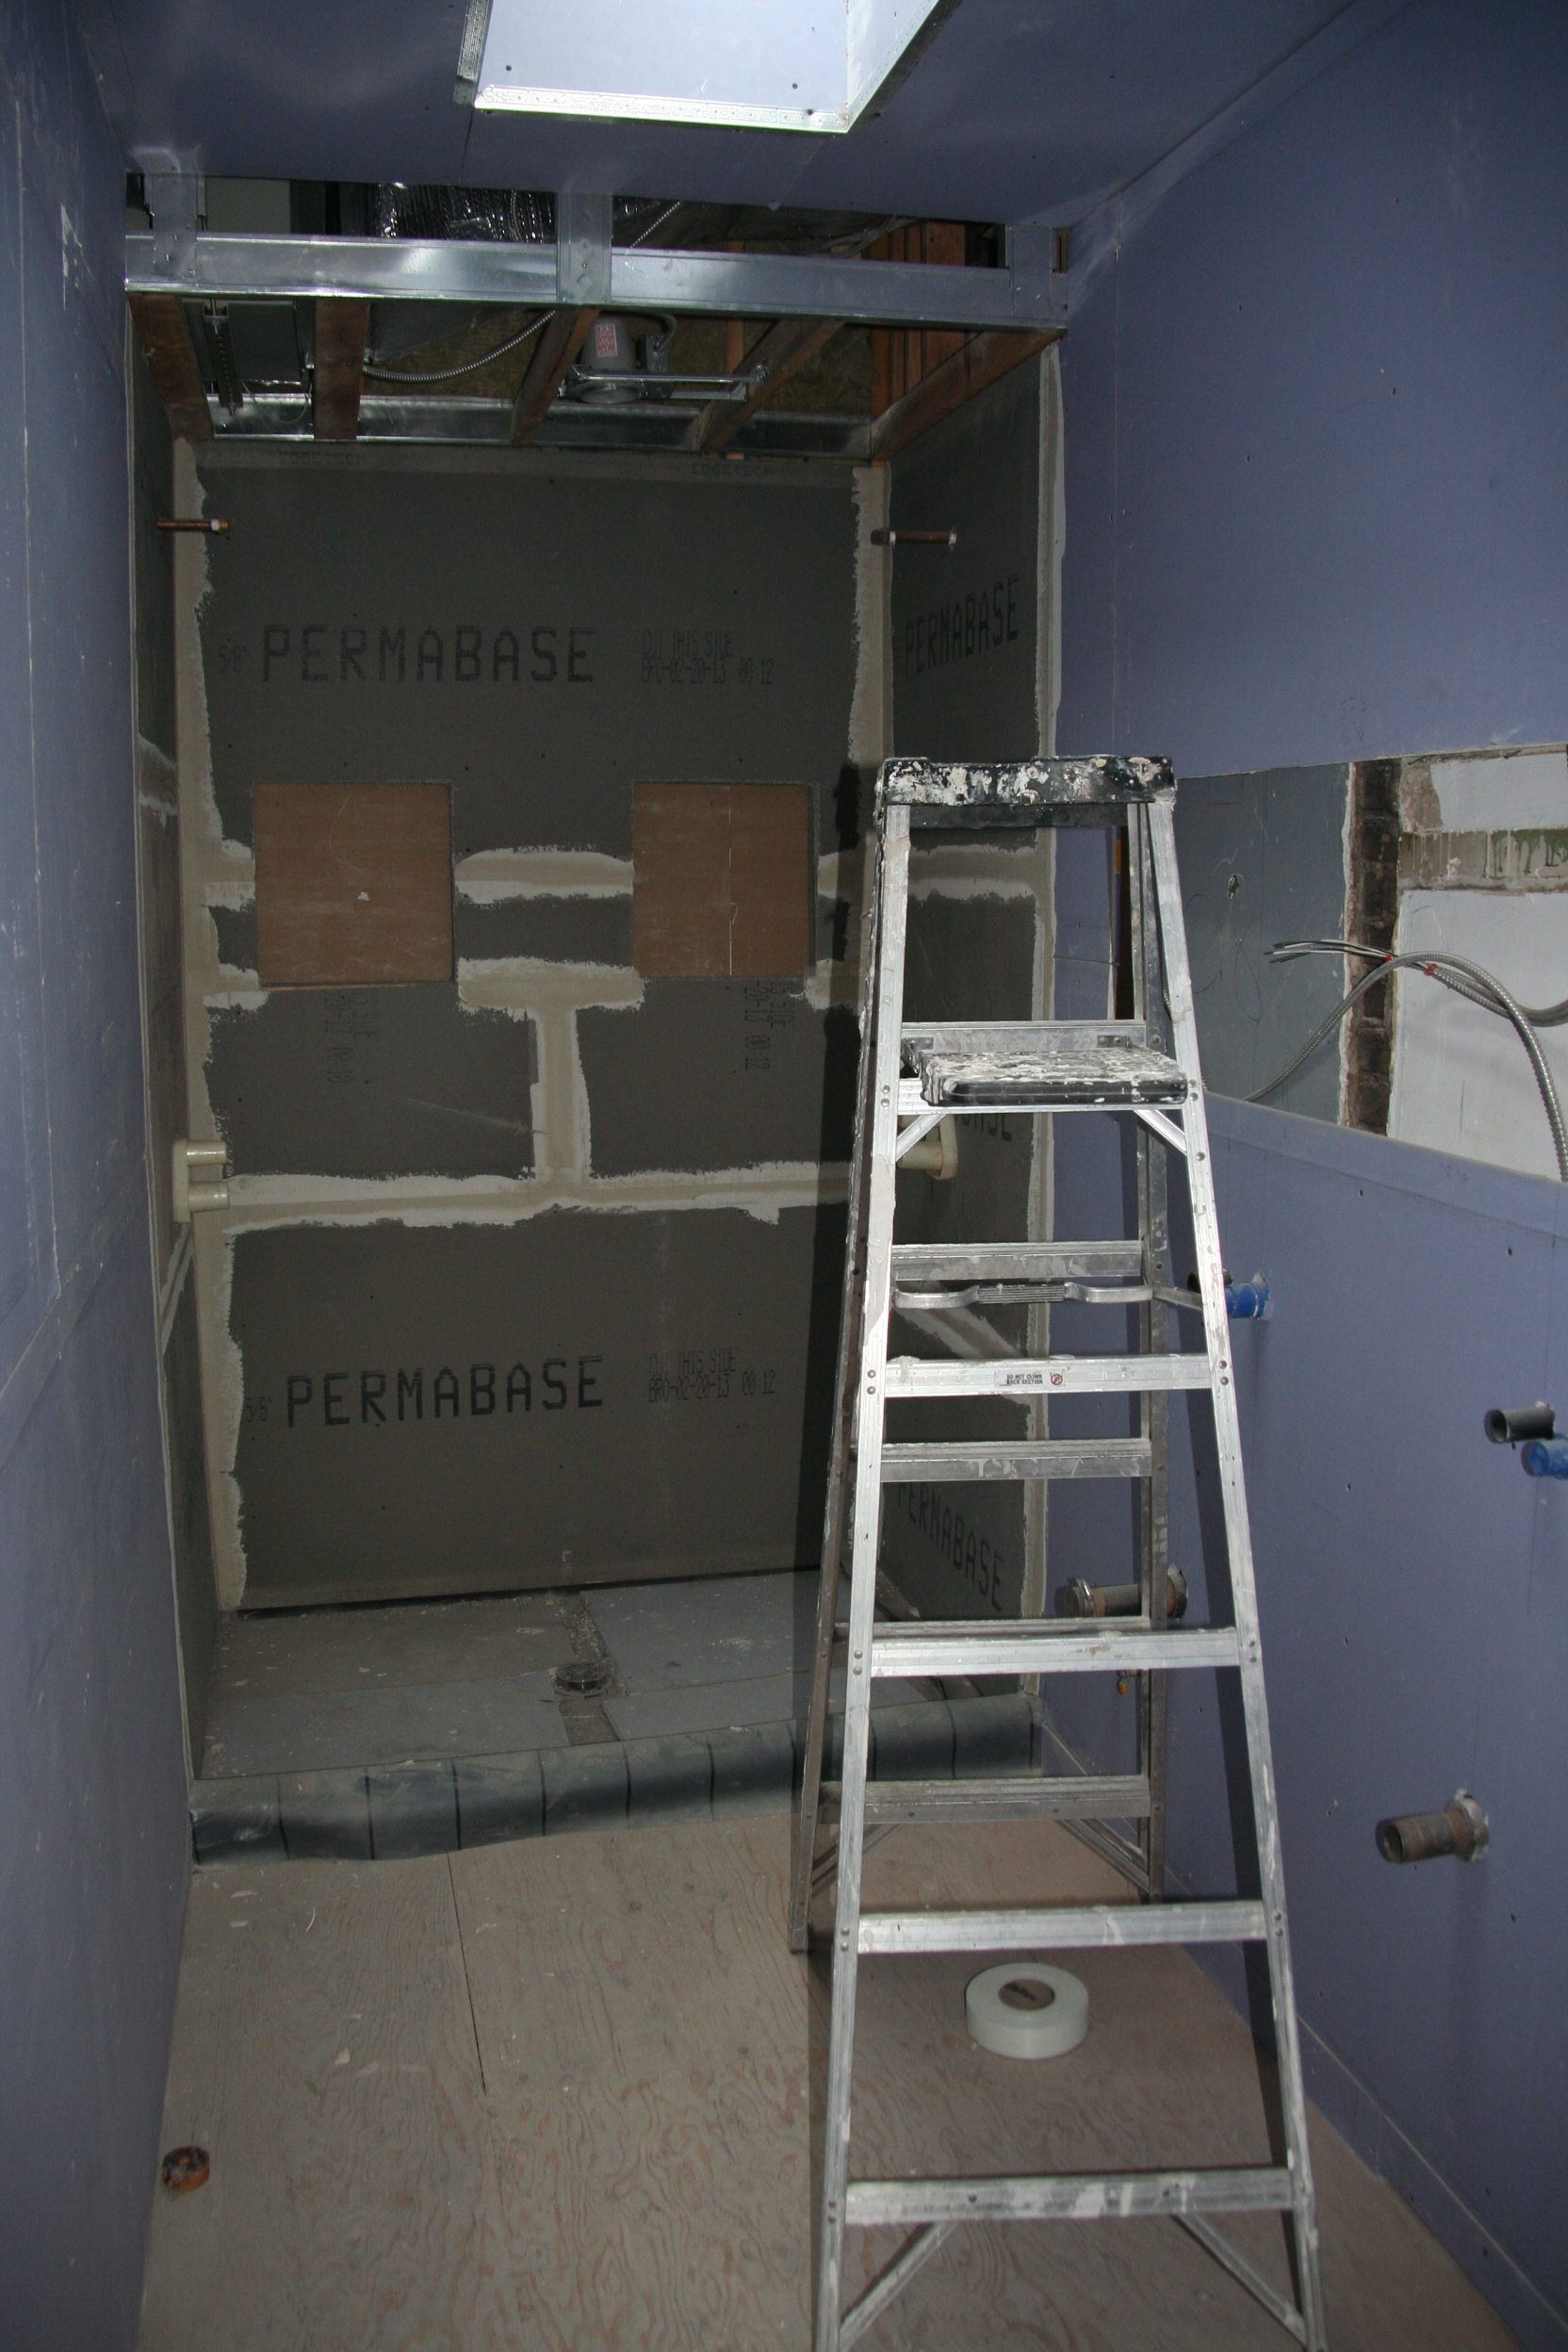
Master bath ready for tiling
We started by meeting with our GC and the architect to go over tile placement. While we have had the general tile placement plan for some time, it was important to go over tile placement to decide how the edges would finish, where the tile would center relative to the niches and fixtures and how high tiles would go.
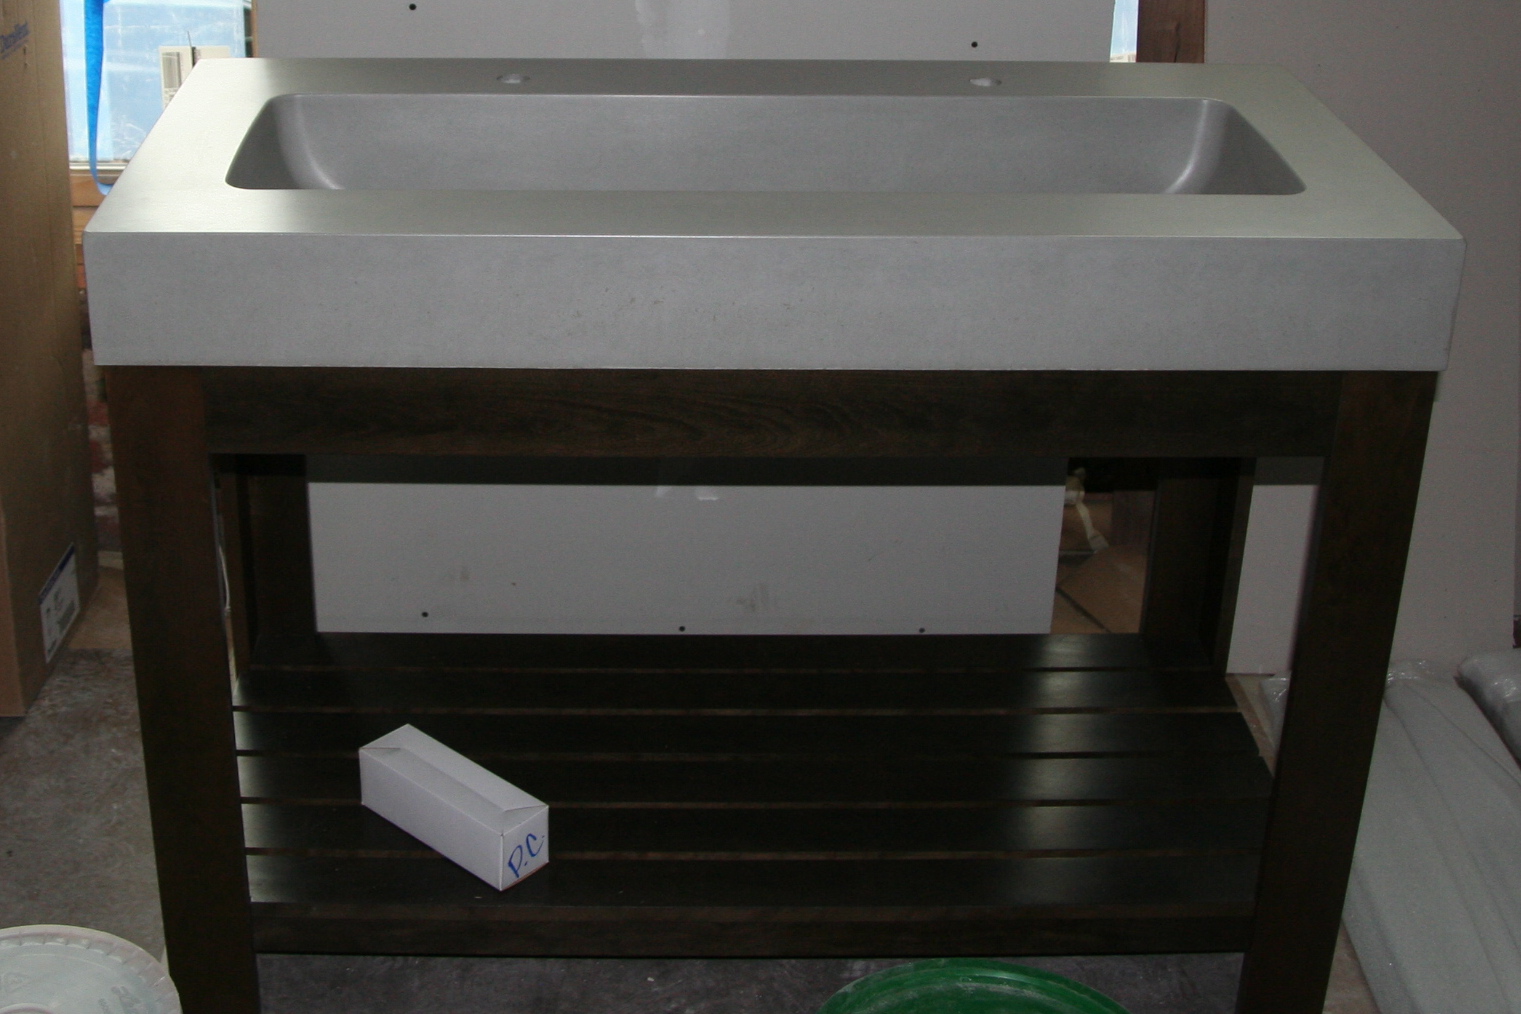
Speaking of bathrooms, the concrete sink for the garden bathroom arrived and looked even more stunning than we had hoped. This certainly wasn’t the cheapest option but seeing it in person has us considering whether we could use it in our master bathroom instead (ordered from Trueform Concrete).
The painters also spent a couple of days at the house this week preparing the walls for painting. While we haven’t decided the final paint colors, we ordered about 20 samples which we plan to try out before making out final selection.
Next week our new stairs are due to arrive along with the final window in the kitchen. The brickwork in the back should also wrap up allowing us to get started on removing the concrete in the back which we need to do before we can start work on the new deck.
Excited to think about moving in in terms on weeks not months!