Movin’ on up…
30 Jun
Apologies for our lack of updates, but I’m now writing this new post bathed in sunlight, sitting in our new kitchen with tall ceilings, most of the cabinets, semi-working faucets and dusty lights.
After 8 weeks living without a kitchen, sharing two rooms, we finally were able to move upstairs and take over the two top floors. We passed the workers on the way up who have now begun finishing what they couldn’t finished before we had to move back into the ground floor.
Given the time (and money) poured into the kitchen, we’ll save a special post on that, so for now let’s take a look at some of the other changes elsewhere in the house.
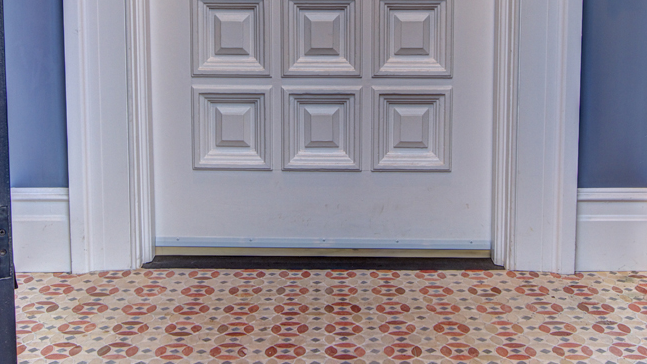
It seems appropriate to start with the entry way. While most of our choices would be classed on the traditional side for the entry way we wanted to do something a little splashy while still keeping with the overall feel of the house. We were originally inspired by an entry way featured in one of our early inspiration houses designed by Ben Herzog.
Inspirational entry way
After some searching we discovered patterned cement tiles that we thought would look good. We looked through the dozens of available designs from a variety of online companies but couldn’t find exactly what we wanted. Because of the small entry space we needed something that would work in a small pattern and the color choices available didn’t excite us. In the end we decided to go custom and worked with the Cement Tile Shop in Florida. Using an online tool we came up with a color combo we liked and with a little photoshop magic ordered the tiles to match this design:

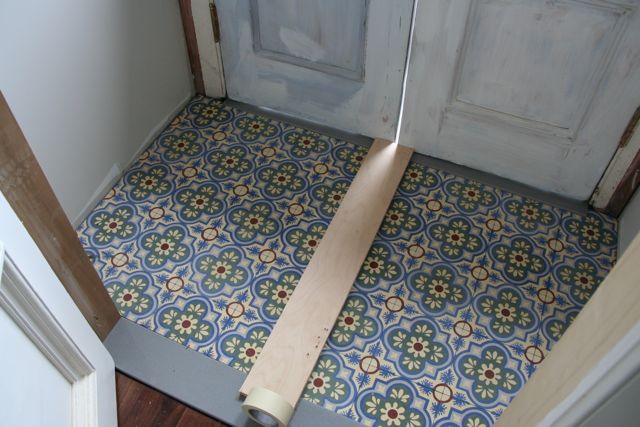
Eight or so weeks later, the tiles arrived and over the last week the tile guys came back to install (we wanted to wait until all the heavy work upstairs was complete before installing so they would not be damaged). We are very happy with the result. They have to rest a few days before we can grout (FYI – you must seal before grouting to protect the paint – something our GC noted minutes before the tile guys started to grout). In the meantime, here’s a pre-grout shot.
New Entry Way.
Once you walk over the new entry way you won’t miss the beautiful post that is almost complete. Unfortunately, there weren’t many original details to restore in the house (and most that were there were either covered in many layers of lead paint or cut up in a way that they couldn’t be salvaged) but we were able to have both newel posts at the bottom of our stairs redone. Here’s a before shot taken during our initial inspection:
Original post – pre-contruction.
Here’s an after shot:
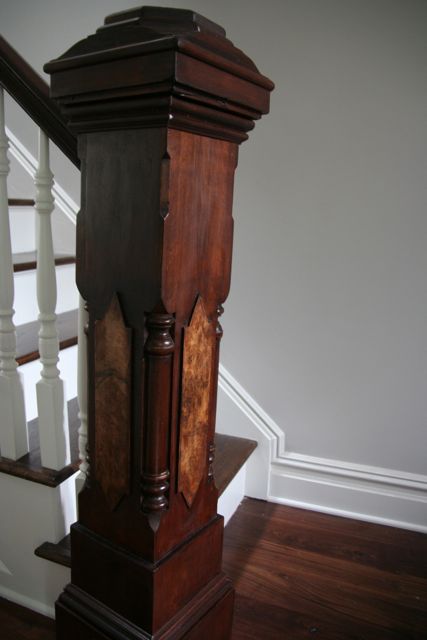
Refinished and repaired post.
There aren’t that many people who do wood restoration in the area but despite some delays and interesting work hours, we’ve been happy with the results of the person we selected.
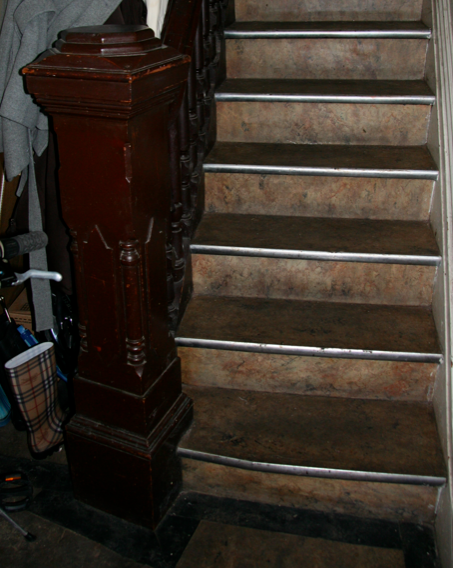
You can also see above that the parlor to top floor stairs are now complete. Again for fun, here’s a before shot:
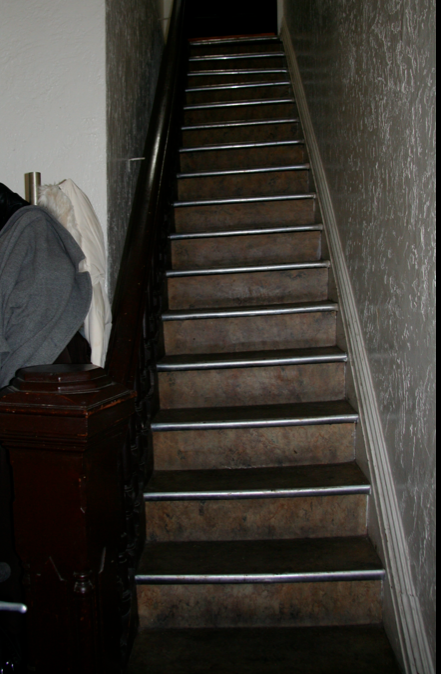
Pre-work stairs.
As the picture shows, the stairs were never that great from the start and with all the workers going up and down during demo it was clear that the original plan to repair wouldn’t work. So, we now have new stairs and new railings. There have definitely been compromises here but we’ll save that for another post (along with some tips on how we dealt with the oak handrails we ended up with).
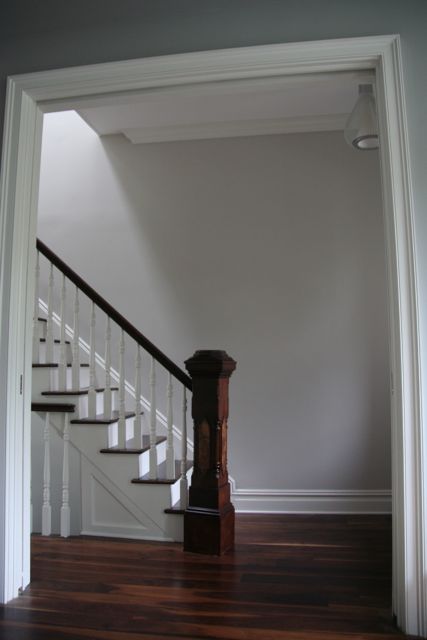
Stairs from the living room. Our architect suggested the placement of the post (in the middle of the door) and the height of the pocket door. Great suggestions!
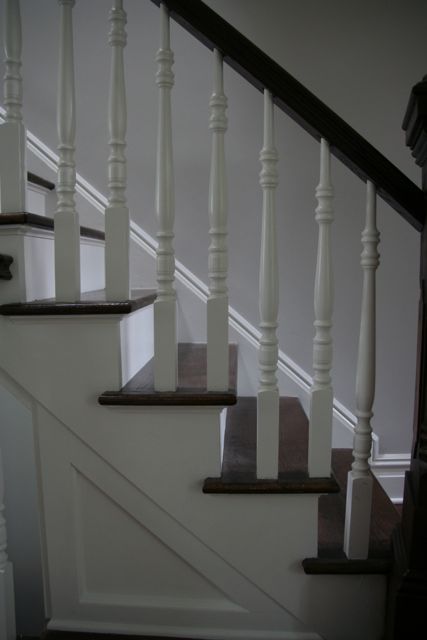
Side view.
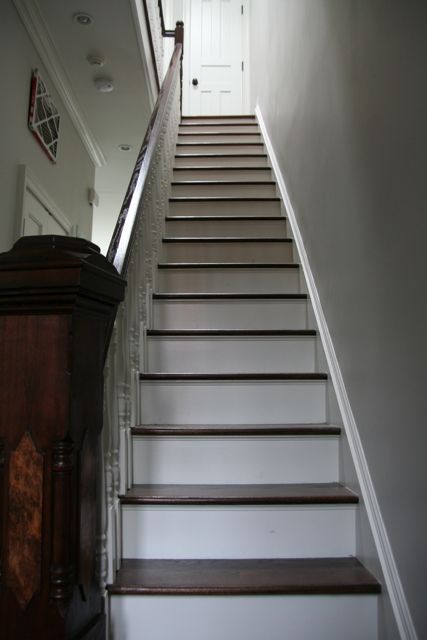
New stairs!
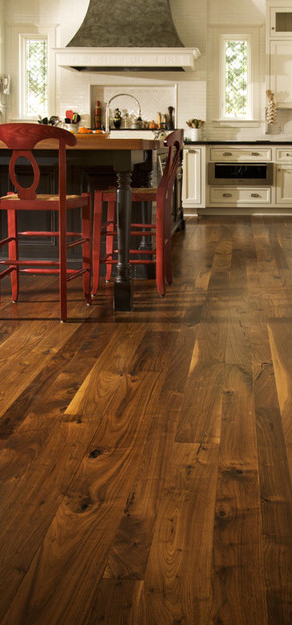
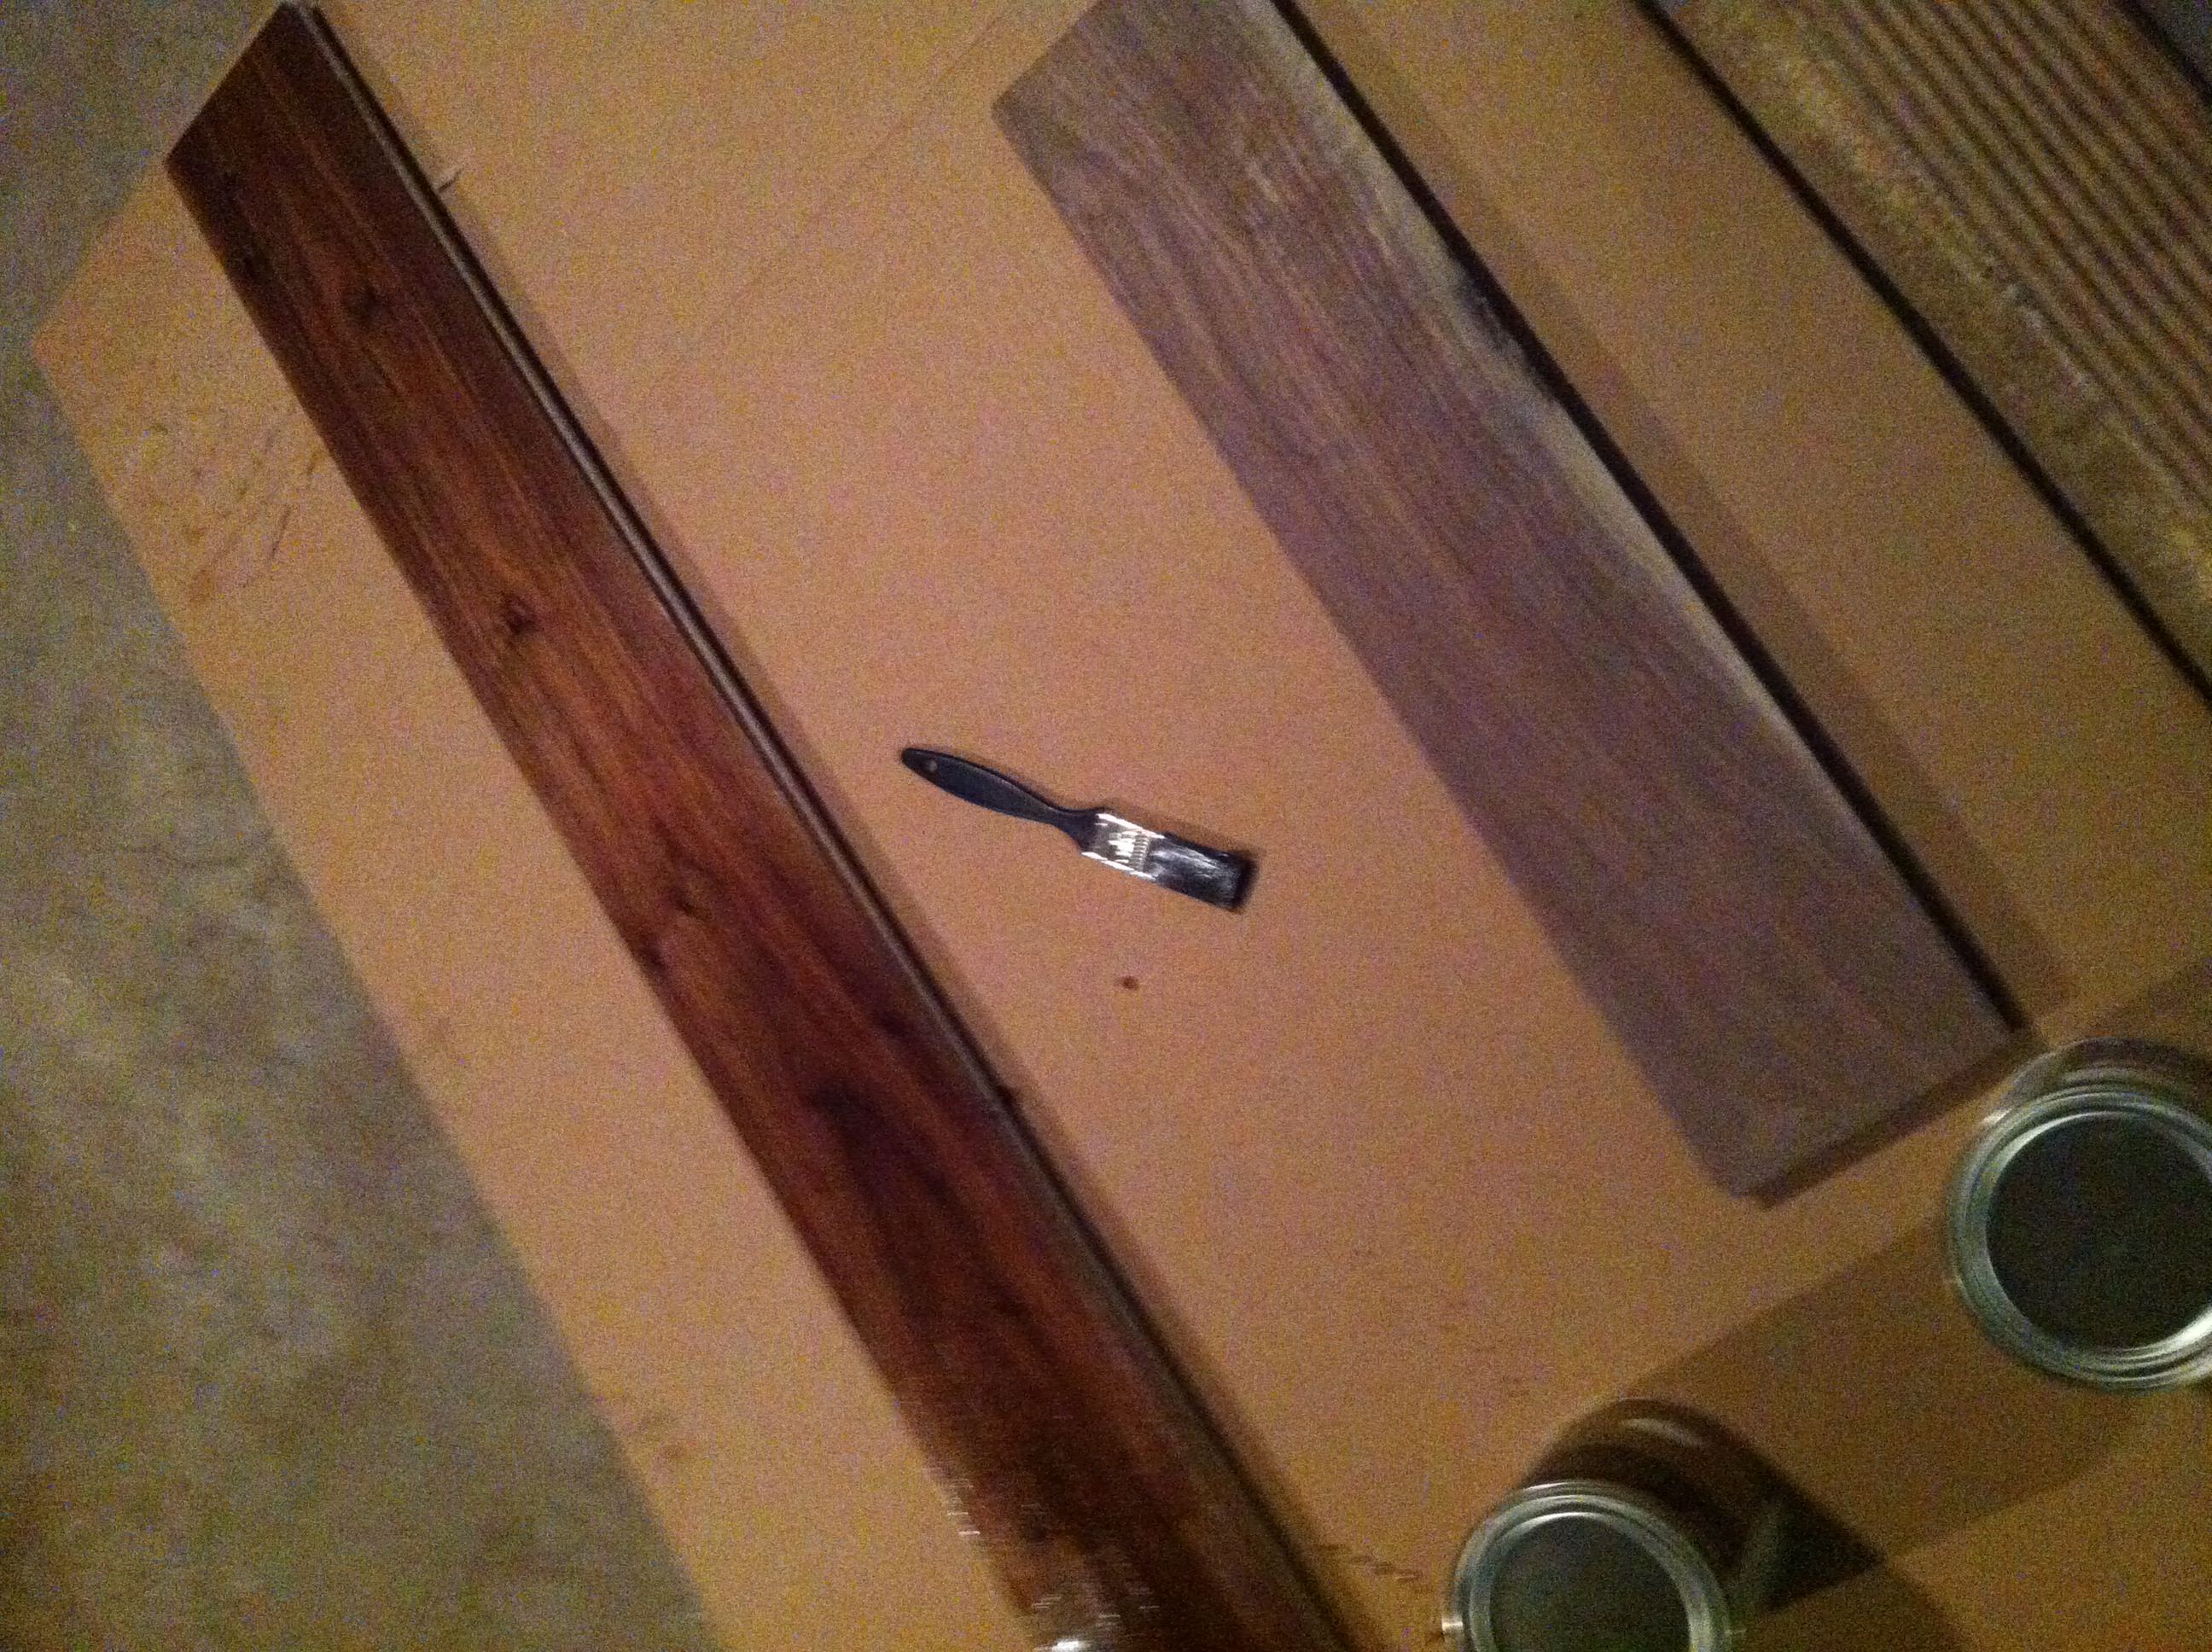
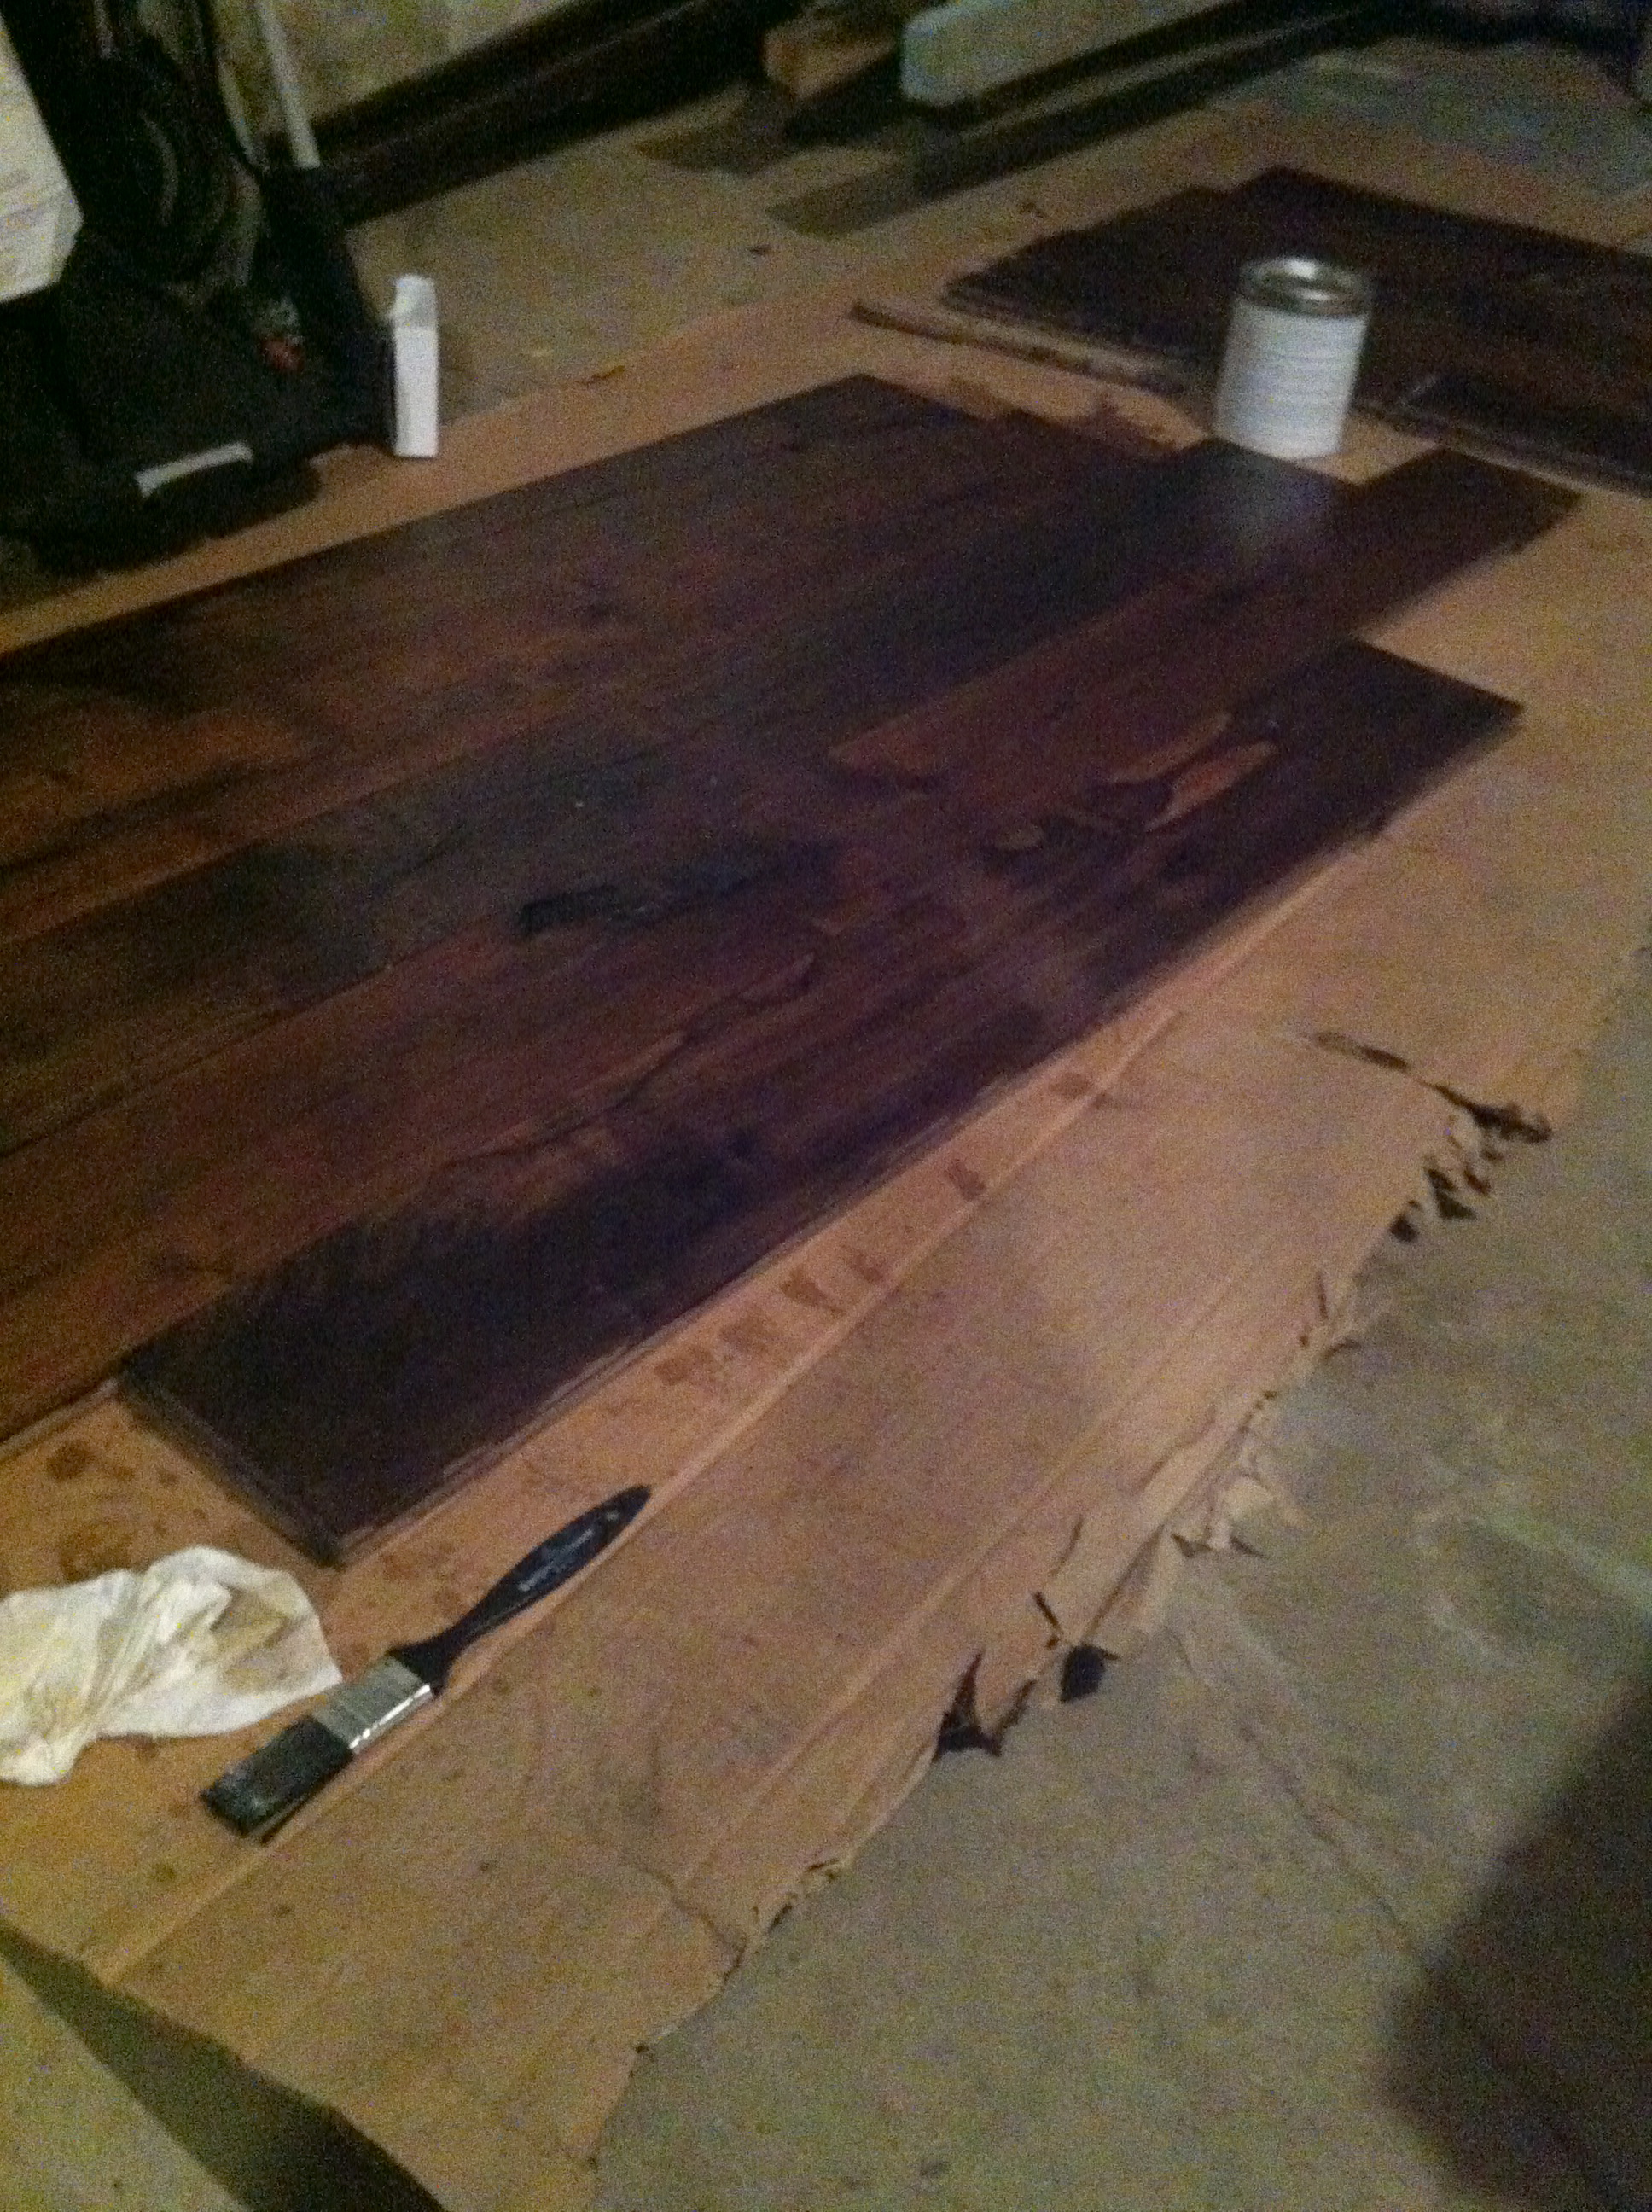
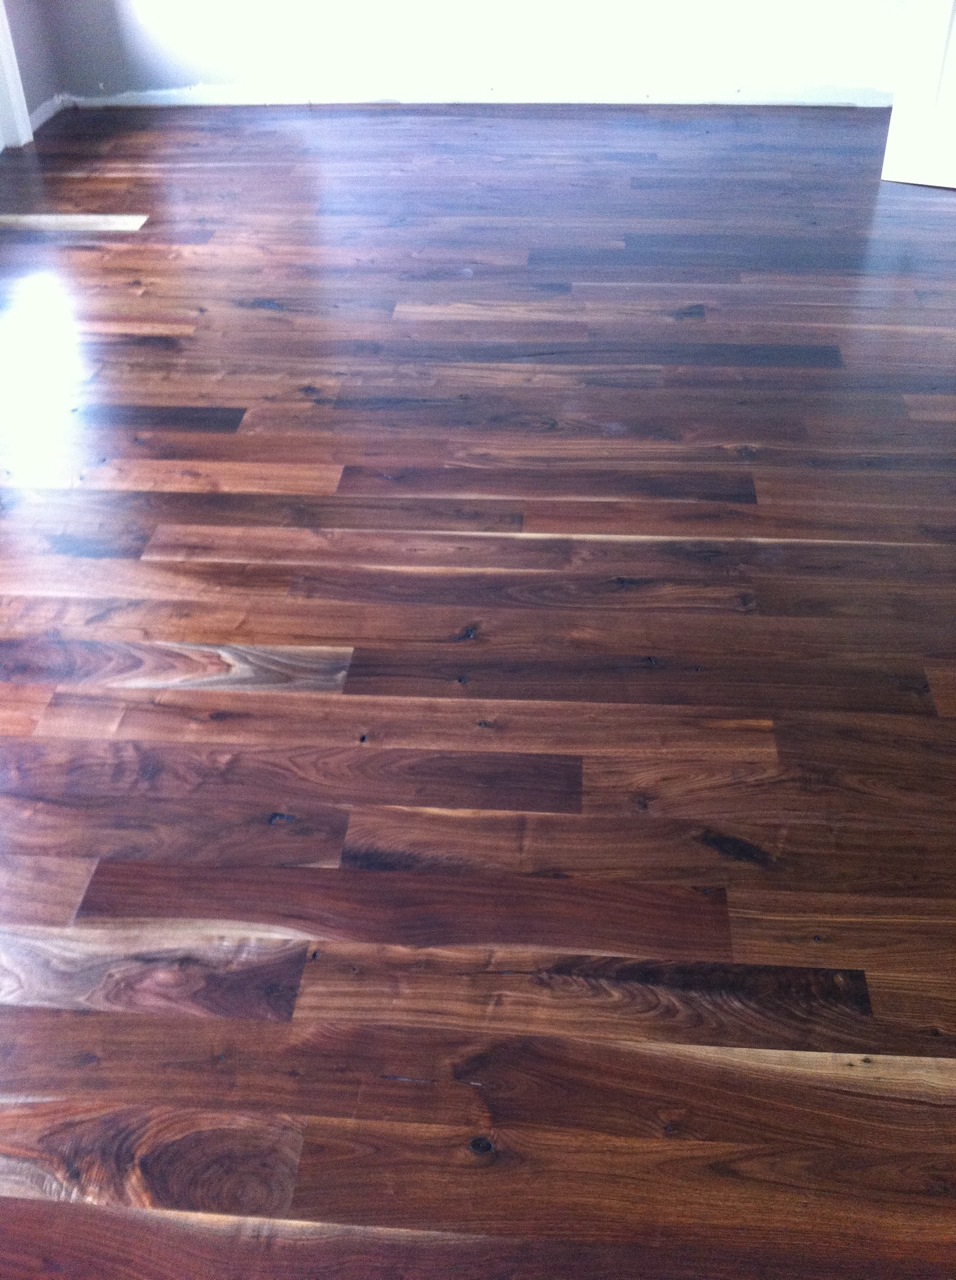
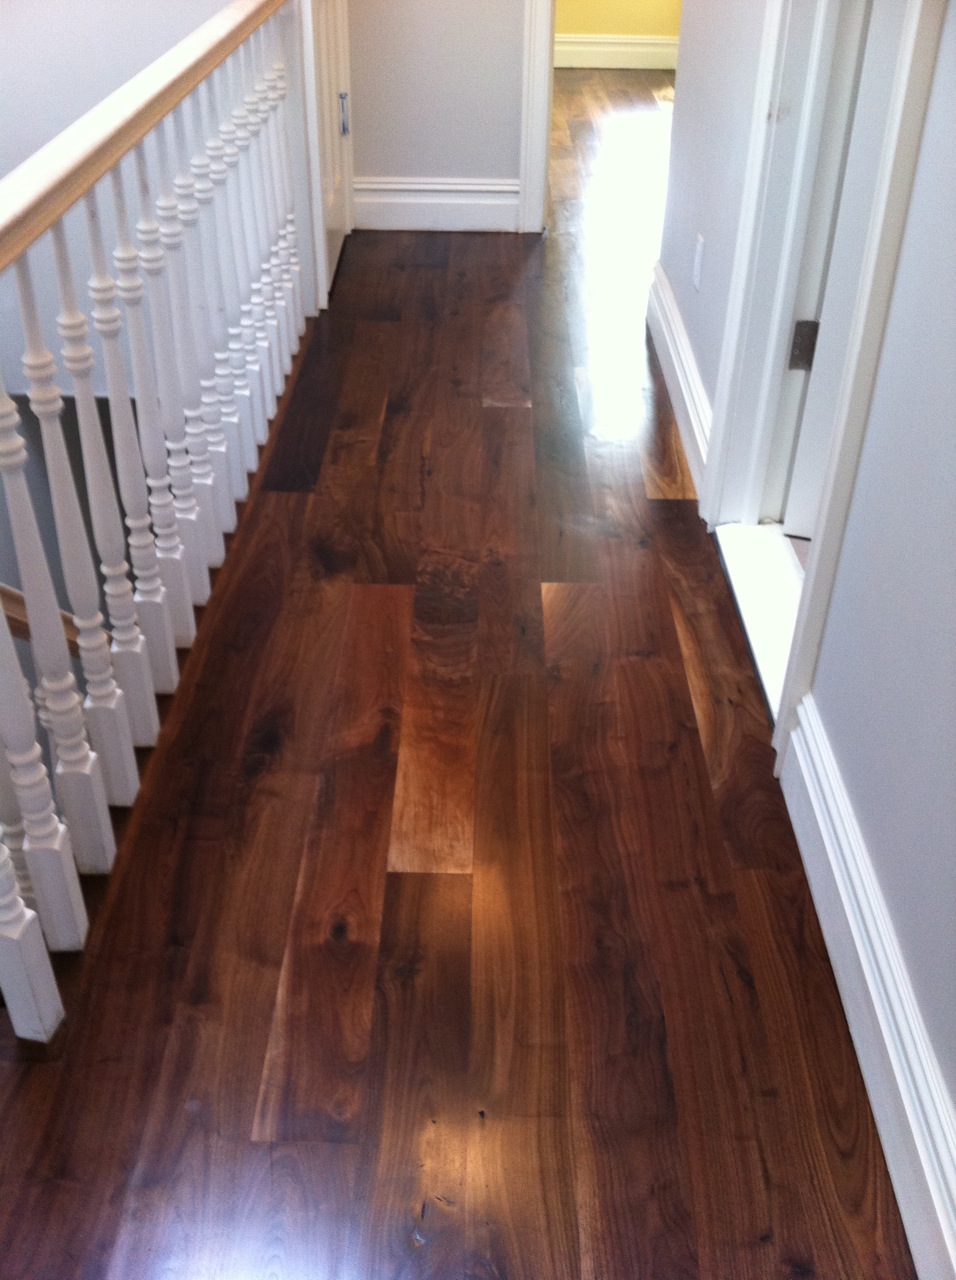
We have talked a little about the floor finishes issues but we have to share our favorite section of the floors. With three skylights on the top floor we get some great light during the day and it really shows how pretty the walnut floors are.
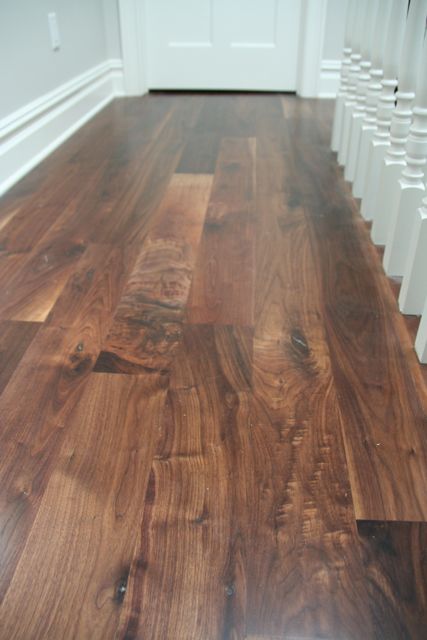
Walnut floors in top hallway.
The last piece of news to share about the top floor is the master bathroom. The wall mounted faucet debacle is the gift that keeps on giving. The backsplash we picked for the master vanity was too sensitive to cut thin so that fabricator cut it at 1 1/4″ which caused two issues: the wall mounted faucets would need an extension piece and panelling we decided to do had to be reworked. We called Grohe and brownstone girl was able to convince them to send the extenders for free but it was on backorder. Six weeks later with our plumbers wanting to come back for a final visit we called Grohe again only to be told the extender wouldn’t be available until September. Since there were other things we wanted the plumbers to come back and address (mainly being unable to use the hot water in the main kitchen sink) we sucked it up again and spent $250 on two tiny extender parts from Faucet Direct. Like I said, the gift that keeps on giving. We are trying to get the plumbers to come back now that we have everything ready for them (including a new part for the toilet that we also needed to purchase thanks to the thicker vanity backsplash). With all that, here are a few pictures of the master bath (minus toilet and faucets).
We were a little hesitant at first to ask our GC to redo to molding around the vanity (after they initially completed it, the vanity still stuck out 1/2″ beyond the paneling) but knew it wasn’t something to look at over the years to come.
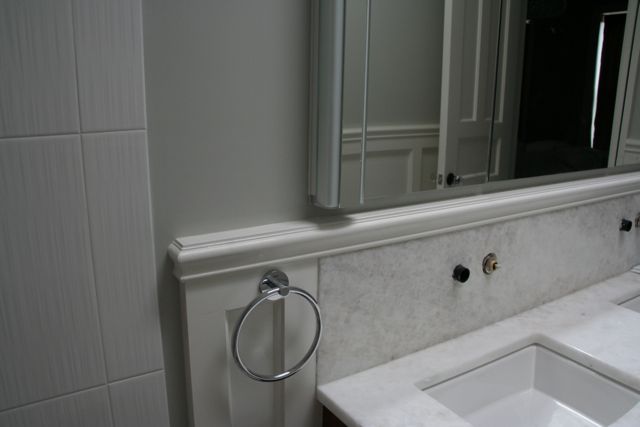
Panel flush with vanity backsplash.
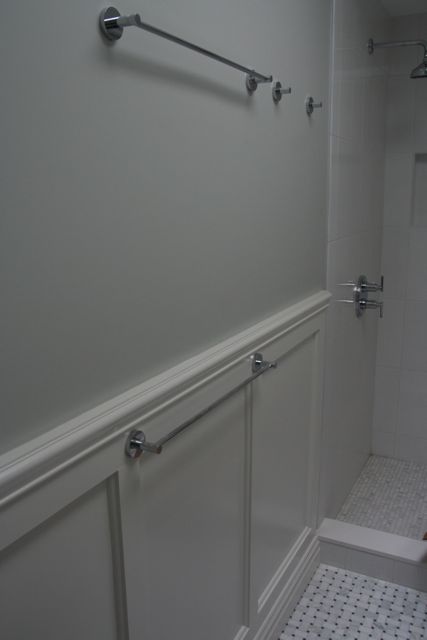
We modelled the panelling on the door molding.
Moving back downstairs and into the living room where our shutters and light splurge are on full display.
Many houses in this part of Brooklyn have pockets shutters which we were sad to see partly removed from our house. Unable to find replacement parts we went in search of a place that would build new ones. Some of the quotes from Brooklyn based companies were ridiculously high so we settled on a company in Atlanta (called Devenco or Americana, depending on how you locate them…you can find them at www.shutterblinds.com). Again, 8 weeks later they arrived and were installed. We were a little nervous as the ‘pockets’ had to be built without the shutters thus relying completely on the measurements provided. Fortunately they fit perfectly and look great!
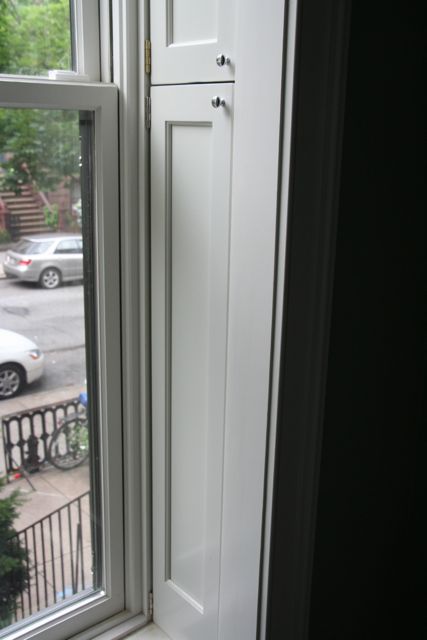
Shutters in their pockets.

Shutters open.
Finally, the bubble light.
Walking around our area at night, one can’t but help peek into the parlor living rooms and see some amazing rooms. Mostly, it’s the great detail but we loved those rooms with a great light! With that in mind, we saw a light on Houzz and knew right away. Brownstonegirl then did her magic searching to find a great deal and here is the final result.
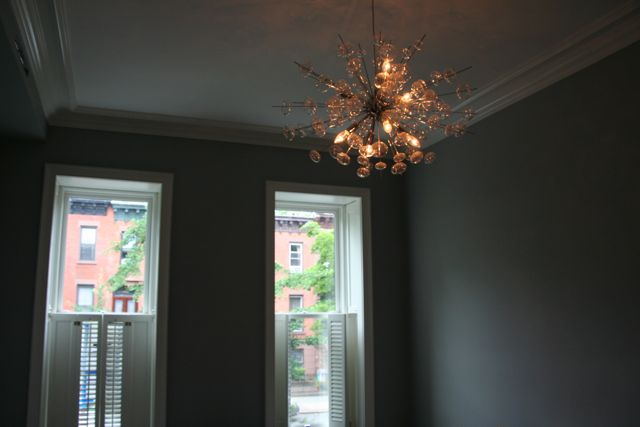
Living room light – at night the bubbles create a great effect on the room.
See you soon with some shots from the kitchen.

Recent Comments