Little decisions
17 Jul
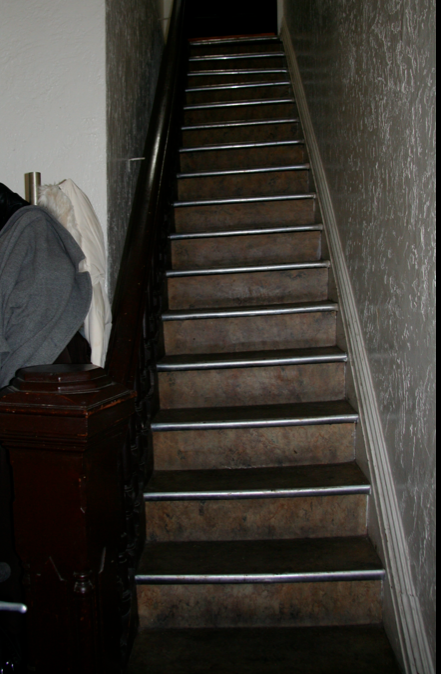
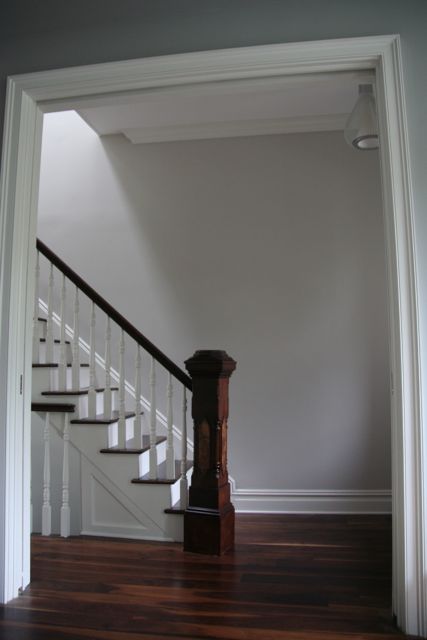
It’s been three or so weeks since we moved up to our top two floors and we’ve decided to hold off on pictures until we clear out some of our stuff and finally get our furniture out of storage (2+ years and counting – happening this Friday!).
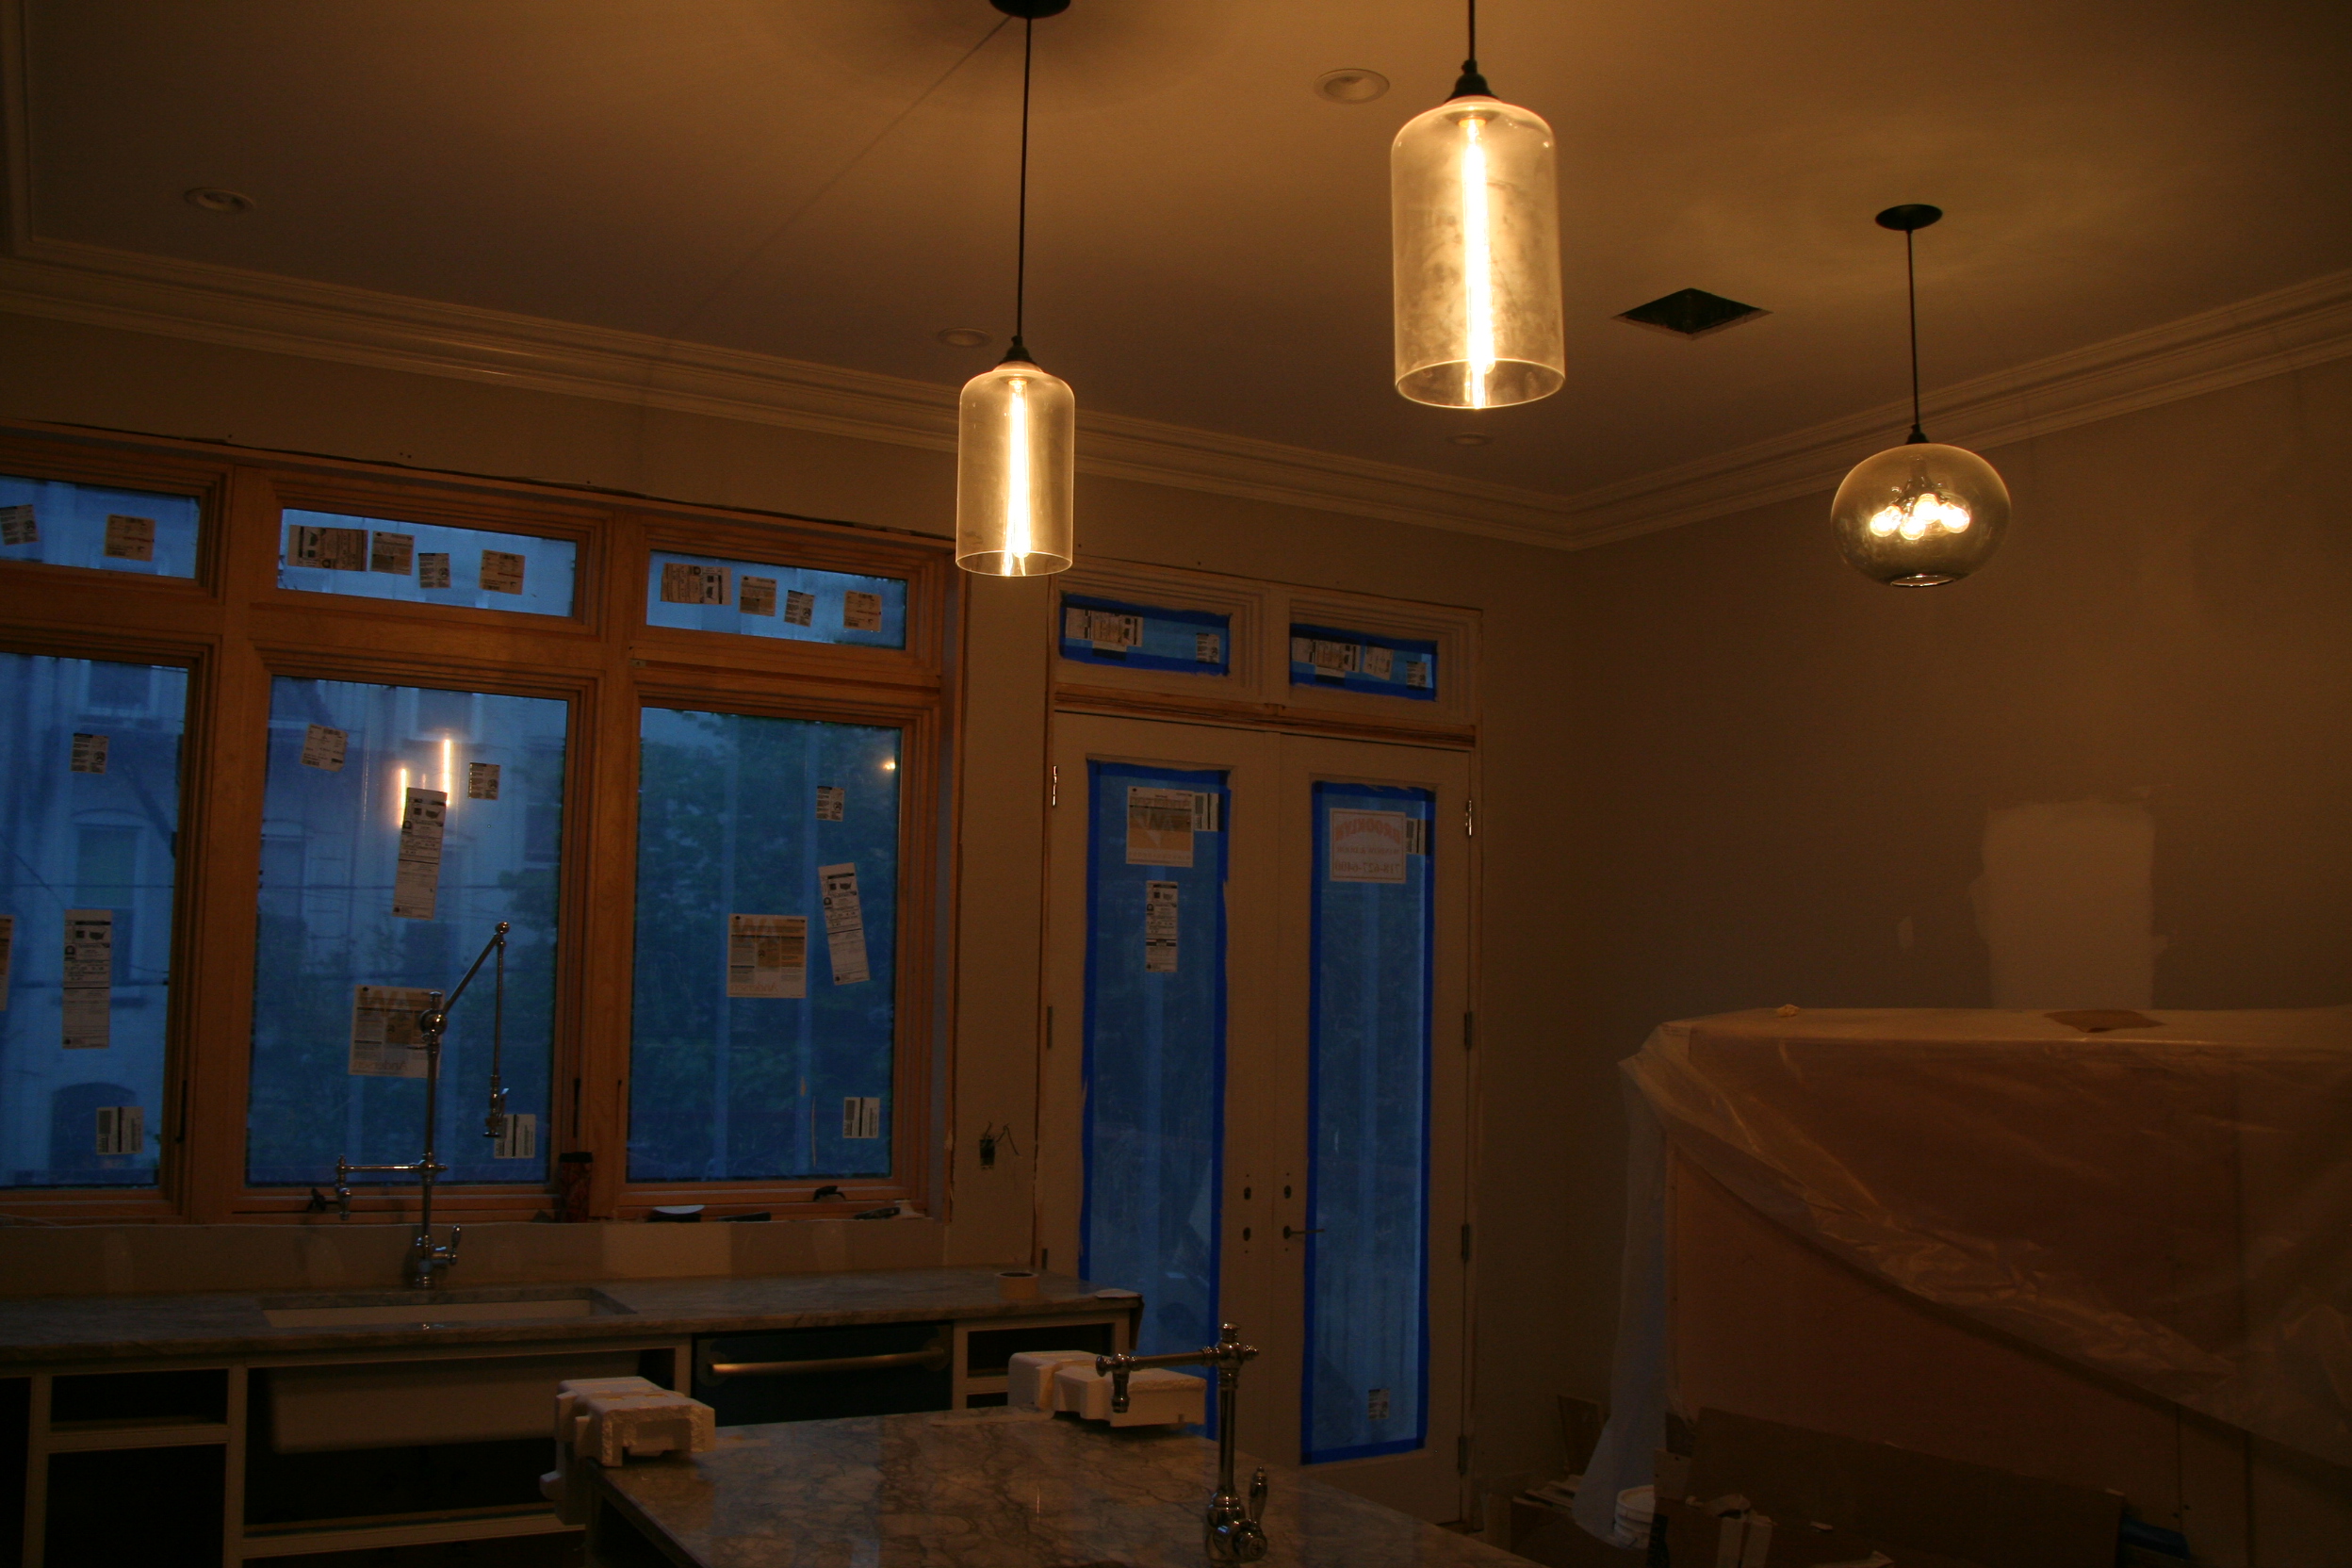
It’s been valuable spending a few weeks in the new space so that we can notice (most of) the things that need addressing. We’ve been collecting the items in a Google speadsheet and today shared the list with our GC. He didn’t get too many surprises and only one painful request (moving the dining room light which isn’t aligned with the doors – not his fault as the doors weren’t in when we set the location).
All together there were 130 items. Sounds like a lot but he feels confident he can knock them out within a week. Since we have been working on this list, I’ve been thinking about other lists and will share some of them over the coming weeks. We’ll start small with little things we’ve done that we’ve been pleased with so far:
1. Countdown timers
Our overuse of dimmers isn’t that interesting so I’ll start with another kind of switch that we’ve used in each of the bathrooms. Three of our four bathrooms don’t have any windows so we’ve installed exhaust fans in each bathroom to help clear out the steam after showering. In other bathrooms we’ve stayed in I always forget to turn the fan off or I haven’t left the fan on long enough so wanted to make sure we found a good solution. A number of companies make switches with countdown timers and we found this 60 minute which has worked out well. When we go into the bathroom, we switch it on and 60 minutes later the fan turns off. Perfect for helping remove the dampness from the bathrooms.

Leviton Preset 10-20-30-60 Minute Countdown Timer
2. Two chime doorbell solutions
There are two front entry ways into the house: the garden and the parlor. Sometimes people ring the top bell, other times people ring the bottom bell. We wanted to make sure we knew which bell was pressed and hear the chime throughout the house. We didn’t want a wireless solution given the reports I’ve read that they don’t always work so well in older buildings (with thicker walls) and there weren’t that many options with wired solutions. After reading through various doorbell forums (yes – there are forums just for doorbells) I was starting to lose hope. I was looking for two bells, two chimes solution with each bell ringing both chimes with different sounds – try typing that in google. Eventually, someone mentioned that they had done it which was enough for me to buy two chimes (NuTone LA11WH Decorative Wired Two-Note Door Chime) and two bells (NuTone PB41LBR Wired Lighted Door Chime Push Button, Round, Oil-Rubbed Bronze Stucco Finish). I was surprised how few attractive options there were but in the end the outside bell blends in and the chime matches other ugly pieces like the alarm, smoke detector etc.
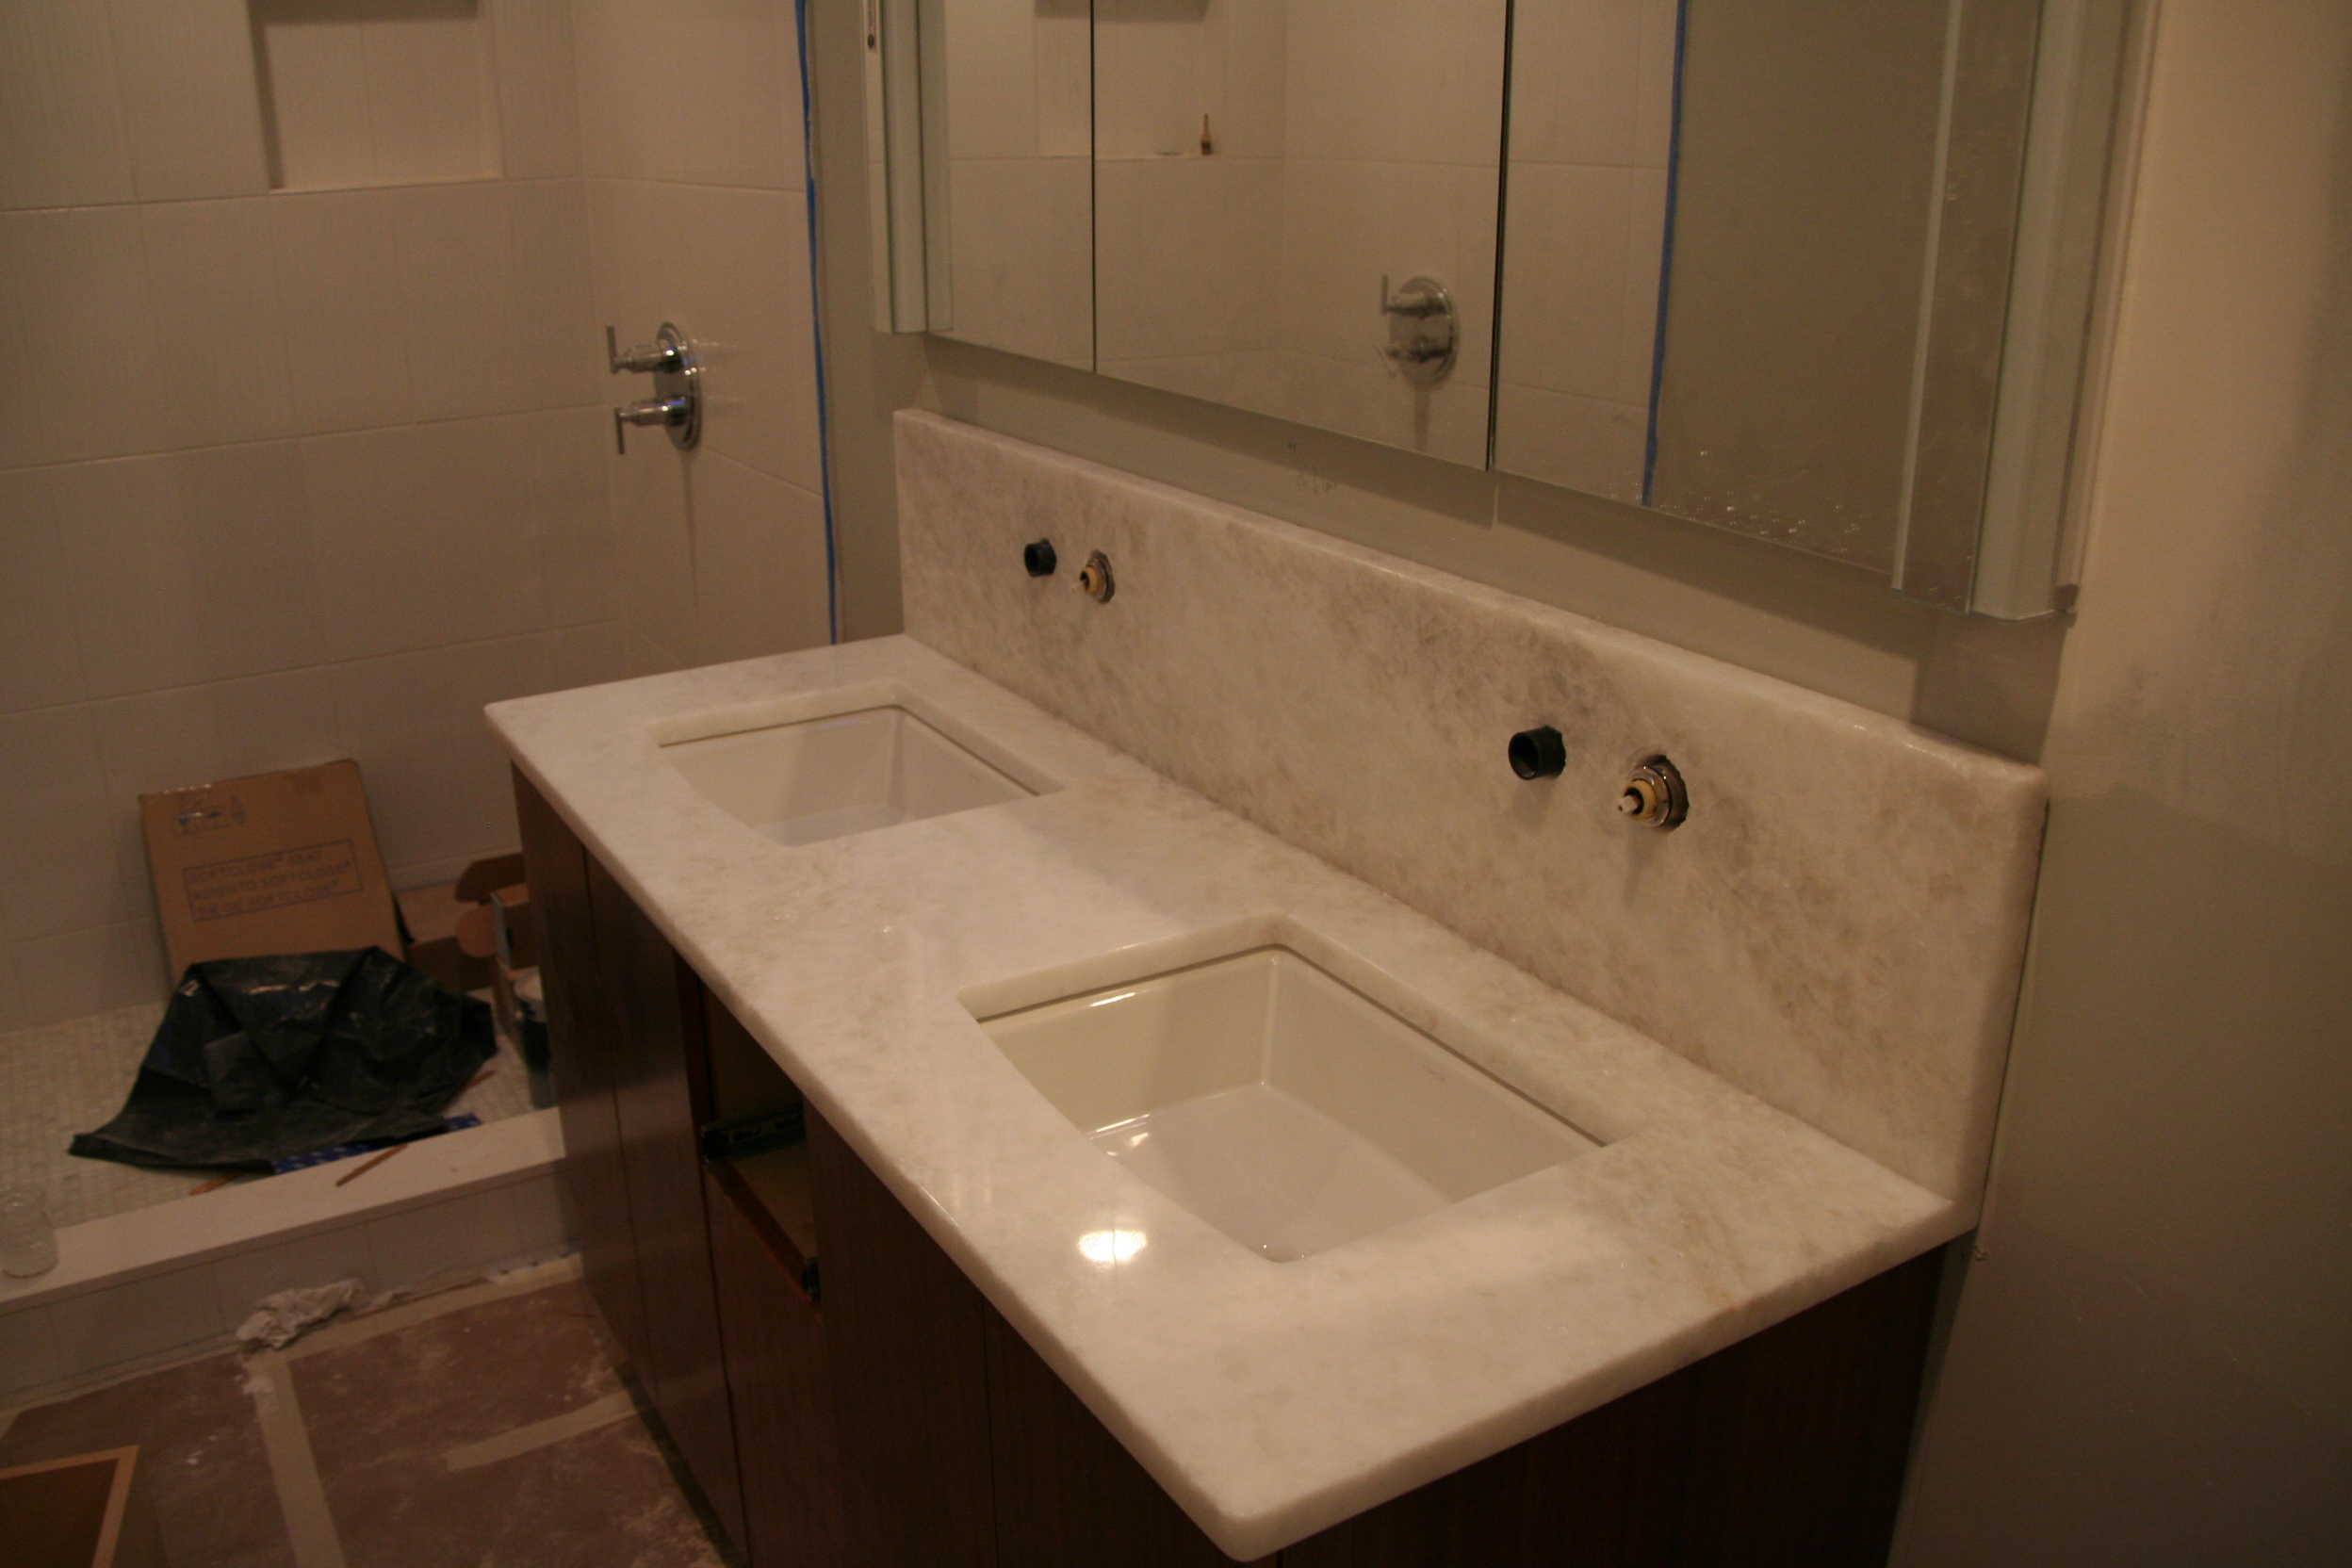
3. Filtered water in the prep sink
Compared to other places we’ve lived, our drinking water is pretty good but we still would run it through a Brita filter. This would work fine until guests came or someone (me) would forget to fill it when it emptied. We’ve stayed in houses with an extra water filler in a sink but they were slow (and often very cold) and couldn’t be used for other purposes (cleaning vegetables, quickly filling a pot etc.). For this kitchen we wanted to make sure we found something we could use through a regular faucet without losing pressure. After reading through hours of discussions on GardenWeb about osmosis, floods, pressure lose etc. I was ready to give up when I found a product by Everpure that filtered and maintained the high pressure we wanted. Our plumbers were happy to install on the cold water line in the prep sink and so far the results have been great. We will see how things go in six months when we have to replace (I did read several people complain about how difficult it was to replace).

Everpure EV9270-85 PBS-400 Drinking Water System for Prep Sink and Wet Bar
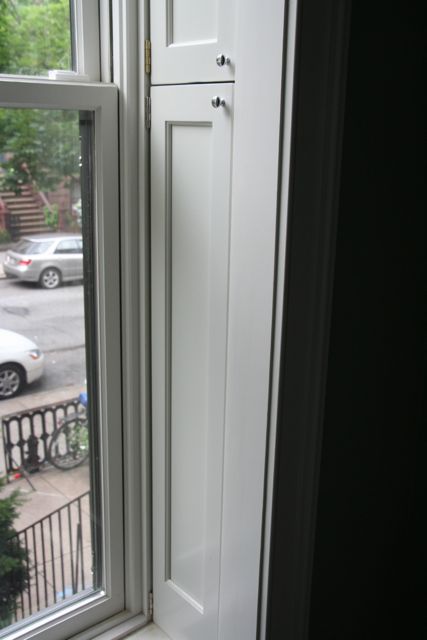
4. Lights in the laundry area.
A laundry on the bedroom level was a must and we always knew there would be lights but we have been glad with the choice our contractor made for us. The light automatically turns on/off when we open/close the laundry doors but what’s really nice is we have the option to manually operate them (so they don’t automatically turn on when we open the door). Great for those late night washing parties we have. We didn’t really appreciate this option until we wanted to do the same in the kids’ closets when they were sleeping.
5. Dish Rack
OK. So this doesn’t quite fit the renovation stuff but we really like our dish rack (even some of the workers have complimented it). It was priced much higher than I thought we’d ever pay for such an item but it looks great, has a good knife area and a drain underneath that feeds straight into the sink - why doesn’t every rack have that!
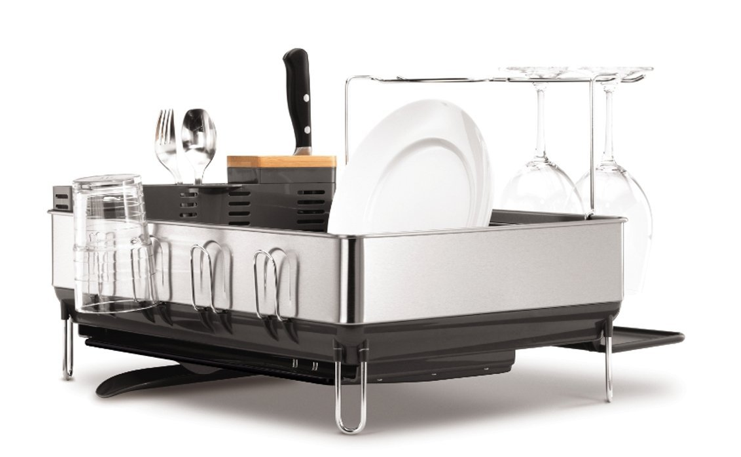
simplehuman Steel Frame Dishrack
That’s all for now. We’ll do some more top 5 lists soon including 5 best big decisions, 5 valuable websites and 5 things we’d change already…


Recent Comments