Archive | April, 2013

Busy, busy, busy…

25 Apr

We’re at t-5 days until we move back in the house, so it’s a hive of activity all around.  We’ll just be able to move into the garden floor at first, but our contractor and his team are working hard to do as much as possible on the entire house before we get there. Most of the moulding, taping and painting should be completed; the lights will be hung; the deck is going in; the cement in the backyard will be set; some of the kitchen cabinets and appliances will be in; the bathrooms will be mostly completed (save the master vanity, which is being custom built).

After our return: Shutters will be installed; refinished entry doors will be rehung; stair rails and spindles will be installed, staining of upper floors will be completed, kitchen will be finished; steel work on the roof will be completed; shower doors will be ordered and installed; kitchen backsplash and vestibule tile will be installed.   Lots of finish work to do, which will keep the house noisy and dusty for a few weeks. We’ll do what we can to seal off our level and hope the kids (and we) won’t go mad!

Exciting but definitely a nail biter!

A few photos just to show the current progress:

Rear view of the house.

Deck going up! Will be the perfect place to sit for two minutes before we remember how mosquito-infested Brooklyn is in the summer.

Deck going up! Will be the perfect place to sit for two minutes before we remember how mosquito-infested Brooklyn is in the summer.


Another view of the deck.

shutters

New shutters in production. Purchased from Americana Shutters. You’d be surprised how difficult (and expensive) it is to replicate brownstone pocket shutters.

IMG_8014

Brownstonetoddlerboy’s bedroom light. The paint is Benjamin Moore silvery blue.

IMG_8012

Kids bathroom components going in!

IMG_8016

Brownstonebabygirl’s light fixture. The paint is Benjamin Moore mannequin cream. The color is more vibrant in person.

IMG_8017

Lots and lots of wiring. Yes, we’re technology junkies.

IMG_8004

Master bath medicine cabinet. Note the half-completed wall mounted faucets. They continue to be our nemesis, as they now require extension kits in order to be used. More expense on top of what was already an unnecessarily expensive item. Boo to wall mounted faucets!

IMG_7995

Our garden bath getting the finishing touches. Note the wood base moulding. We had ordered 3 x 6 slate tile in the same color palette as the floor. Once it was installed, it looked really awful. Thanks to our wonderful contractor and tile guy for replacing it!!

Master bath…or, hallelujah, no more kicking the potty!

7 Apr

When you go from rental to rental for what seems like years (and in our case, actually was years), you end up compromising on lots of things.  In just about every sublet we stayed in, we were lucky to have a space large enough to hold all the standard toddler trappings (potties, bath toys, etc.) but not much more than that.  It was therefore imperative for us to make sure we had a master bath separate from the kids’ bathroom, not a small feat on a floor already tight with 3 bedrooms and a laundry room!

Our master bath won’t be enormous and won’t have a tub, and our bedroom itself will not have a walk-in closet, but we feel this is a worthy trade off for a pretty, clean bathroom space of our own.  Here are some of the highlights of our bathroom choices:

Tile and Wall Paneling

Floor tile: this was one of the first items we selected in the house.  Having seen this beautiful basketweave carrara bella tile with gray glass dots by Akdo, we were instantly smitten.  Another version had blue glass dots, which was even more to our liking, but the thassos main portion of the tile would have been far too much effort to maintain, so gray dots it is.

Shower floor tile: we are carrying the carrara bella into the shower with a 3/4 by 3/4 mosaic floor, also by Akdo.

Basketweave tile for main floor and 3/4 by 3/4 tile shower floor.

Basketweave tile for main floor and 3/4 by 3/4 tile shower floor.  This photo is of the installation, pre-grouting. We’ll use a light grey grout to highlight the lines of the tile.

Shower wall tile: We really wanted a larger tile for our shower laid in a vertical pattern, and this textured tile from Cancos really caught our eye. It is also extremely affordable, so it was overall a great find.

Cancos wall tile. Brownstoneboy spent a great deal of time with our architect and contractor getting our tile in beautiful alignment, and it really looks great. We’ll use white grout for a seamless look.

Picture frame molding wainscoting: We love the classic look of picture frame molding wainscoting in a simple, elegant bathroom space, so we’ve opted for this instead of standard wall tile finishes.

Picture frame molding.

Picture frame molding.

Fixtures

Faucets: We liked the look of wall mounted faucets, so that’s what we ultimately chose. However, I would caution anyone else against this decision. It actually made the plumbing far more complicated and limited a number of other choices. It will prove far more costly in the end as well, as there were a number of other financial factors it elevated (the faucets themselves, the rough in valves, the plumbing work and the requirement to have a backsplash).  They will be very pretty, but I’m not sure we would do it again if we had realized the added expenses.

Grohe atrio single handled wall mounted faucets. Pretty, modern, but pricey installation.

Grohe atrio single handled wall mounted faucets. Pretty, modern, but pricey installation.

Double vanity: We have just enough space for a 60 inch double vanity, which our contractor will be building. It’ll be a fairly simple European door construction, mahogany veneer over plywood (veneer will be supplied by Everwood in Gowanus on 7th street – if you are looking for veneer products, their stuff is really beautiful).  A white quartzite vanity top will be purchased from Marble.com when we template our kitchen countertops, and the hardware will be similar to what is featured below. Nice clean lines.

Vanity inspiration. Ours will be built by our contractor with Mahogany veneer supplied by Everwood in Gowanus. Similar hardware will be used.

Vanity inspiration. Ours will be built by our contractor with Mahogany veneer supplied by Everwood in Gowanus. Similar hardware will be used.

Double shower heads: Something we really liked in our last renovation and always planned to do again was a nice walk in shower with double shower heads. Last time, we opted for a three way diverter that allowed us to have either shower head on or both, but they were on the same temperature and pressure valve. Brownstoneboy isn’t as fond of the heavy fire hose level of pressure I prefer, and I definitely like my showers a bit hotter than him as well.  Since we were doing a gut renovation, it was a no brainer to run separate plumbing lines with individual thermostatic valves. The trim will be Grohe Atrio, and the heads will be our favorite find from our last renovation, the super cheap and super awesome rain shower head from highpressureshowerheads.com.  A real bargain at about $35.

Rain shower from highpressureshowerheads.com http://www.highpressureshowerheads.com/high-pressure-shower-head-rain.html

Rain shower from highpressureshowerheads.com http://www.highpressureshowerheads.com/high-pressure-shower-head-rain.html

Medicine cabinets: After weeks of harassing our contact at Home and Stone, we were able to negotiate a very good deal on a beautiful Robern three part medicine cabinet.  It will extend 60.75 inches and have two long lights, plus hidden outlets within.  This was still a pricey splurge, but in the smaller space, we’ll definitely need the extra storage. She’s going to be very pretty!

Robern medicine cabinet. 3 cabinets ganged together with interior outlets and vertical lighting. Sweet.

Robern medicine cabinet. 3 cabinets ganged together with interior outlets and vertical lighting. Sweet.

The master bath has come a long way this week! Here’s hoping (knocking on wood) that it’ll be ready to use when we move in at the end of the month!

50 Shades of Grey

6 Apr

Knocking on wood as we report another busy week at the house.

Because of the previously reported DOB fun slowing everything down, we won’t be finished by the time our sublet ends (April 30th); the goal is therefore to finish the bottom floor with limited kitchen access by the end of the month, and everything else by the end of May.

That means we have to start thinking about paint colors. After many hours on Houzz, we came up with about 20 colors we wanted to see sampled on the walls. We designated where we thought a color could work and ordered samples from Benjamin Moore. Once the painters finished taping the bottom floor and priming, they kindly put up our samples.

After renovating our apartment a few years ago we felt that our color choices were a little dark and a little bold, so this time we are leaning towards lighter and slightly boring. We can use curtains and other room accessories to provide bolder elements down the line.

First, the office:

IMG_7824

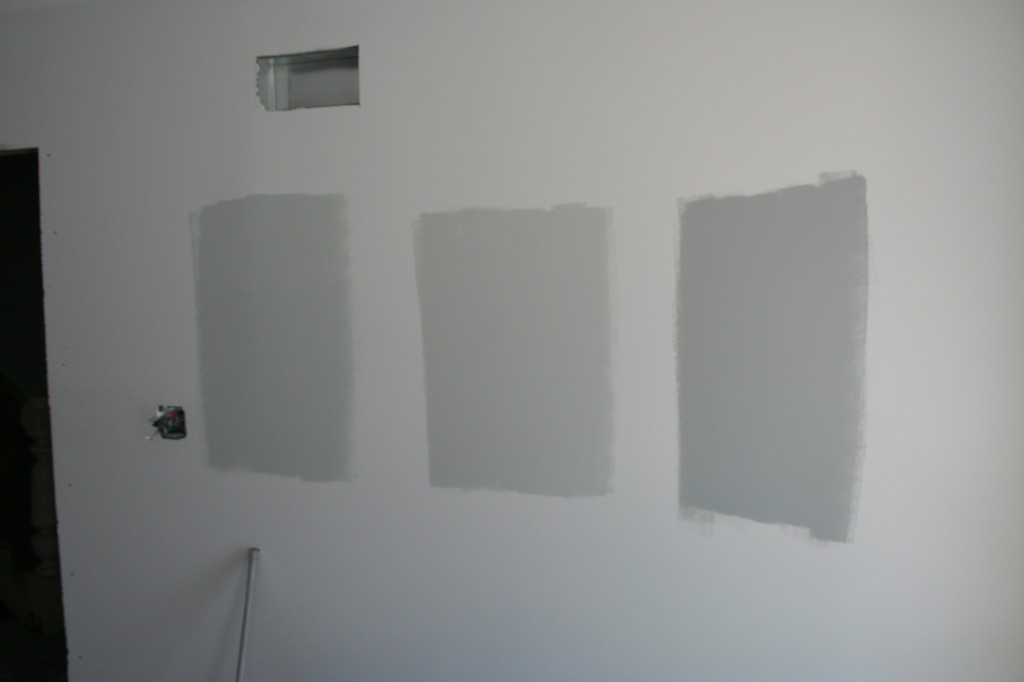
We decided on the middle color: grey owl. The right color matched our garden bath tile so we added that to the sample to try in the bathroom (which we subsequently rejected).

The garden hall is a big choice as we are continuing the color up through the parlor and second floor hall as well as the kitchen. For this we had the painters put up 5 samples:

IMG_7828

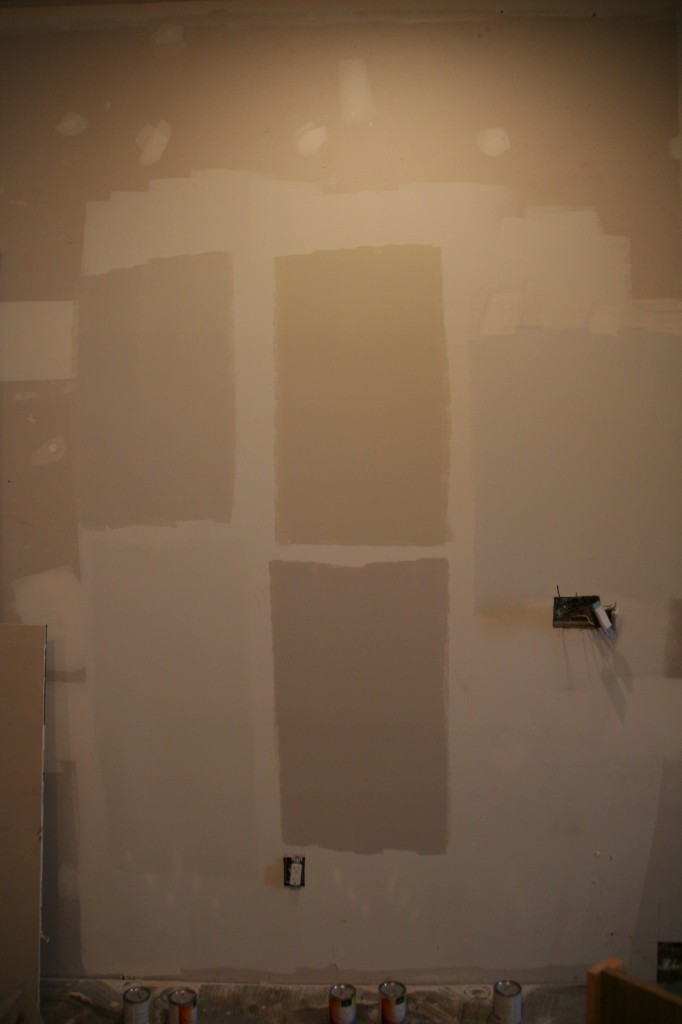
Kitchen wall sample colors.

With the back door and window (arriving Tuesday – they swear) still covered, it was harder to get a true sense of the real colors (things look yellower in the picture than in person), but we decided on the top left (light pewter). It was good to see the other samples up as we think they could work elsewhere (bottom left – white wisp – garden bath, top middle – edgecomb grey – living room, right – marilyn’s dress – kids bathroom). We’ll add them to the samples to try in each room.

With the playroom color already decided (golden straw which we used previously, the one bold color we really liked), the last choice was the trim color. Last time, we didn’t even know we had choices with this but after some research we narrowed it down to Decorator’s White and White Dove. Taking some of the sample molding we had ordered, we painted one half one color and the other half the other color. In the end we chose White Dove. To us, the color seemed a little richer with more depth (which has guided us with our other choices).

The other big change at the house was new stairs. Originally we were just going to repair the stairs but over the course of the construction they deteriorated and our GC said it’ll be about the sample price to replace. Both sets arrived on Thursday with one going in on Friday.

IMG_7827

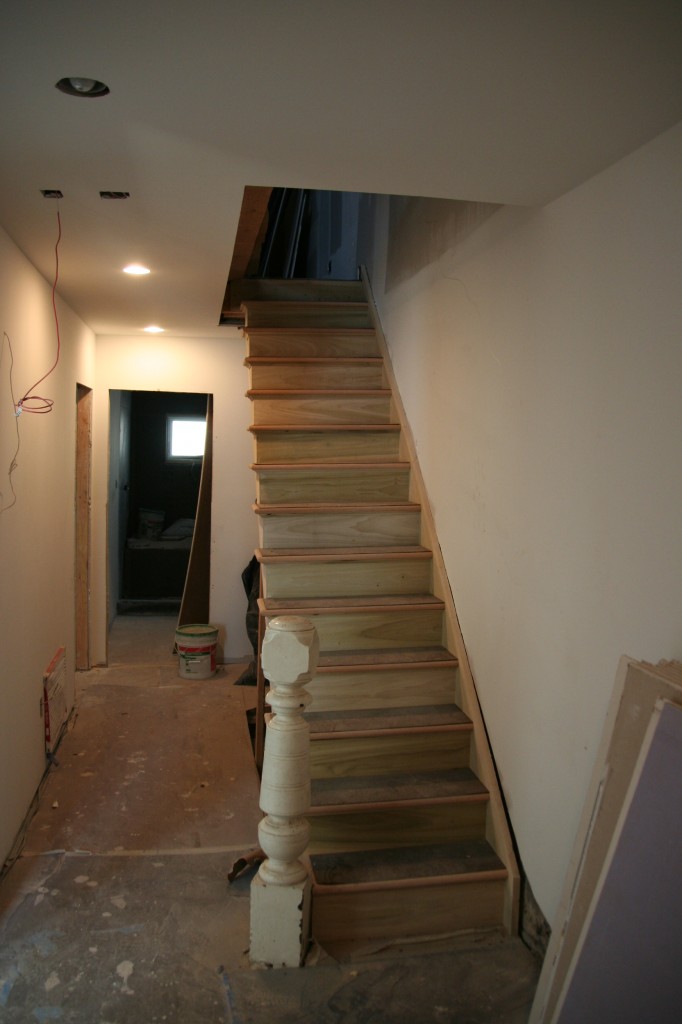
New stairs on the garden level.
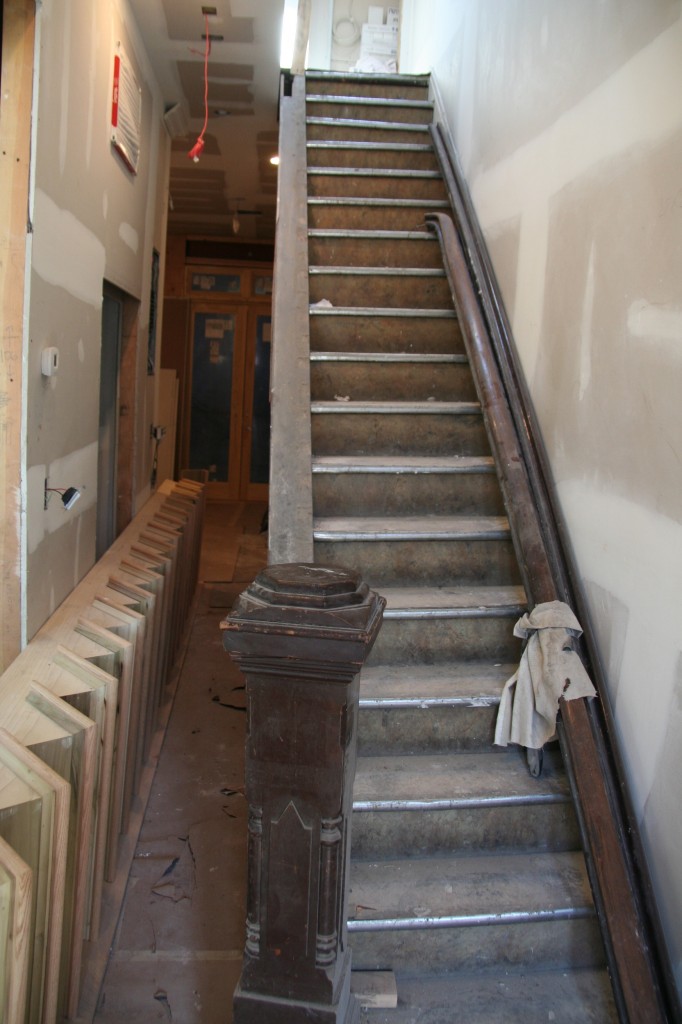
IMG_7834

New and old stairs

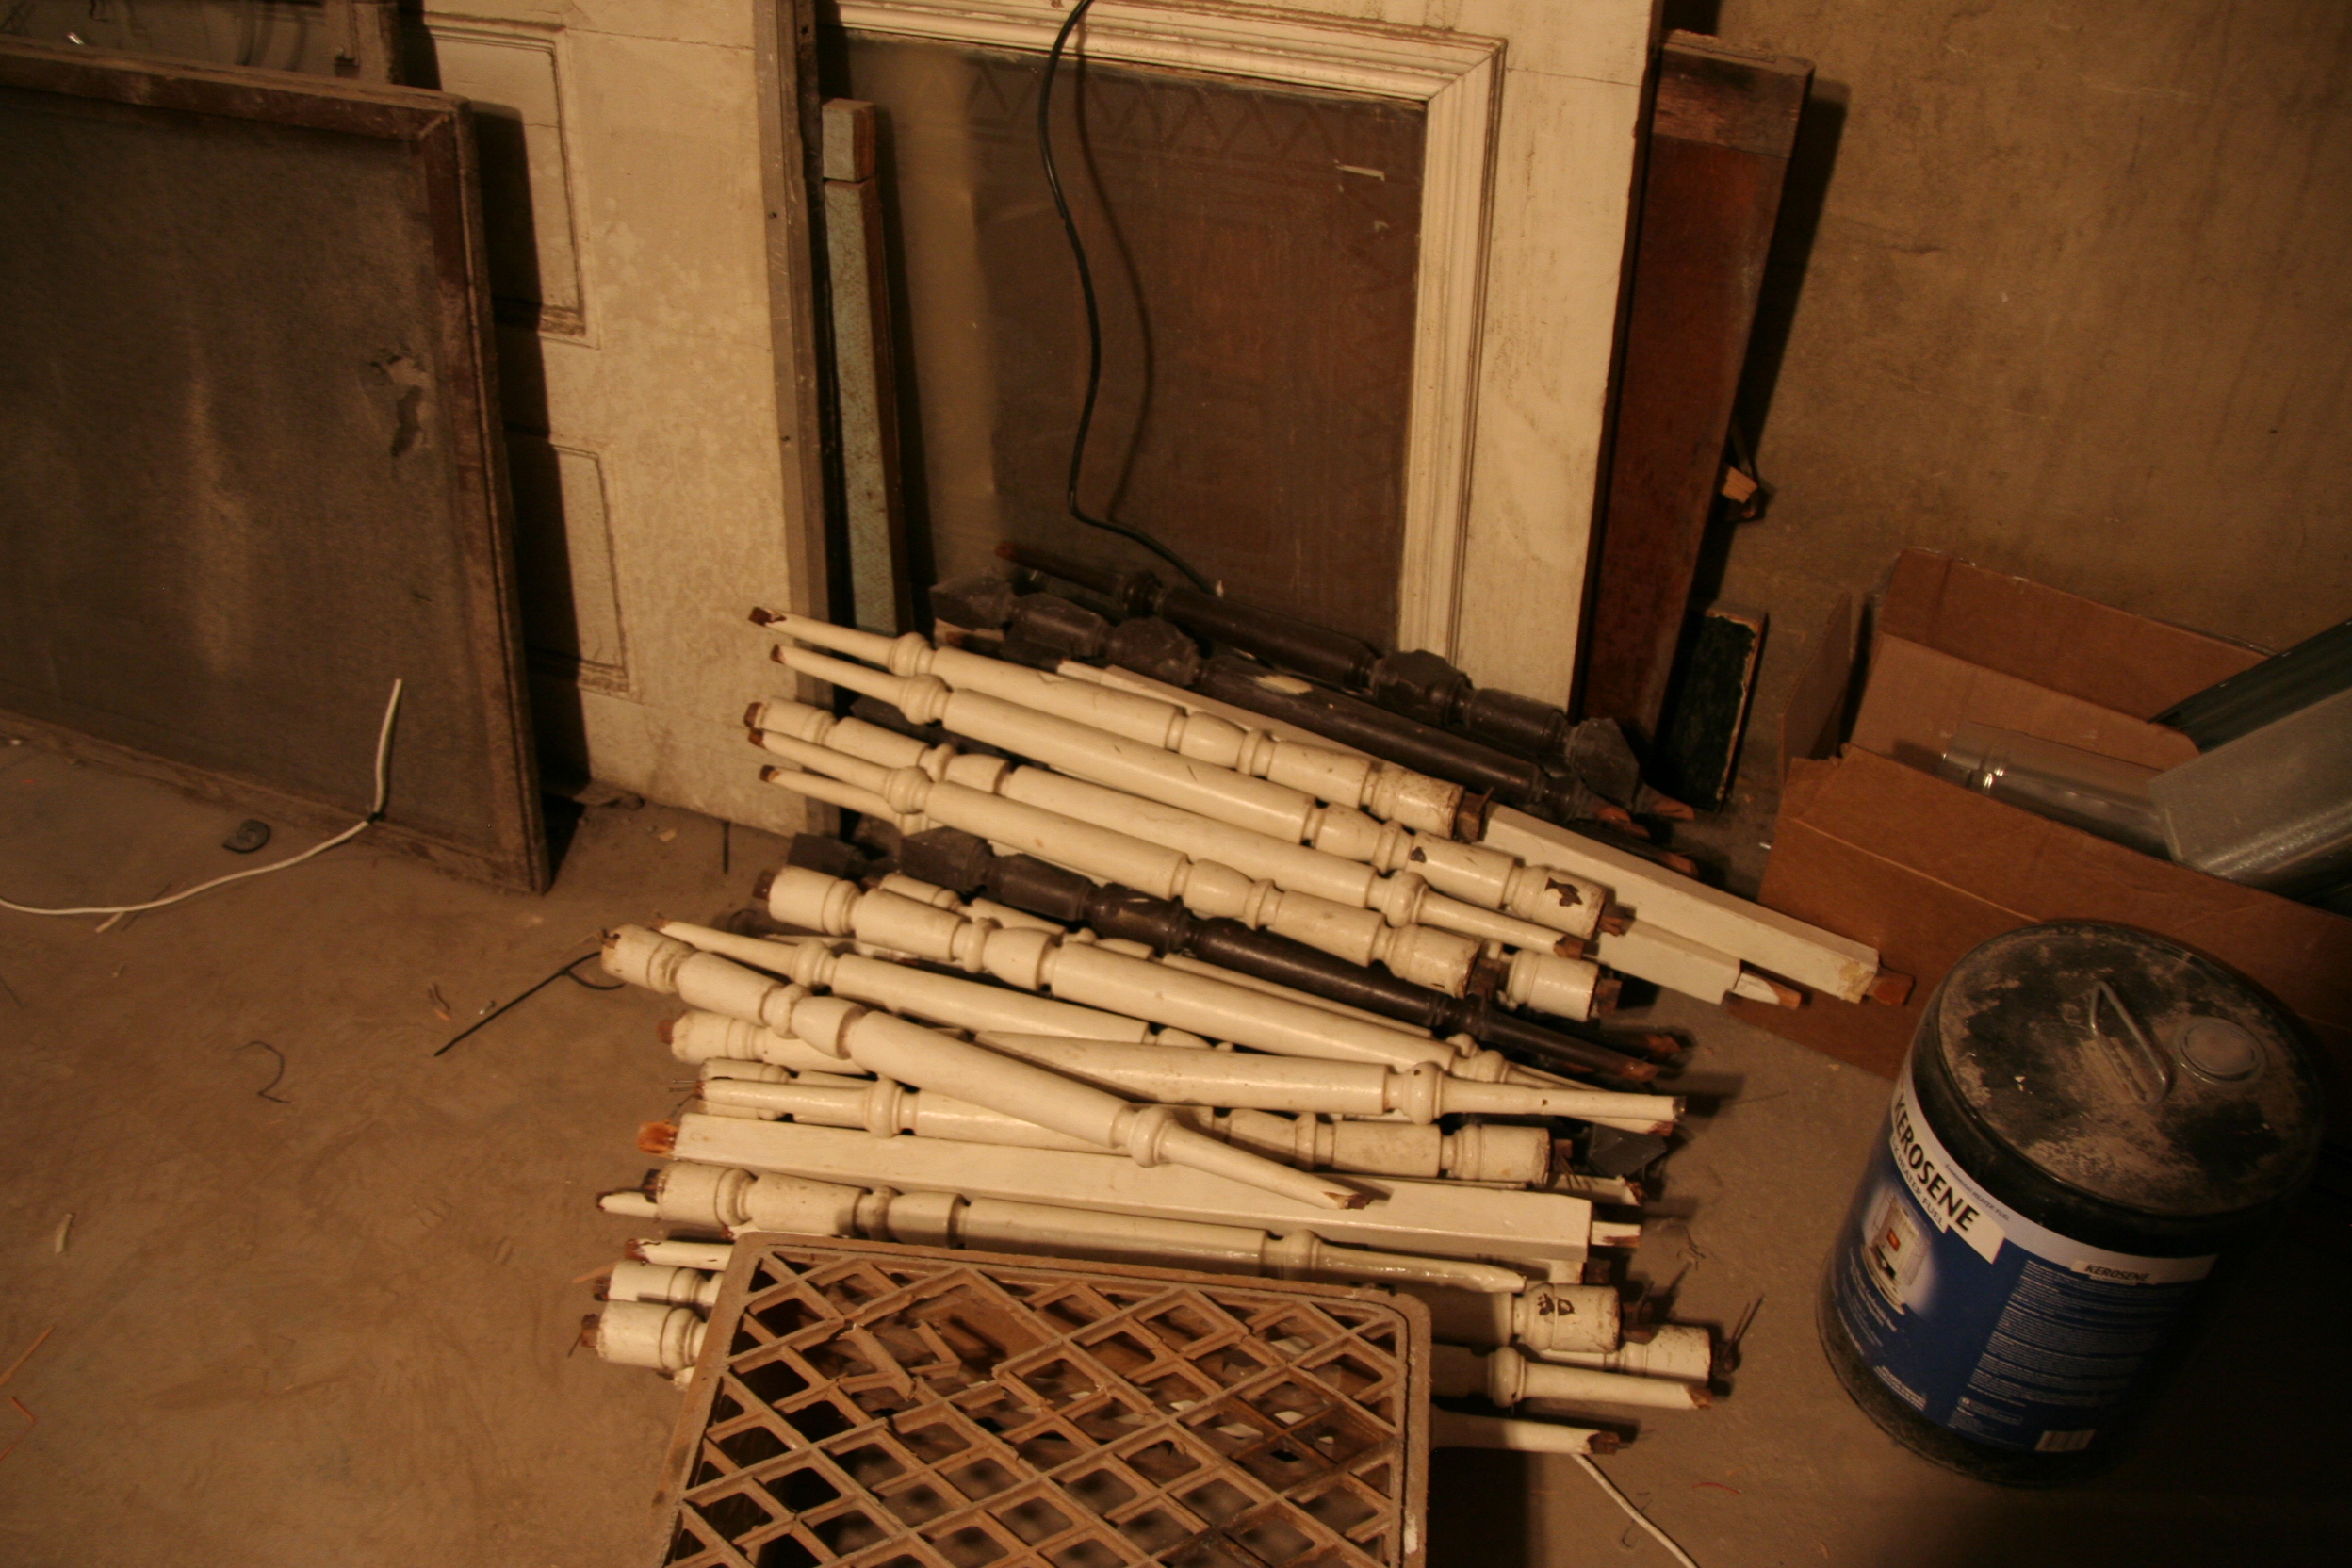
Unfortunately, due to height differences we won’t be able to reuse the spindles but the newel posts will remain. We’ll donate the spindles in case others are looking to replace some broken ones.
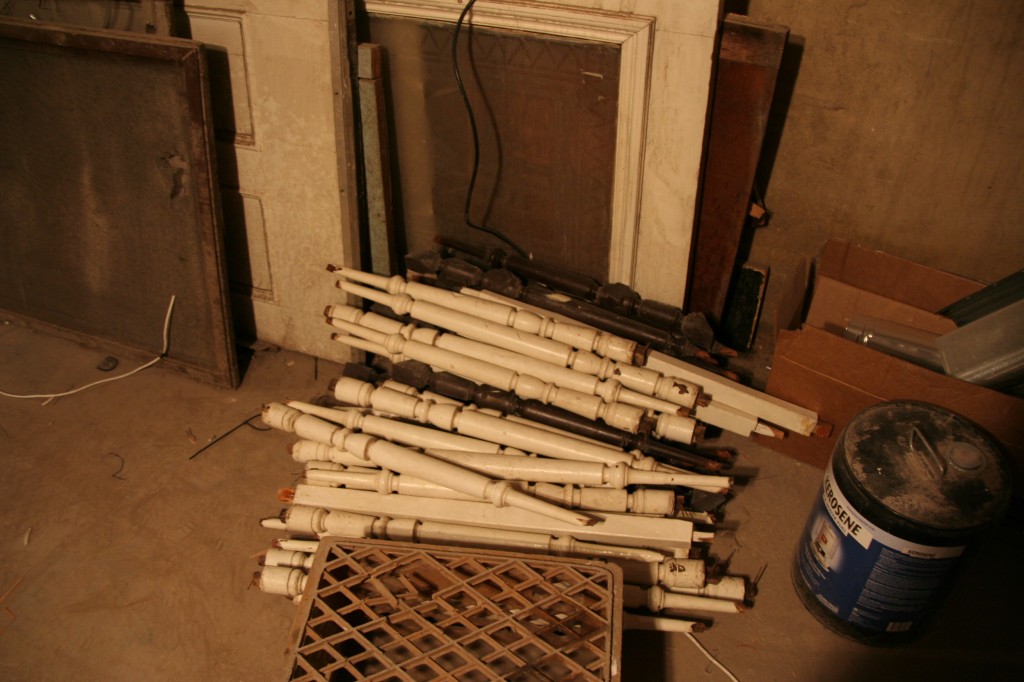
To be donated.

To be donated.

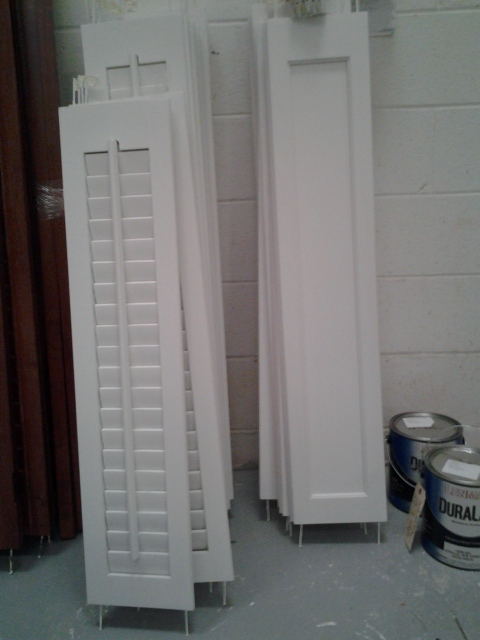
In other news, the interior doors have been ordered. Our original plan was to replicate our old doors but we just couldn’t get the sample right, so in the end we decided on a simpler finish which closely matches our cabinet and shutter choices.
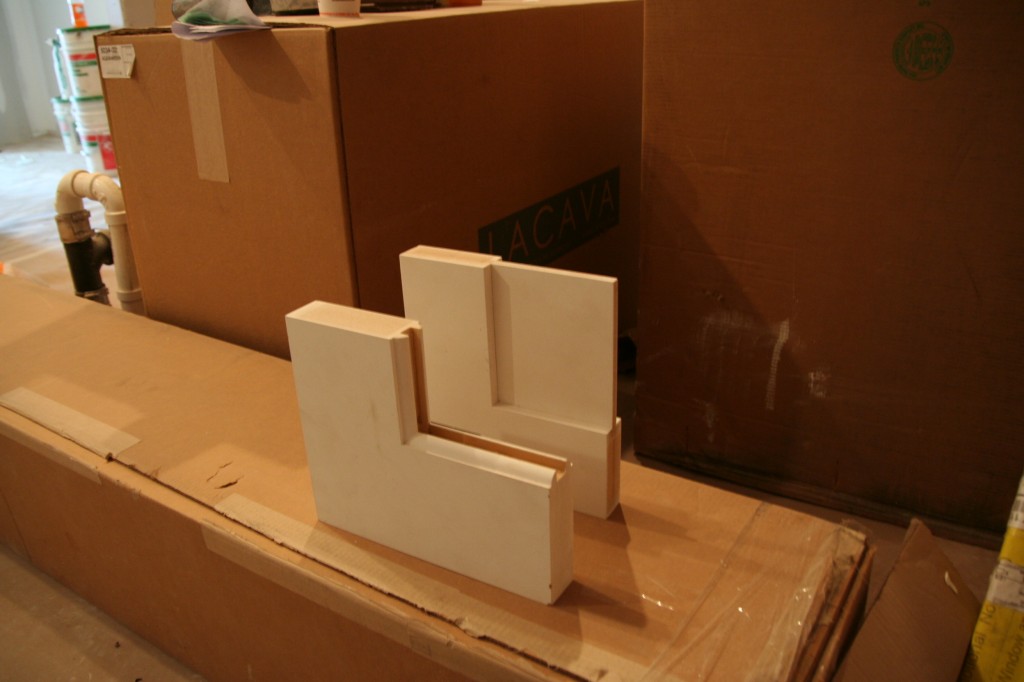
Some door samples.

Some door samples.

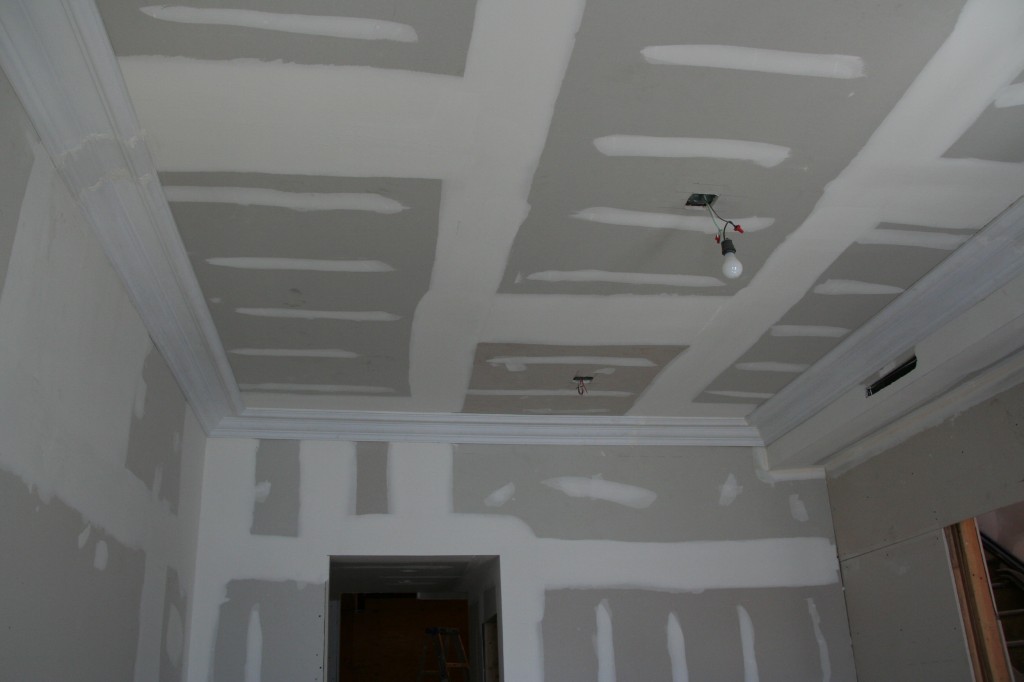
Next, we did a little sampling with the crown molding. The old moldings were different from most moldings that you see today in that they had a big projection and small height. We very much wanted to keep those moldings, but with many layers of lead paint over the plaster, floorplan changes and whole sections that had been removed when a bathroom was added on the top floor years ago, it just didn’t make sense to try to work with what was there. We did, though, make it a priority to find something similar (not an easy task when you are trying to replicate 100+ year old plasterwork).  After a lot of searching we found something similar which we are going to use in the living room (which has high ceilings).

IMG_7831

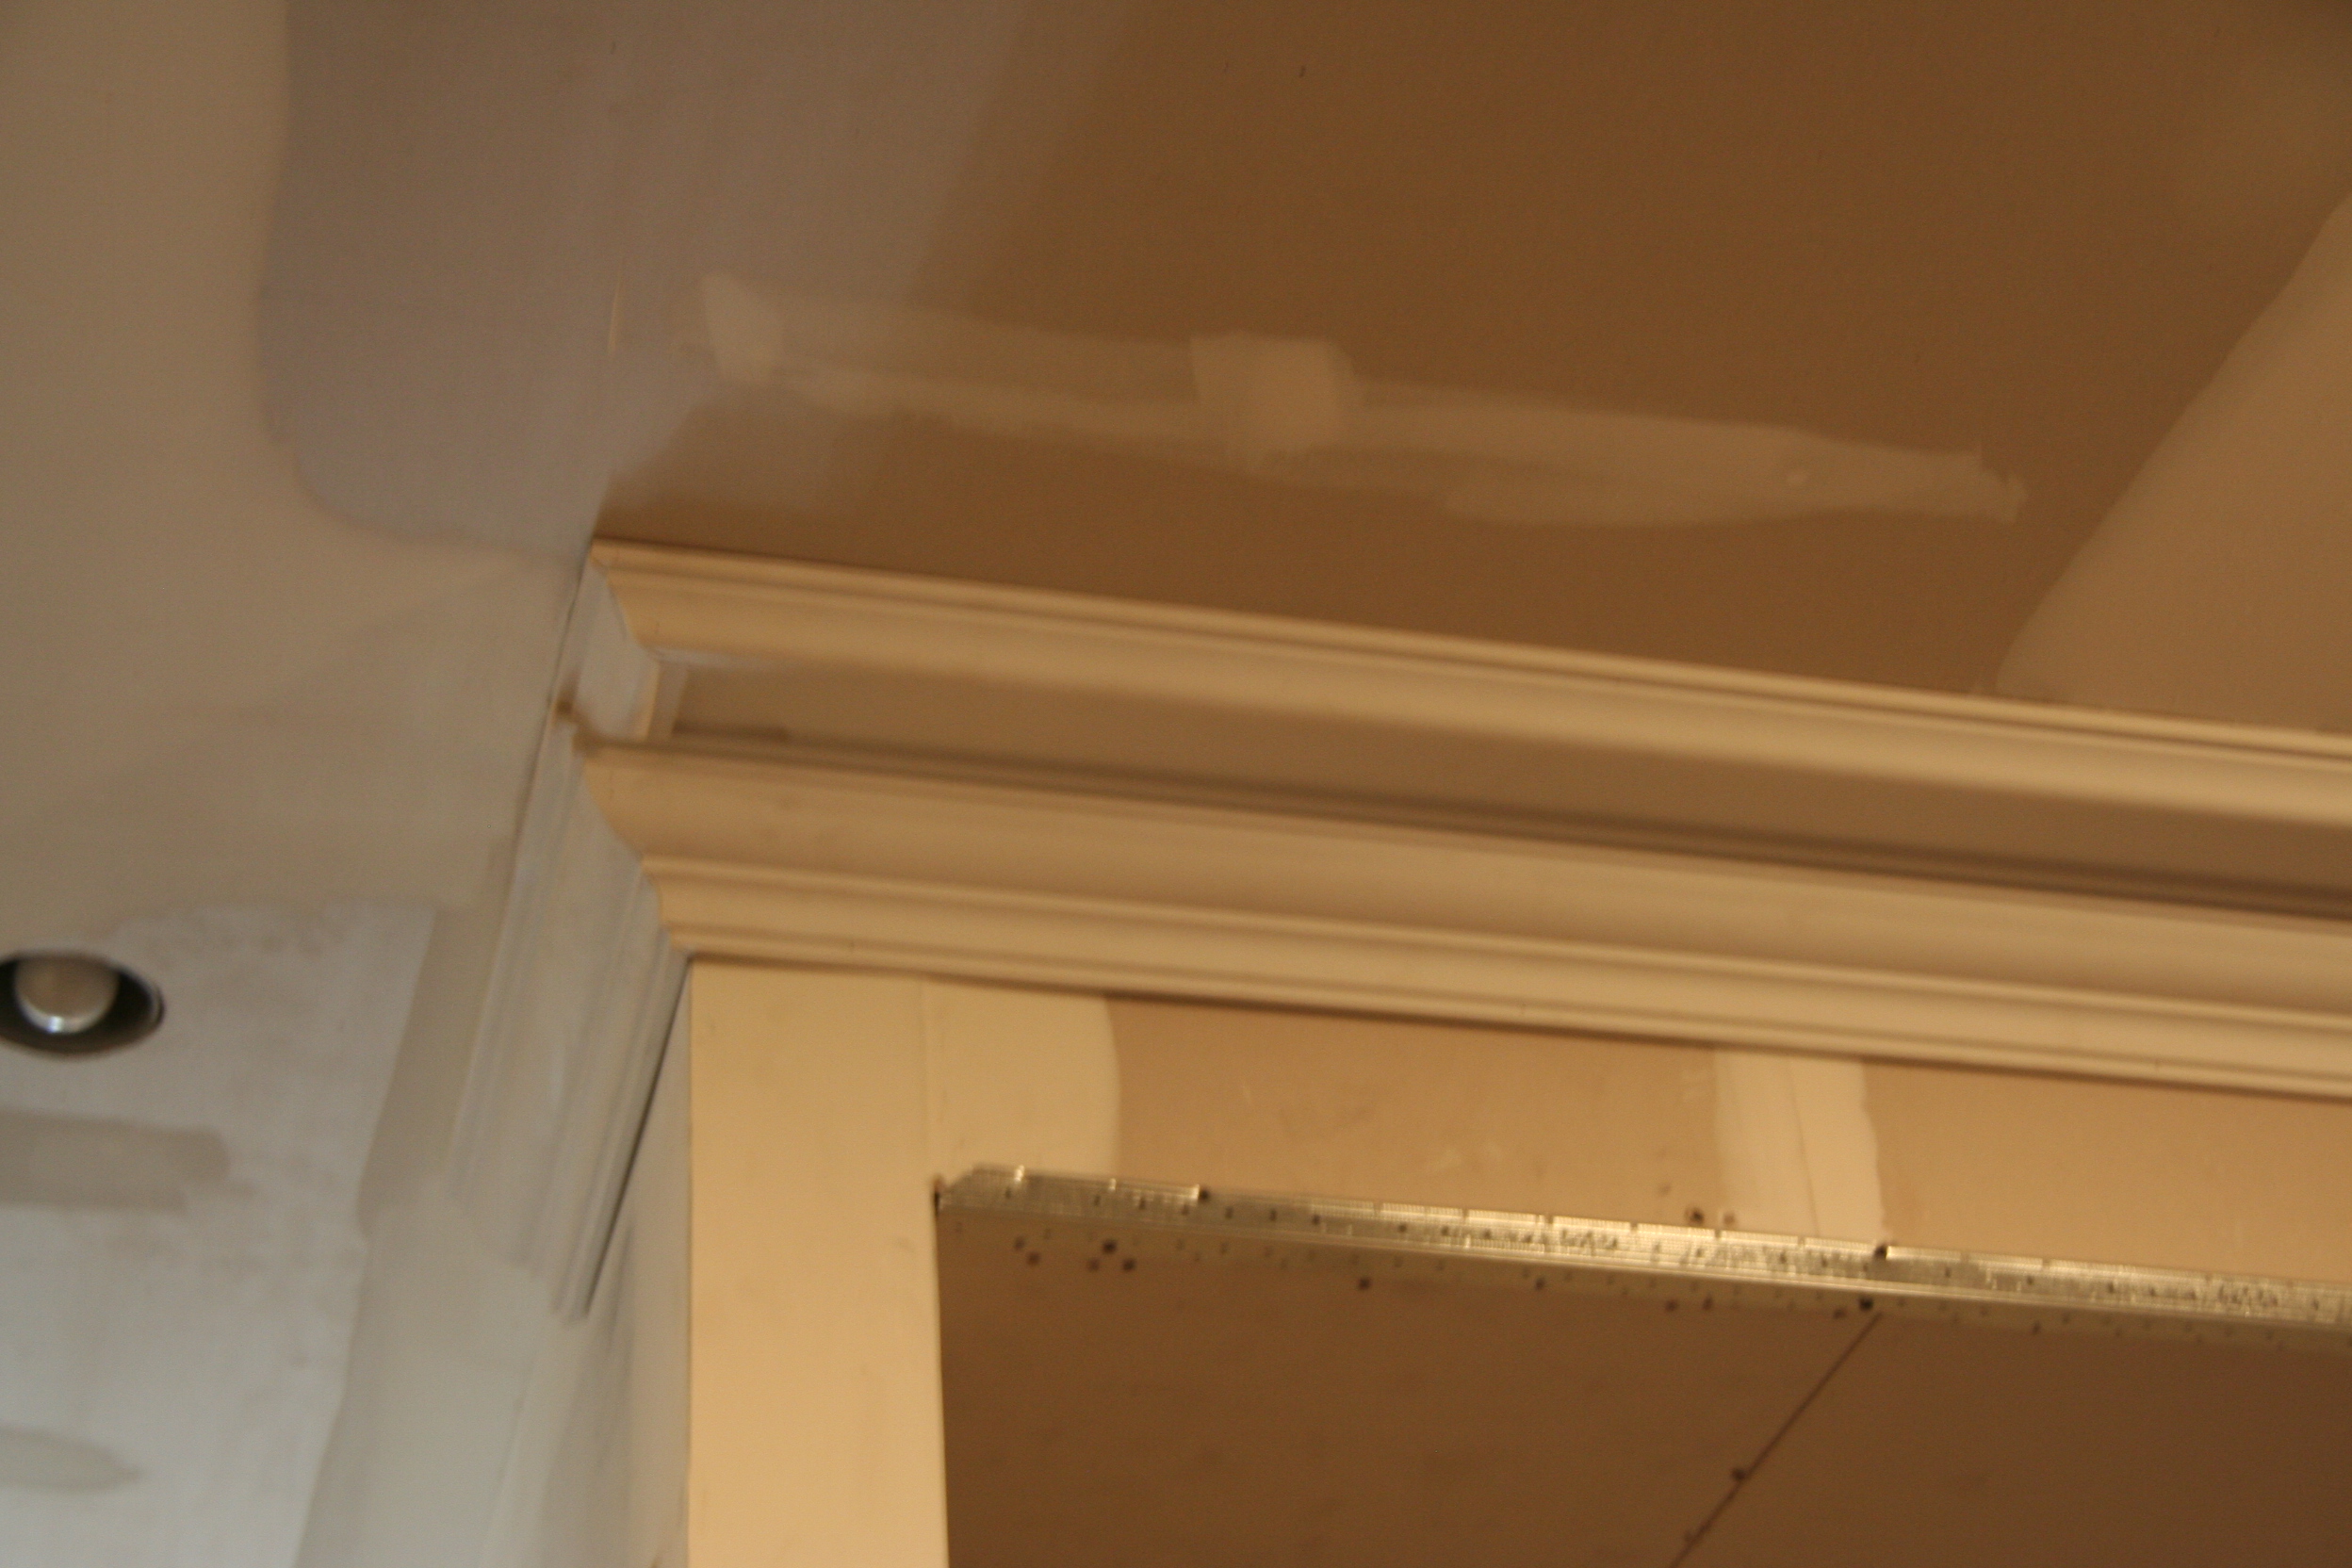
We are also hoping to use it in the adjoining kitchen space but there are a few transitions we aren’t sure about. For example, the kitchen joins a narrow hallway. The hallway is too narrow for the molding so we have to figure out how to transition from the kitchen to the hallway with things looking too weird. To help with this our GC spent a few minutes mocking up an example.

IMG_7829

There is definitely a little more work to be done on the transition of the outer detail but we are confident that this can be addressed.

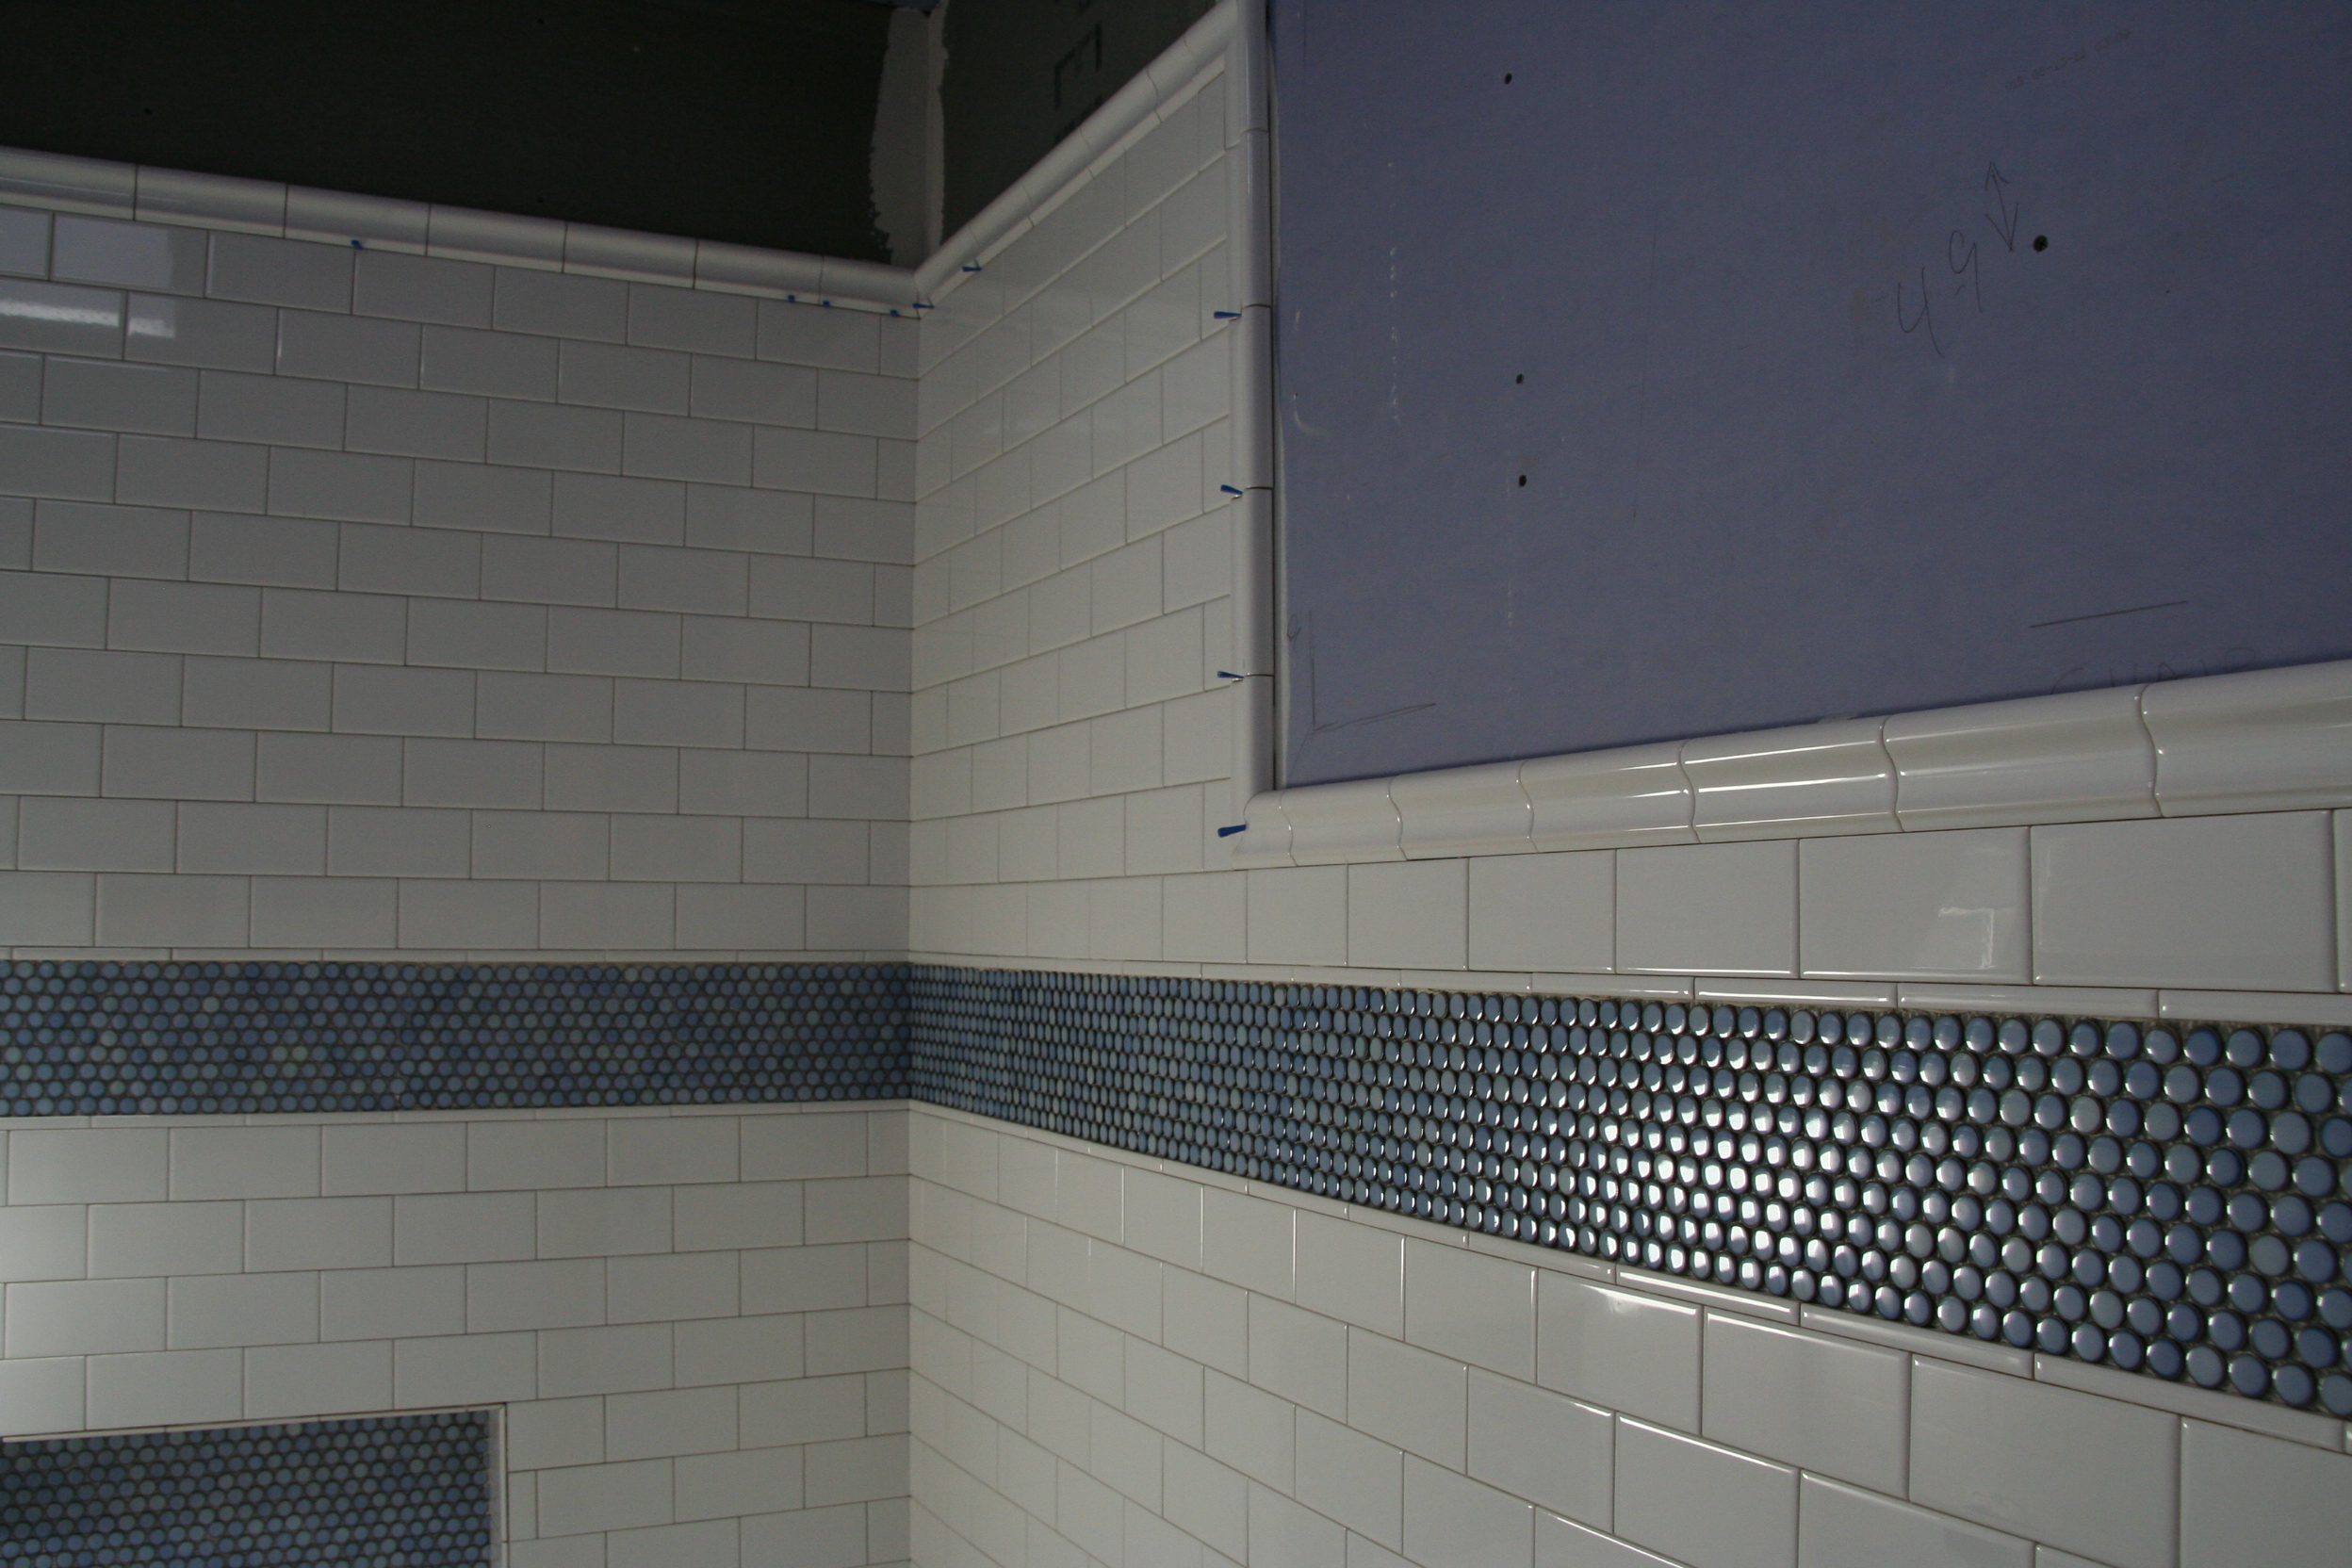
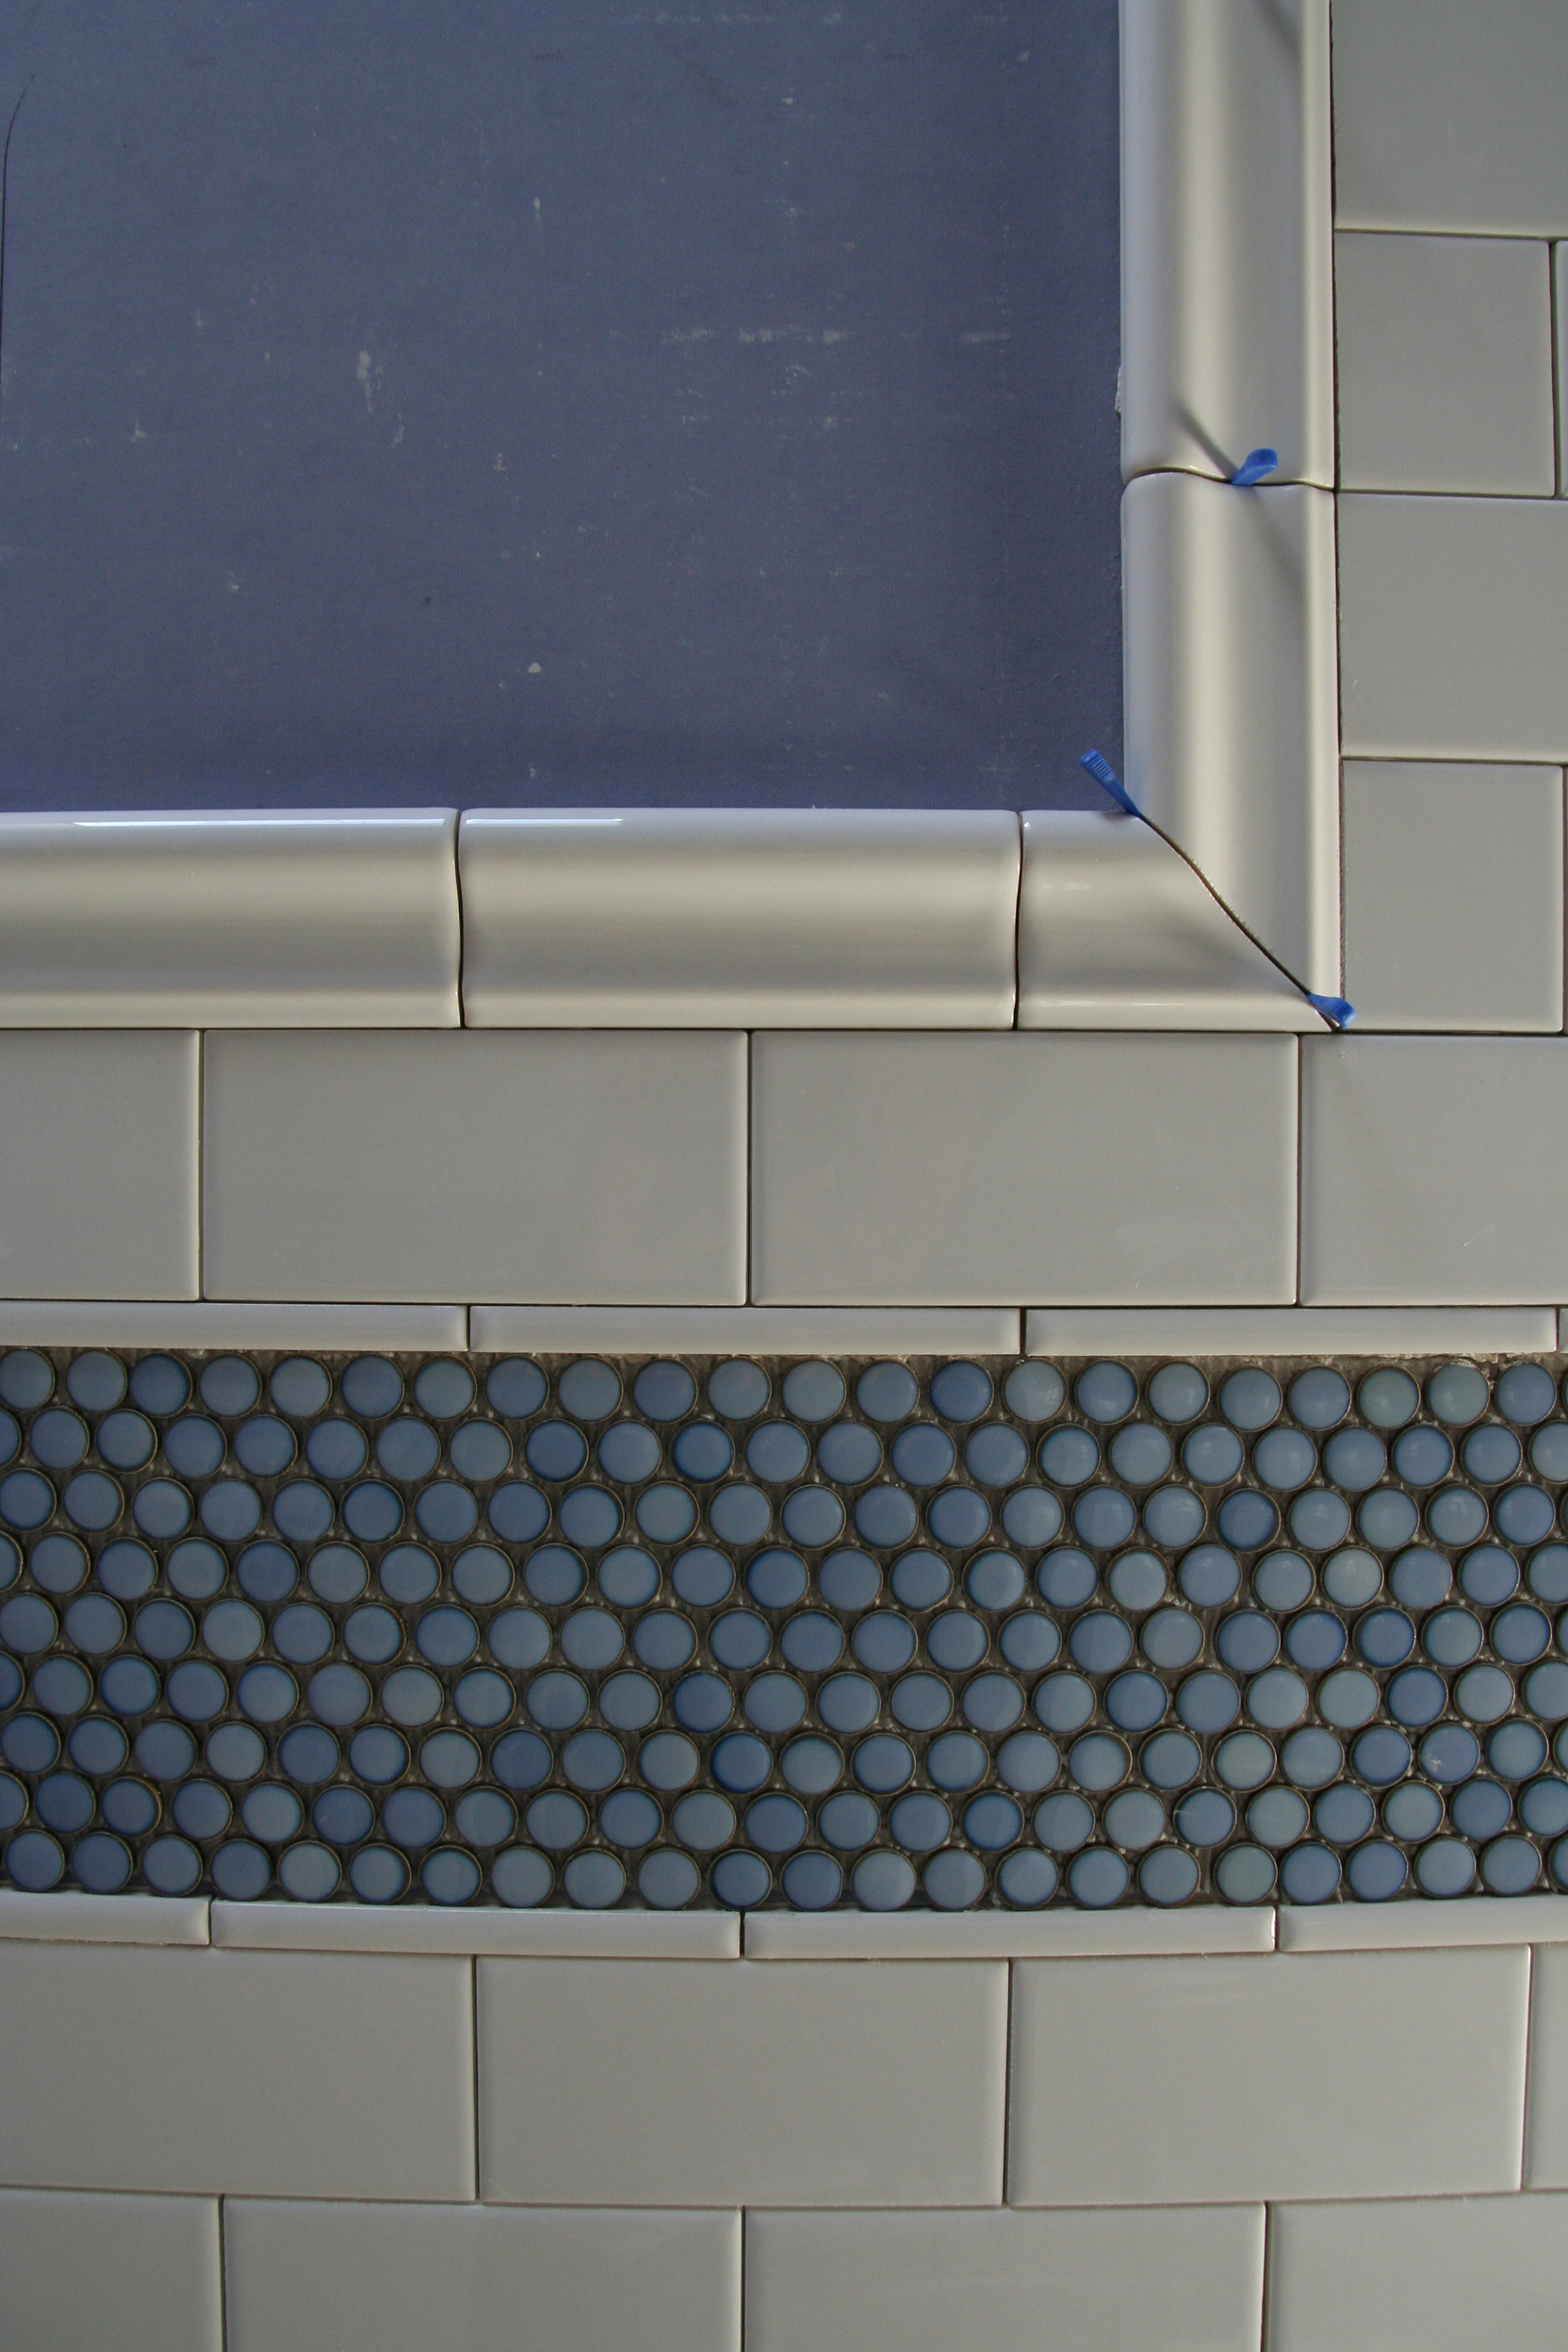
Finally, the tile work continued in the master and kids bath.

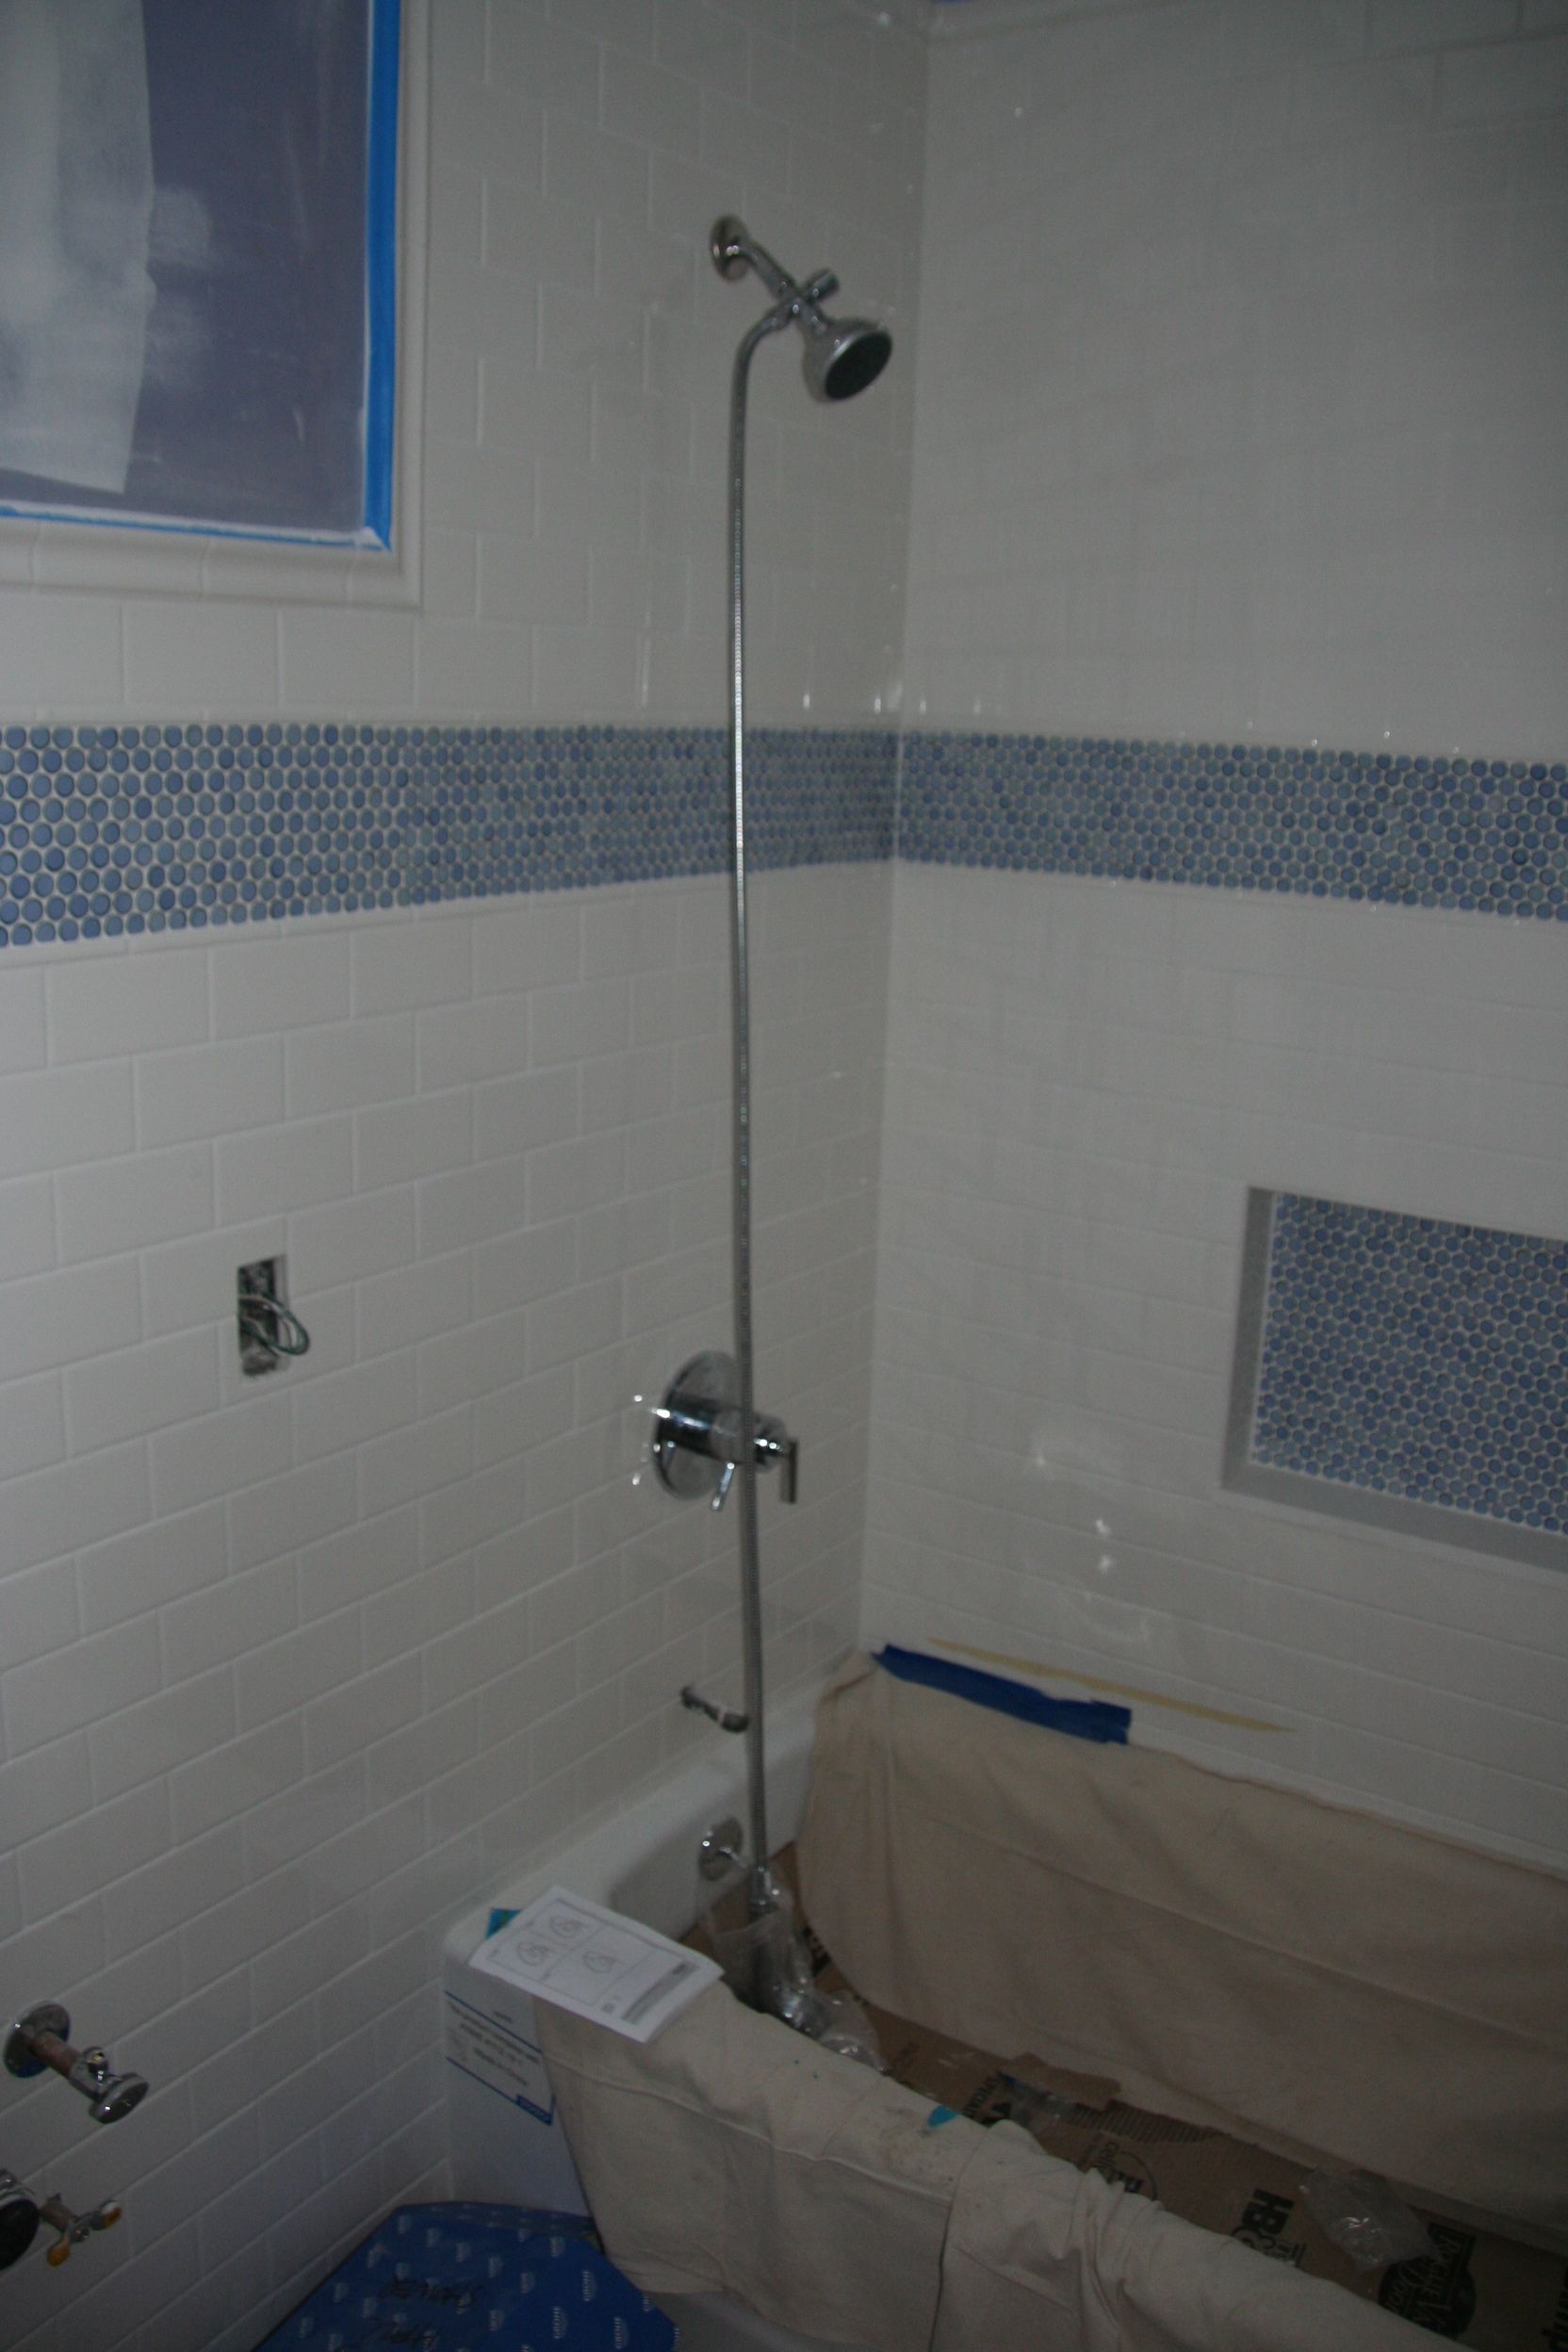
As a reminder, our inspiration for the kids bathroom came from Houzz.

Kids bath inspiration

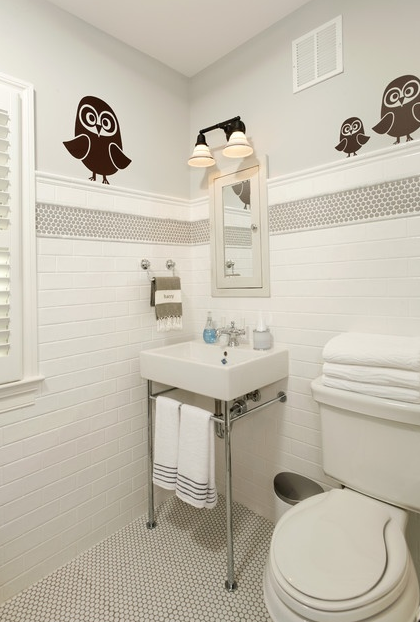
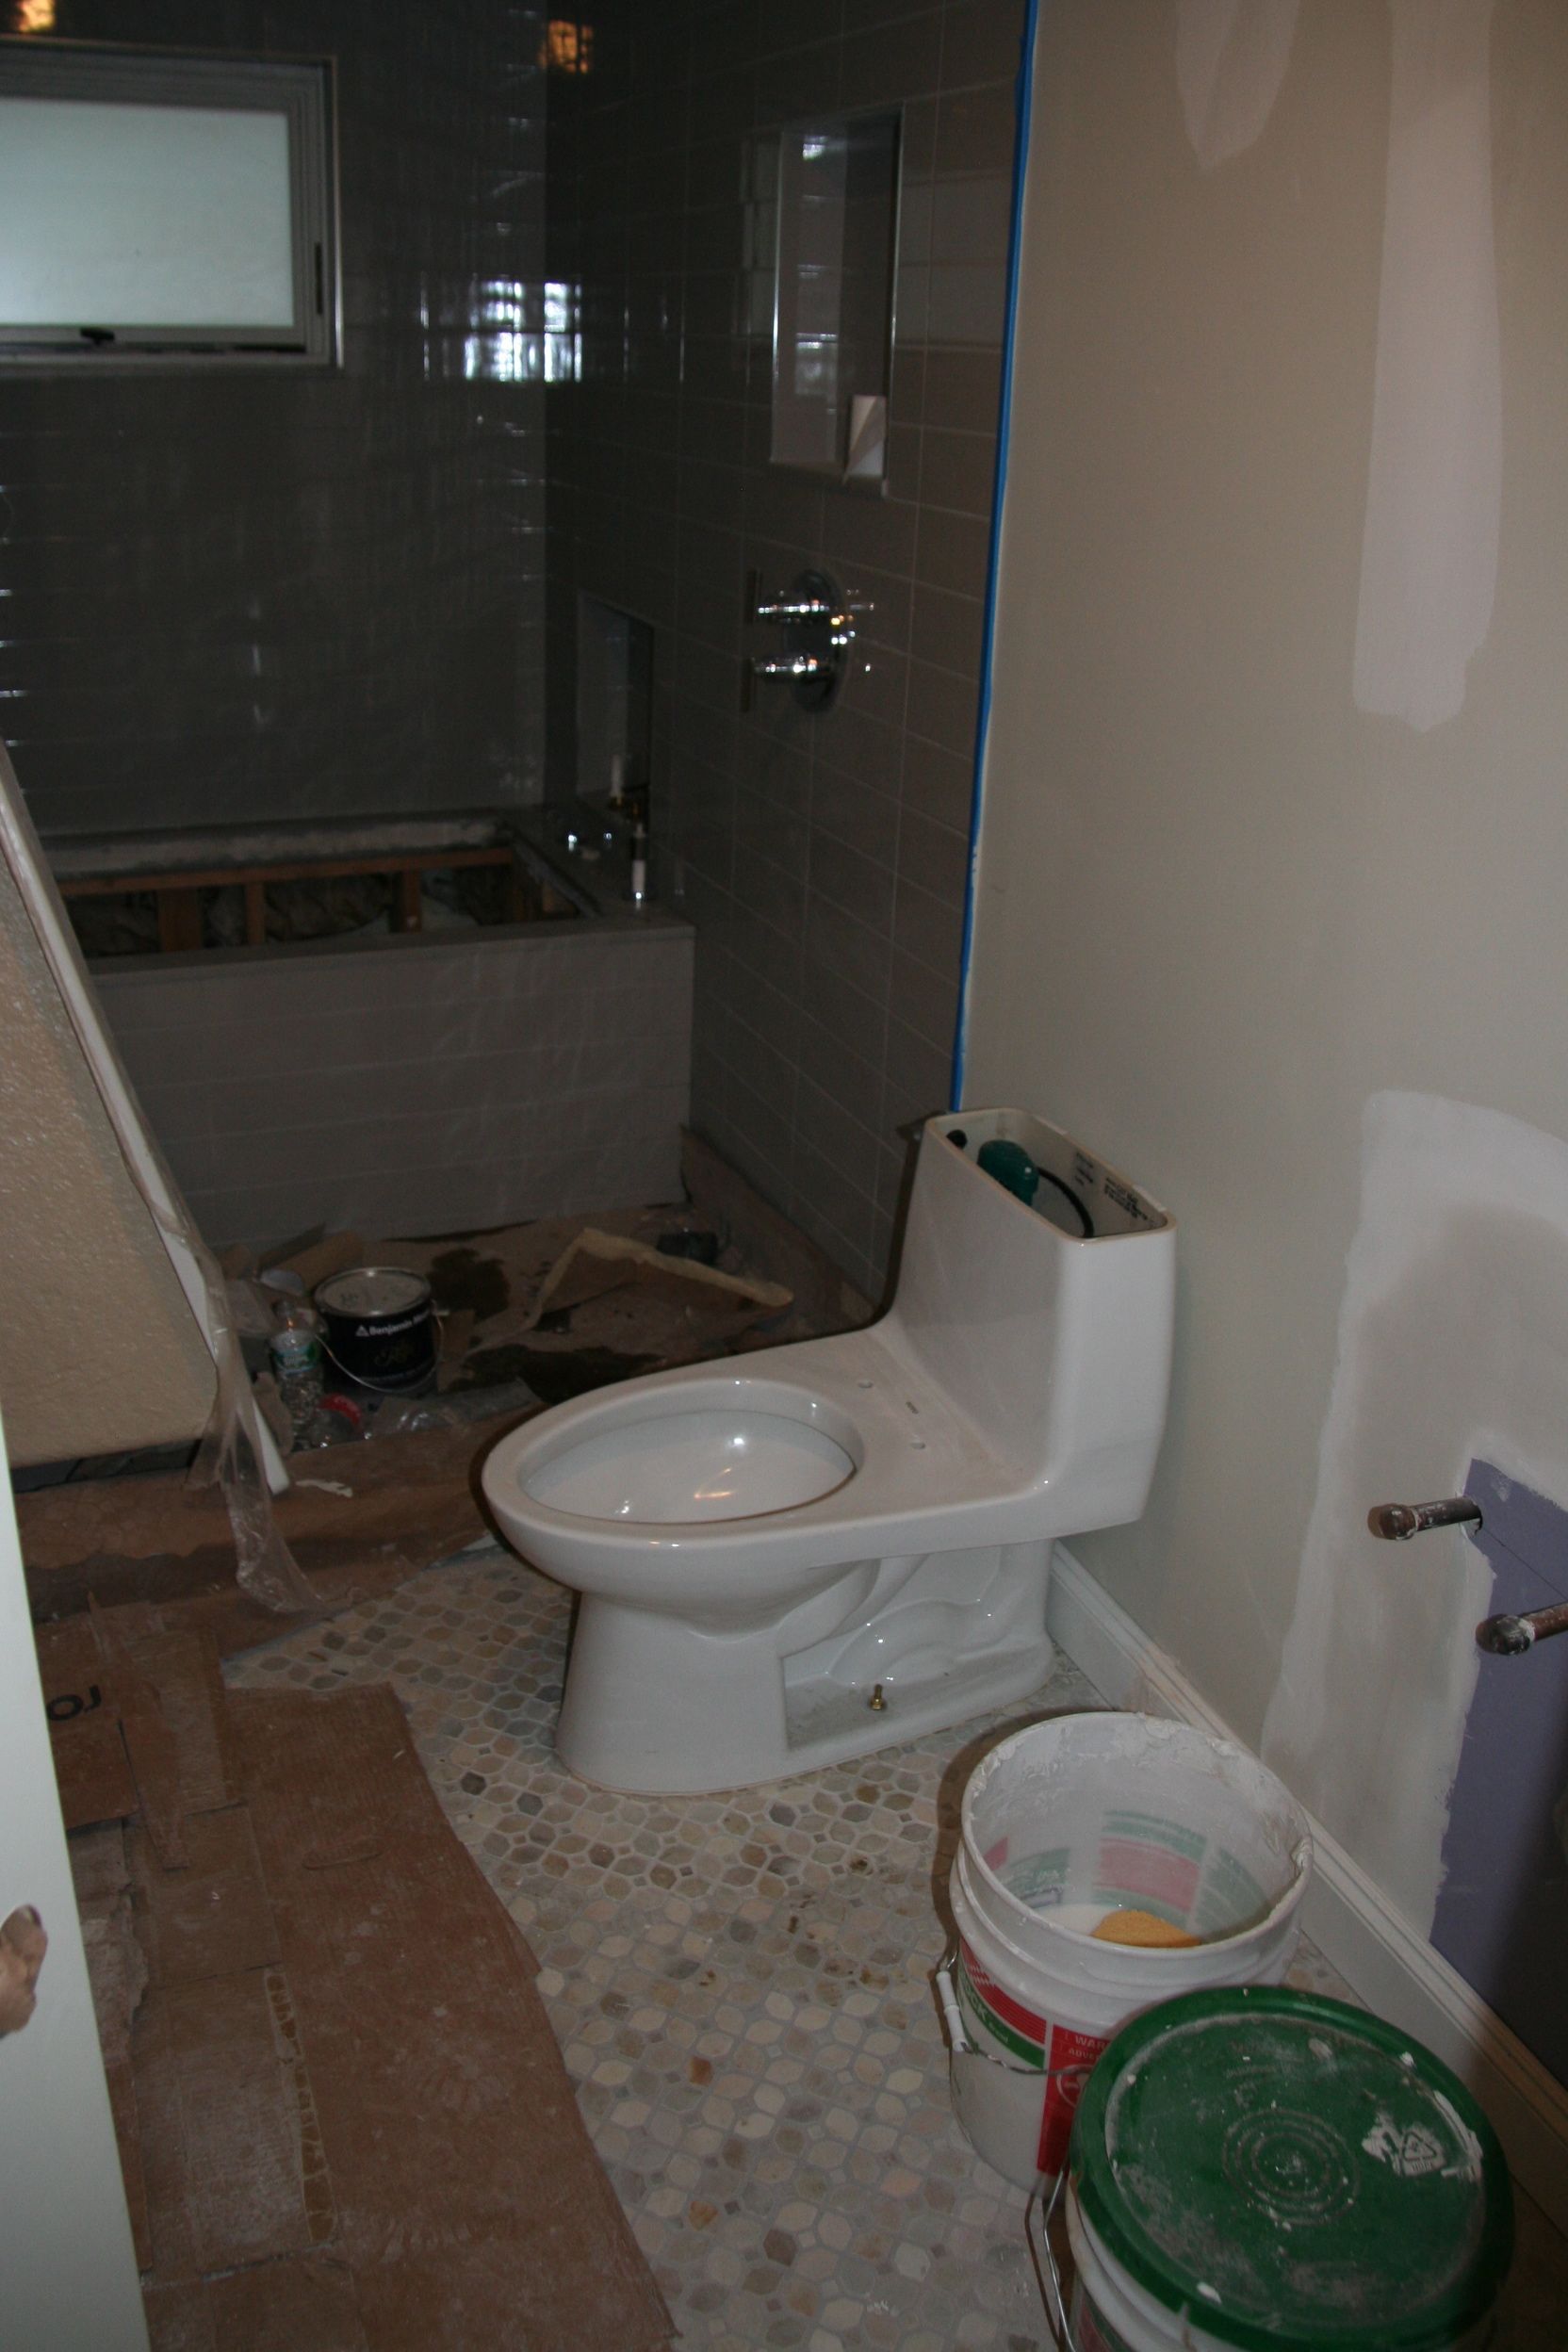
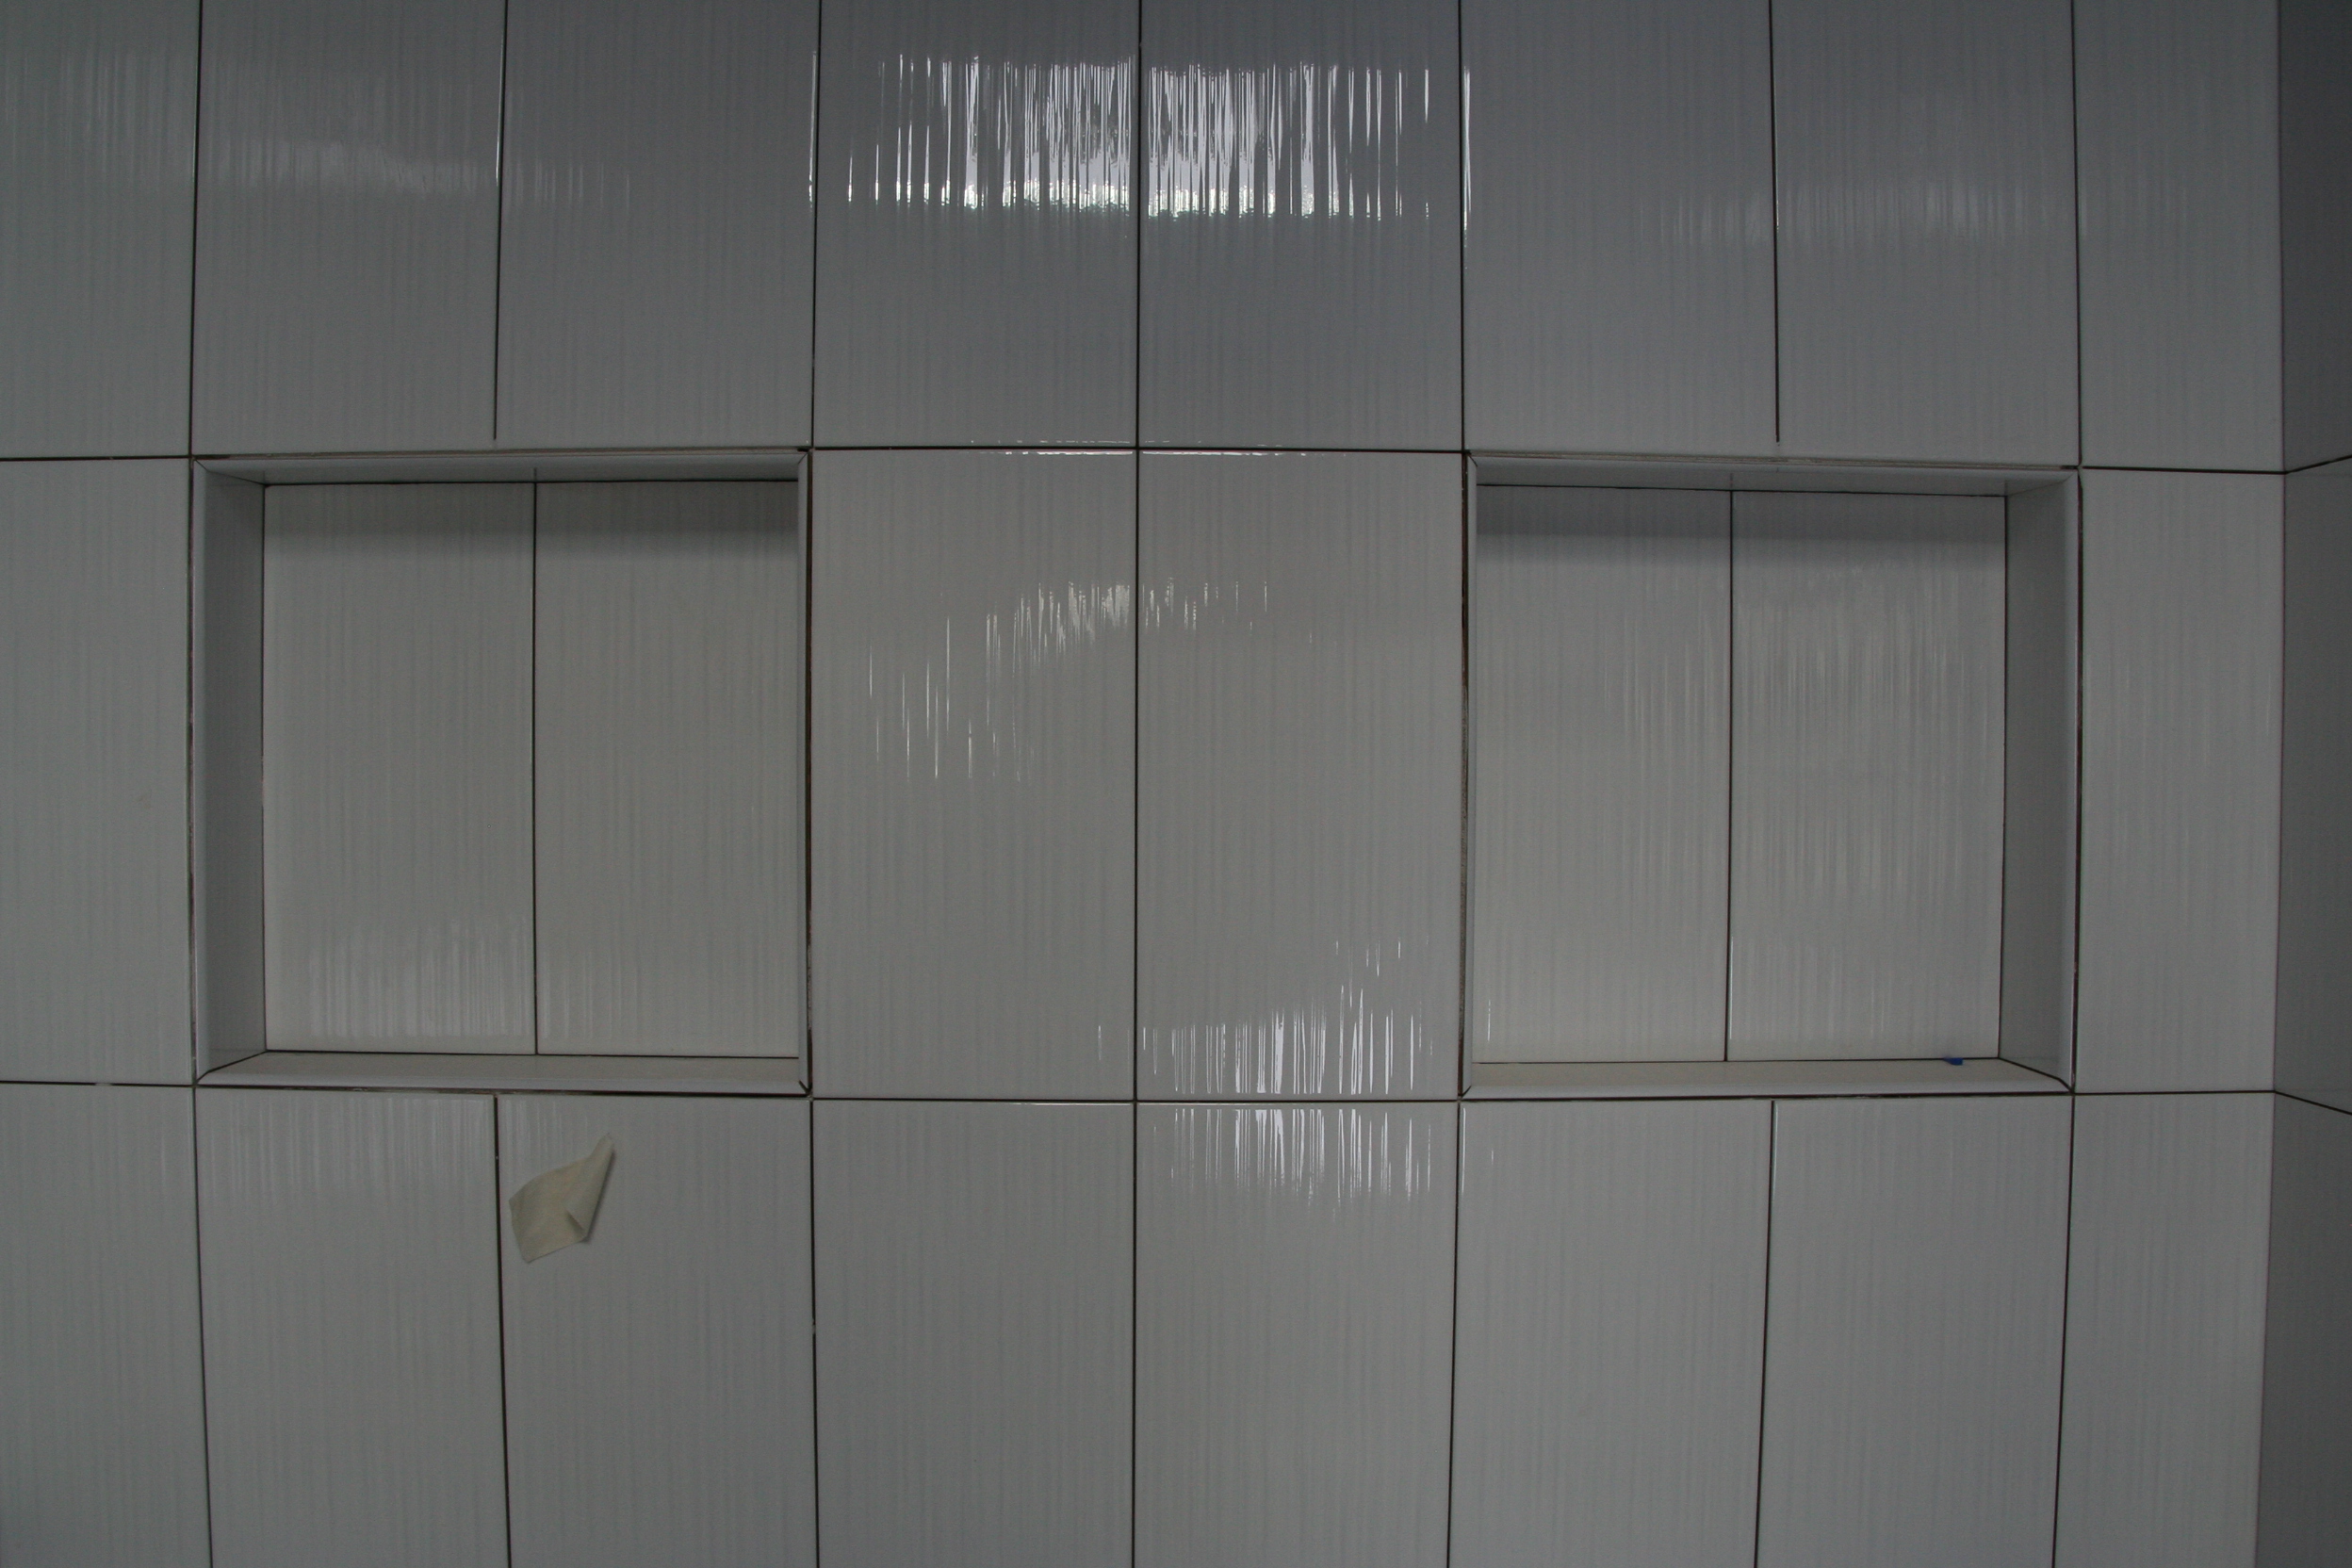
We decided on a blue penny tile where they used grey and have been really happy with the results so far.
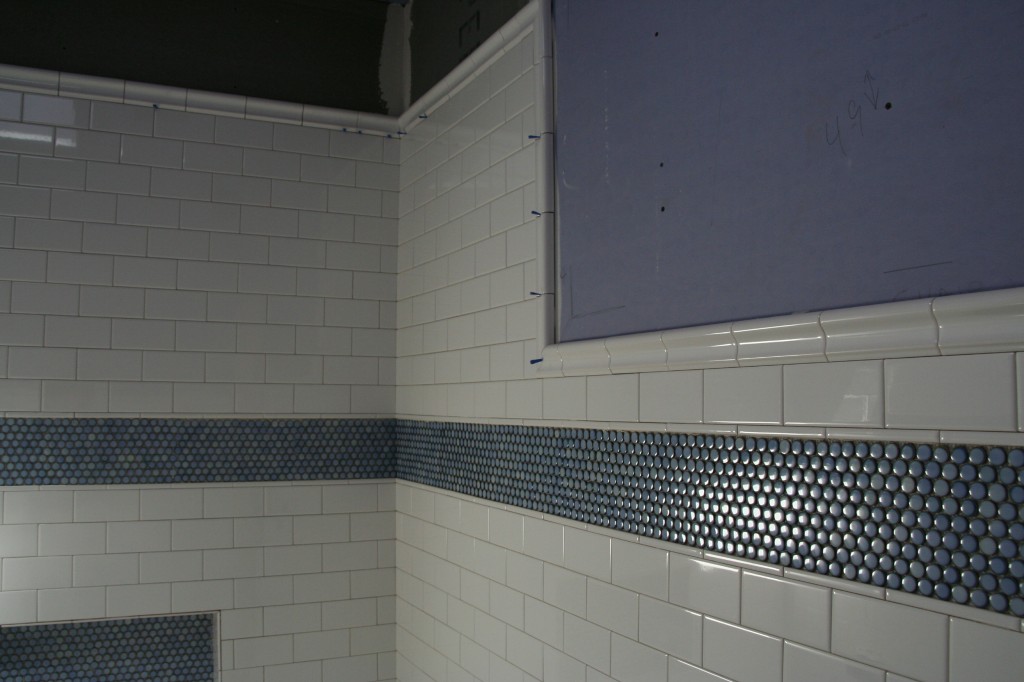
IMG_7837

Kids tile.

Subway from Lowes. Penny from buy tile.com.

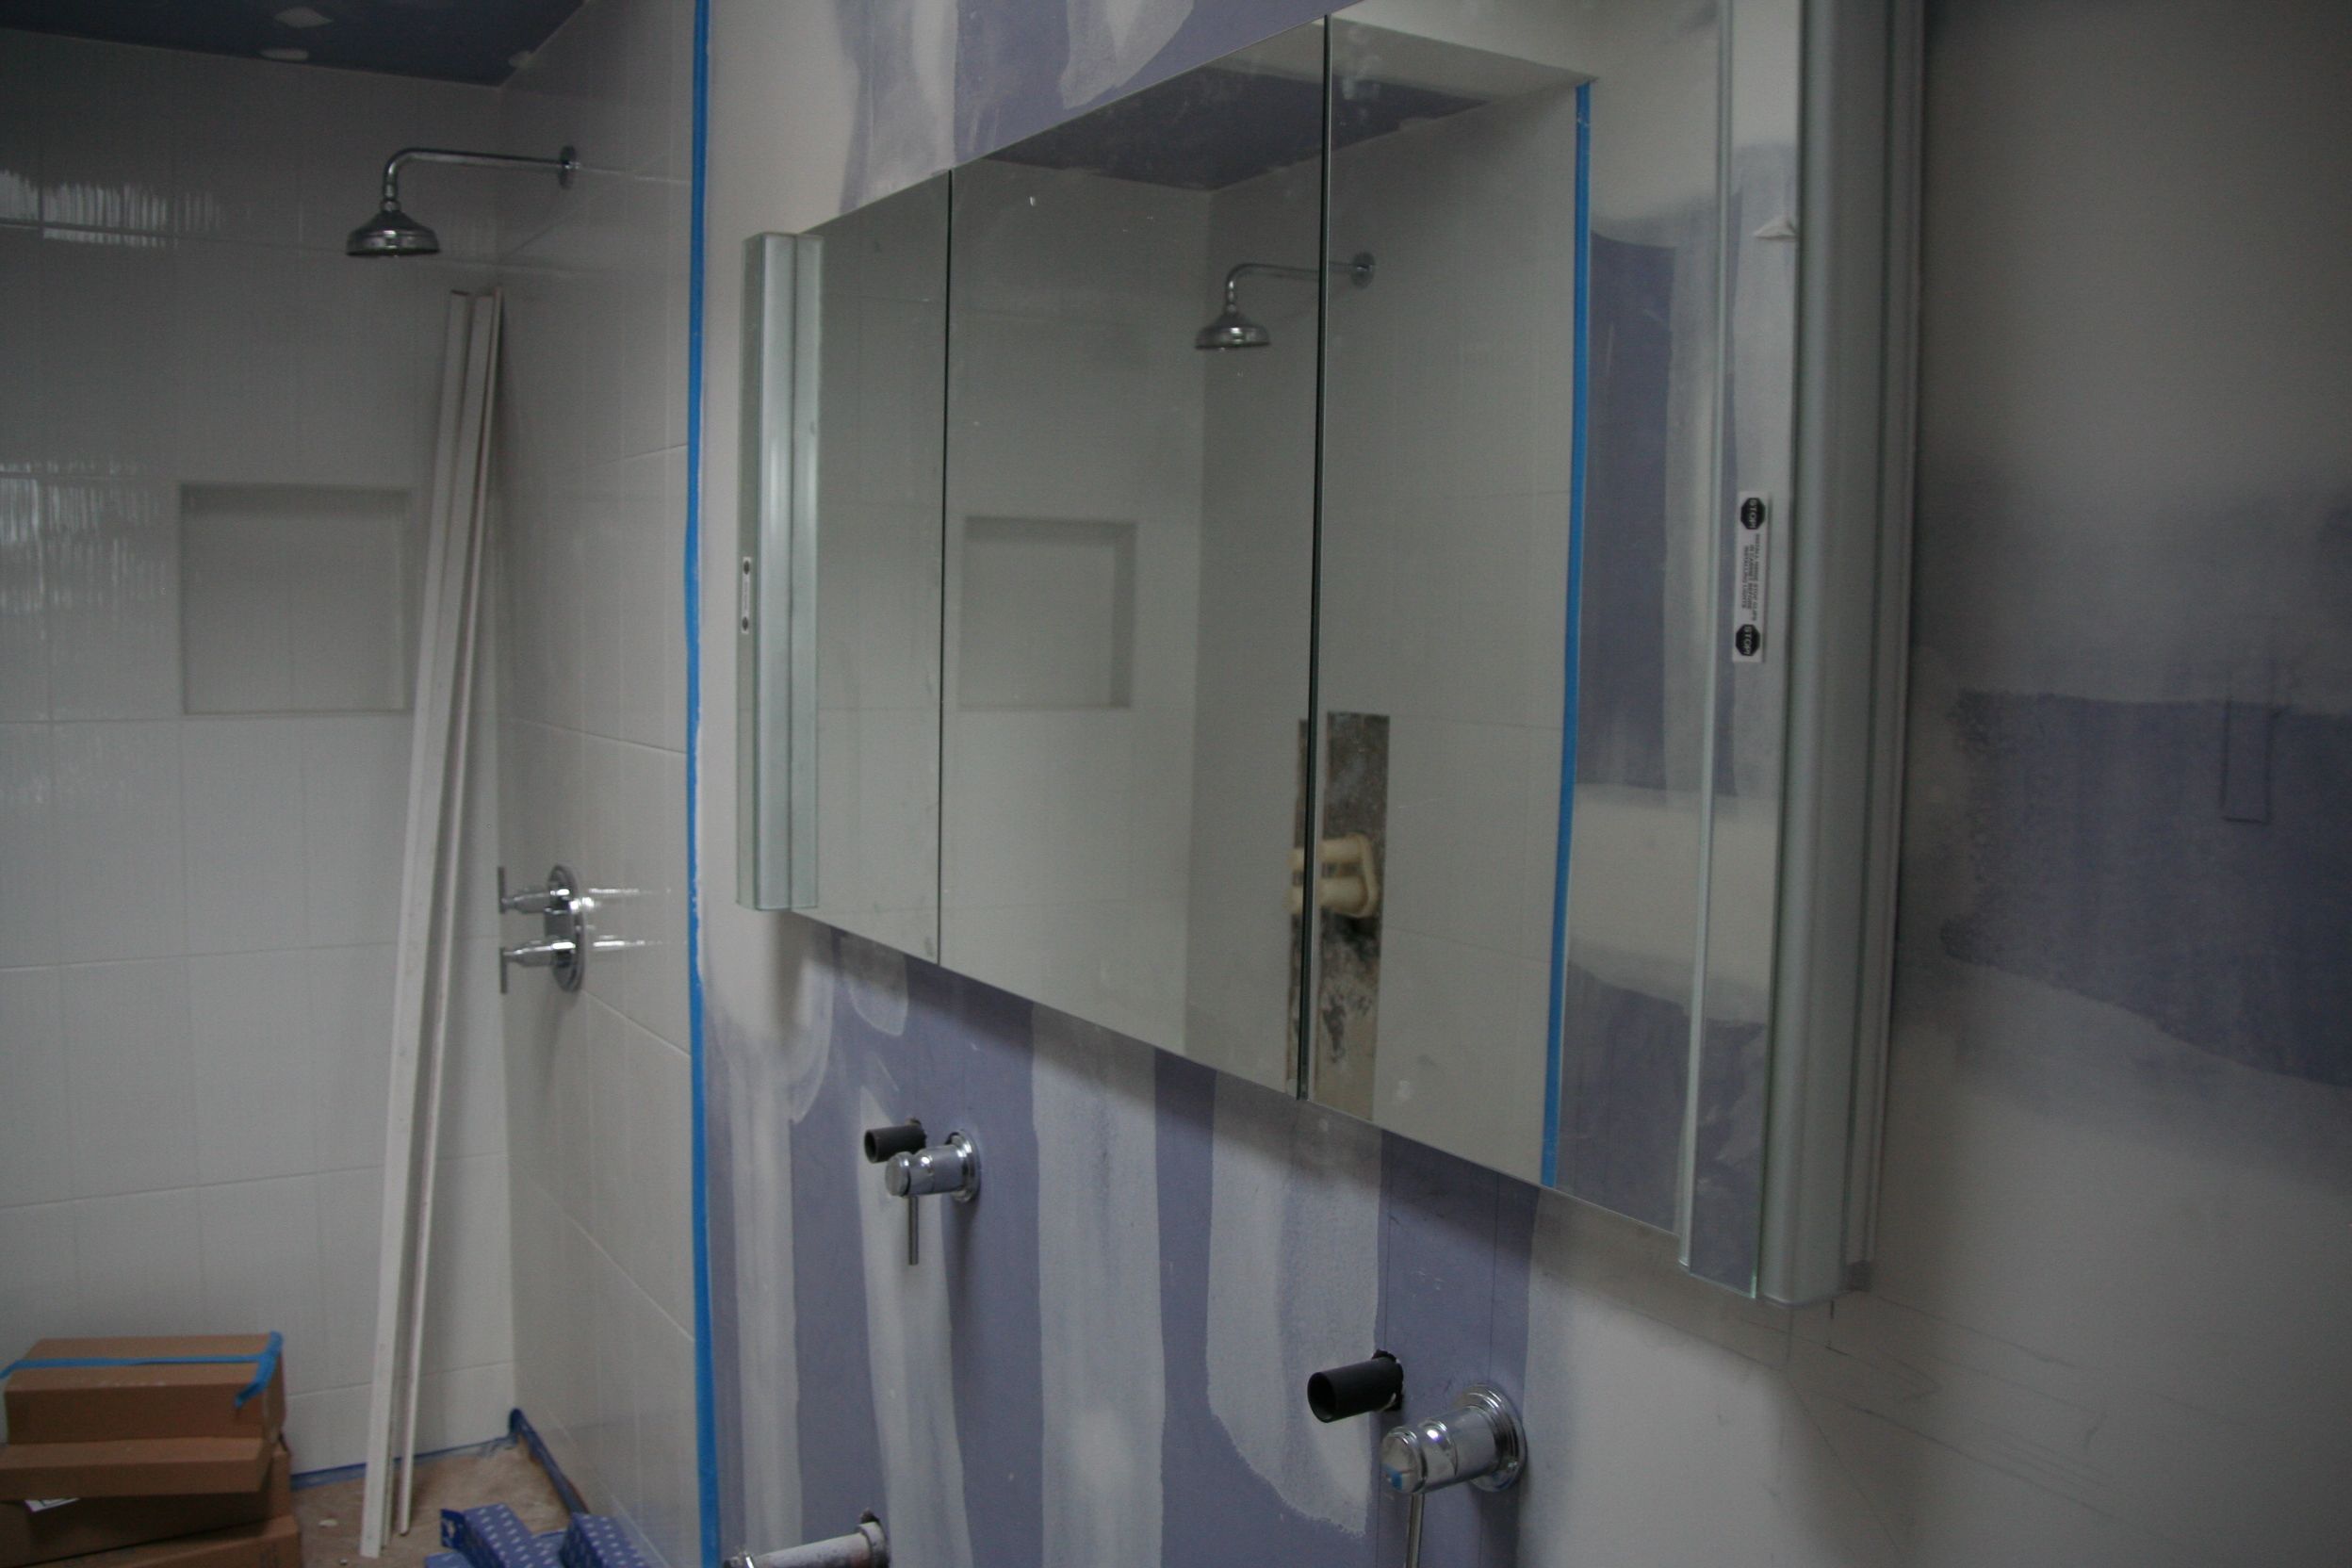
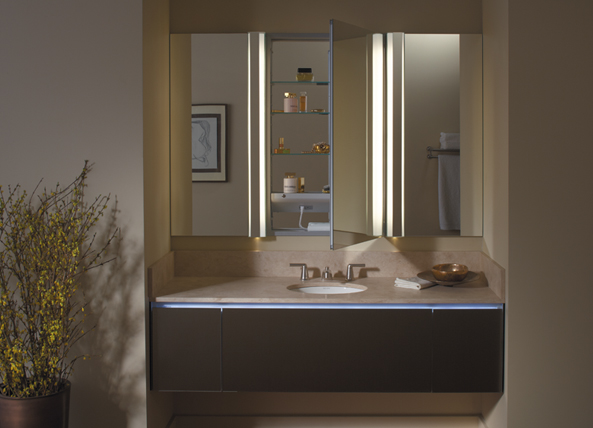
Once the grout is done it will look even better. Our only regret about this room is that because of all the pipes and venting running behind the sink, we had to replace our recessed cabinets with surface mounted.

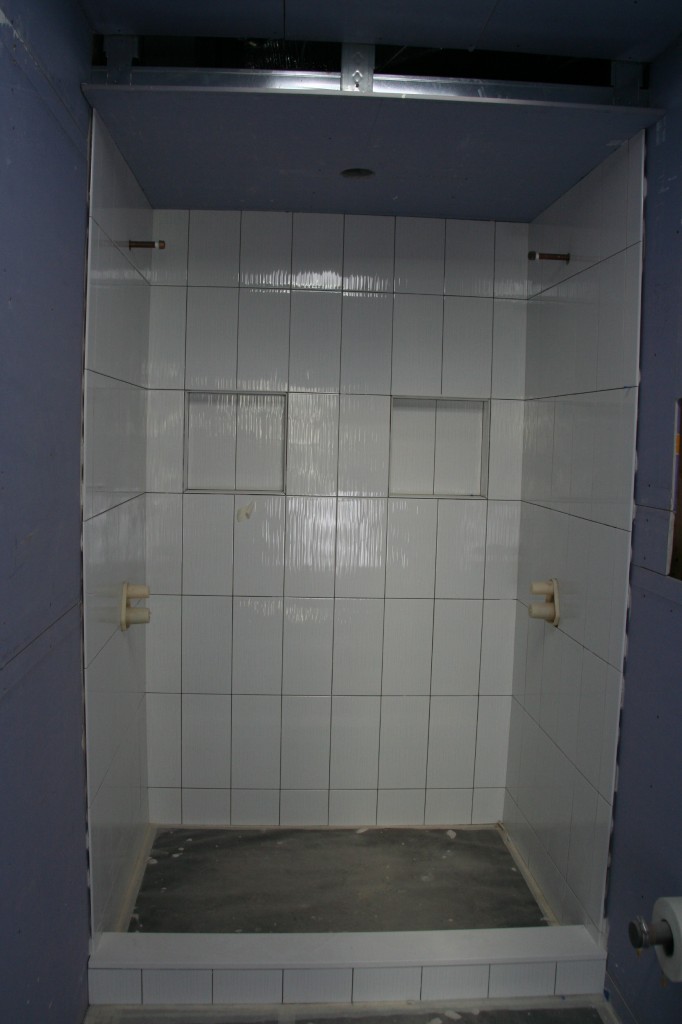
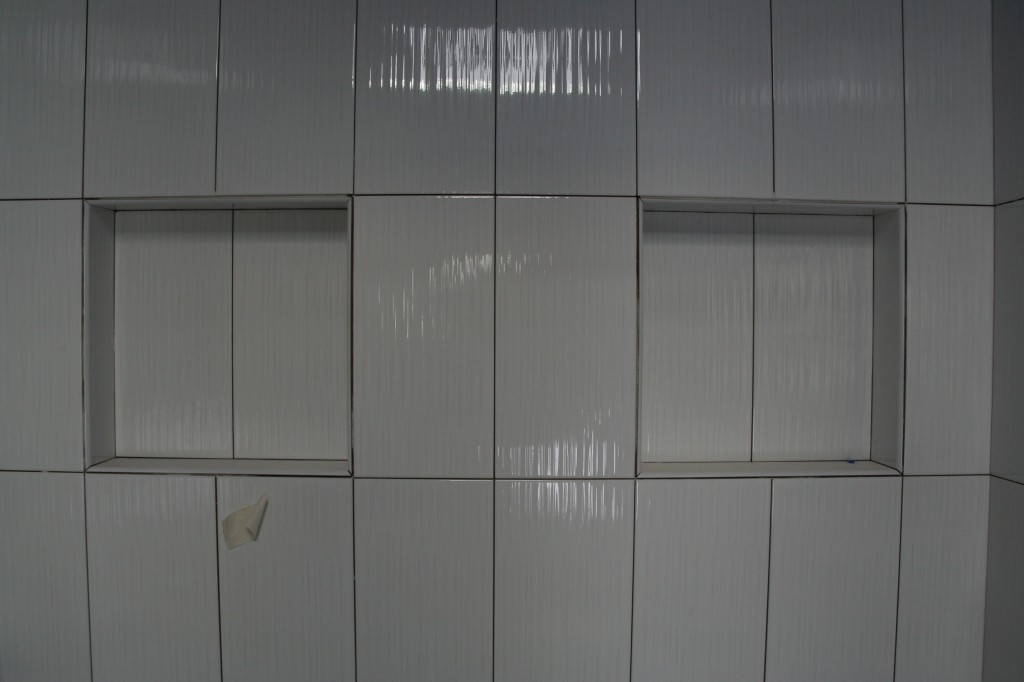
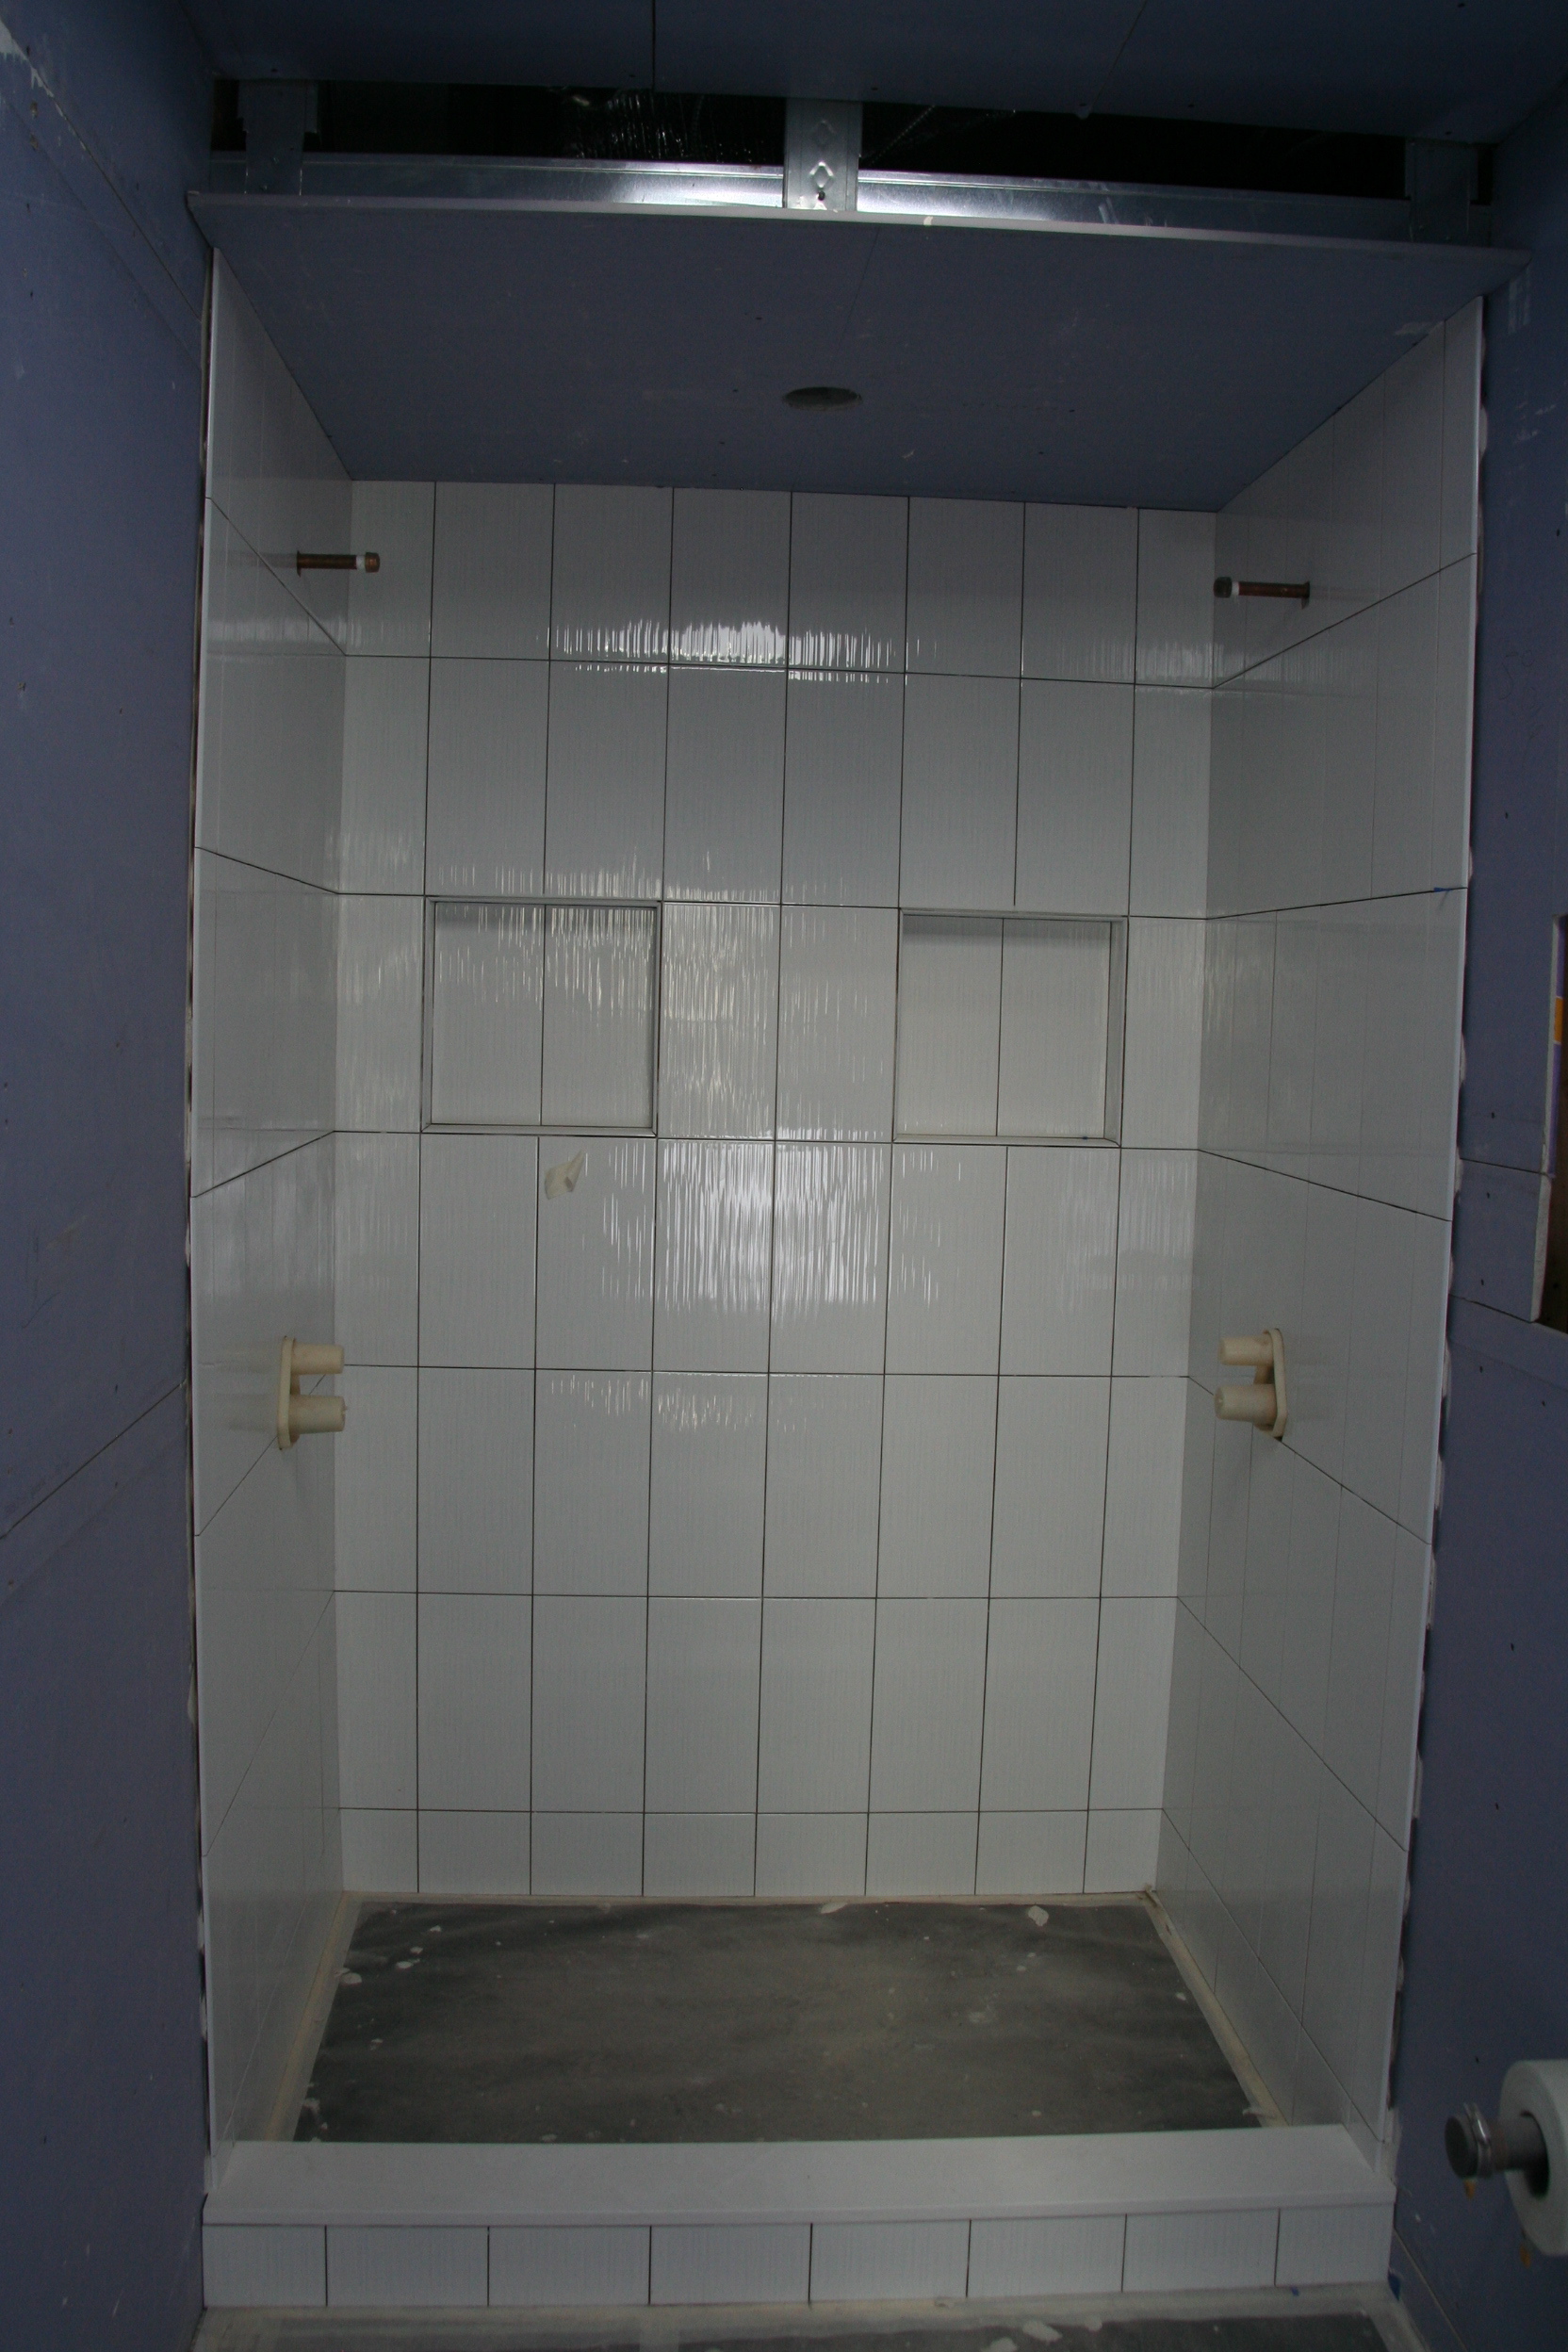
The tiling in the master also finished up. We spent a lot of time going over tile placement with the architect and GC to make sure things lined up, fixtures would be centered on tiles and how much tile to use when a full tile wasn’t an option. This was time well spent given the results. Again, pre-grout.

IMG_7835

IMG_7836

bathroom floor

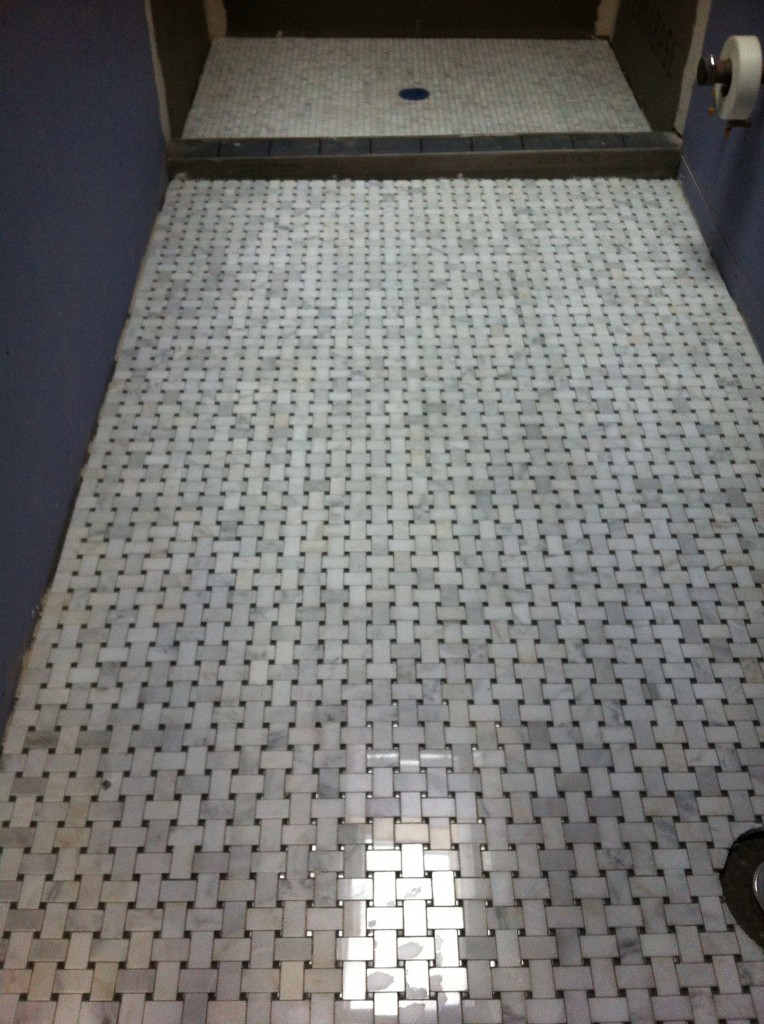
Bathroom floor – AKDO basketweave with gray glass dots and 3/4 by 3/4 carrara bella mosaic.

Next week, more painting, tiling begins in the garden bath, remaining stair install and kitchen window delivery!