Experiences with finishing Walnut Floors
3 Jun
Brownstoneboy and brownstonegirl have been known to hold different positions on certain decisions that have had to be made over the course of this renovation, but our mutual dislike for oak flooring made one choice very easy: our floors.
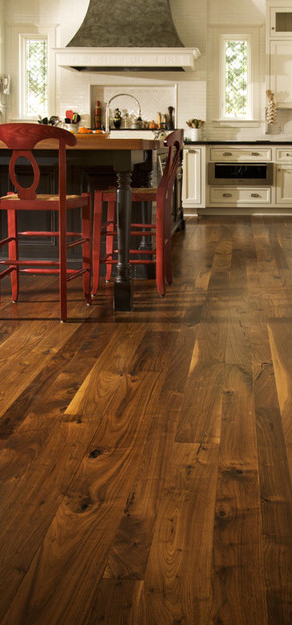
Early on we settled on walnut with inspiration from pictures like this one:
The warm colors and great grain would provide great character to our house. With brownstonegirl having secured a good deal for 5″ inch wide extra long walnut flooring (from PC Wood Flooring in Brooklyn), we were looking forward to seeing the final product. With our sublet ending at the end of April, we had to move back into the house before everything was finished. And that’s when the floor finish problems began.
After researching many floor finish options, we decided to pursue a tung oil finish. Because tung oil won’t absorb easily into wood on its own, you need to mix it with a solvent. Usually, this is some type of chemical but at an online store named Real Milk Paint, I was able to find a natural citrus based solvent along with some very detailed instructions on how to apply. After testing a few samples, we went ahead and bought 8 gallons of solvent and 8 gallons of oil (enough to do more than one floor).
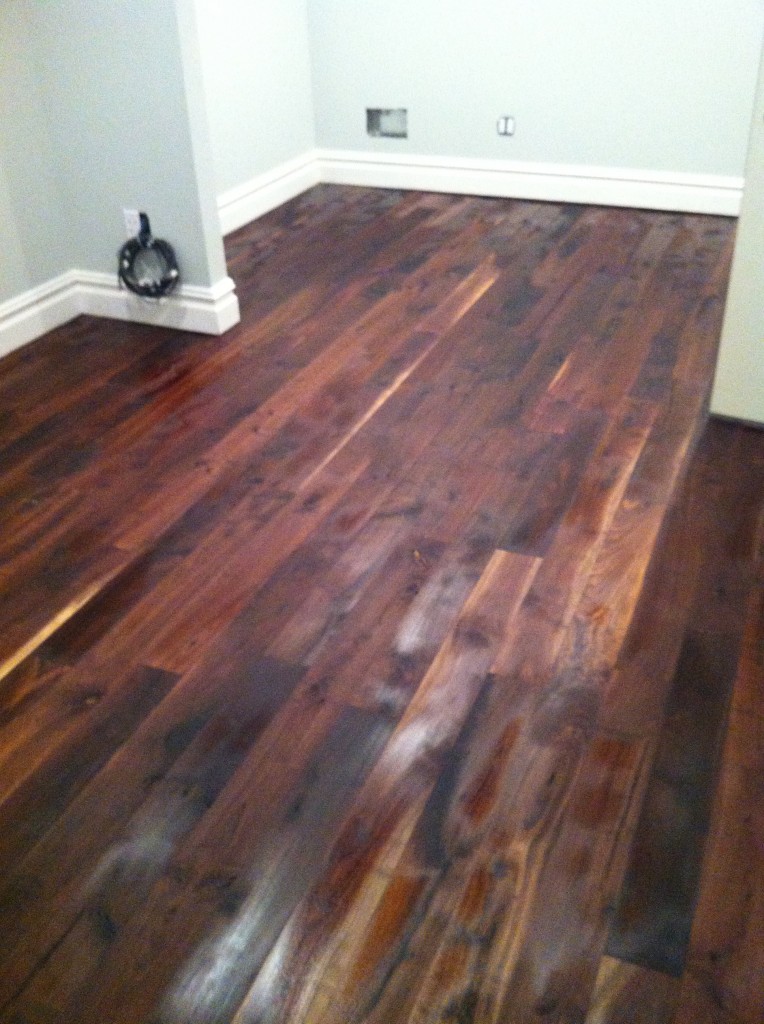
Our floor finisher had experience with tung oil but not with the natural solvent, so we were a little nervous as they began their work. Unfortunately they didn’t follow the provided instructions as requested; they did not apply 3-4 coats as requests and other earlier coats were either left on too long or not mixed properly. Because the ratio of solvent to oil was off, the third layer didn’t really soak in at all and I had to wipe it off by hand when I arrived at the house on the morning of moving day.
A few hours later we moved in with wax paper down to protect the floors (we’d read this tip online – wax paper allowing the floor to breathe while it cured). Right away we could start to see the floors being scratched and dirtied despite our best efforts to protect them (the rain that day didn’t help either).
Over the course of the next few weeks the only way we could clean the floor (or removed the scratched areas) was to take a clean cloth, damp it with a mix of solvent and oil, buff the surface by hand (or even better, by feet) and let is dry overnight. The result looked great but it was no way to clean a floor (especially with 2 kids!). The feeling of walking on raw wood also felt uncomfortable on our feet. It was then that we started to research other options for the two upper (unfinished floors).
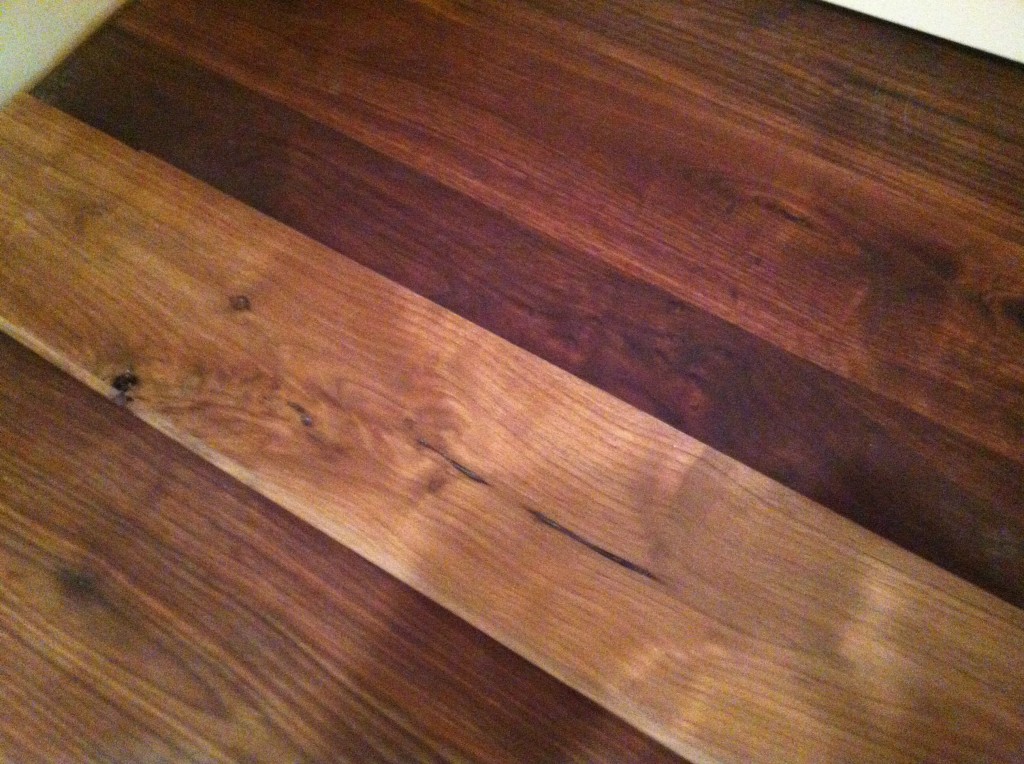
First we looked at a water-based poly which is what our GC had recommended from the beginning. We bought a small satin finish and grabbed some left-over wood. We followed the instructions and waited to see how it would look. Rather than bringing out the amber colors we particularly liked about walnut, it dulled the color and looked grey and cloudy to us.
Back to the internet for more hours reading through flooring forums and we discovered an interesting option. We wanted the coloring of oil without the harmful effects and resultant smell and found that a number of floor finishing companies made an oil-modified water based poly that changed the color of the floors as with oil without the long curing time and other already mentioned side-effects of oil finish (we were encouraged by the discussion at http://www.hardwoodflooringtalk.com/forum/toughest-coating-for-american-black-walnut-t8941.html). We narrowed our choice to a product by Bona called Woodline and tried to buy a sample.
With the floor finishers coming in a week we didn’t really have the option to order online so we started calling the places Bona listed on their site as distributors. Most didn’t even carry Bona but we found that the place where we’d originally bought our floors (PC Wood Flooring) carried it and had in quart size containers of semi-gloss and satin; they also had the sealer that Bona recommends applying before applying the finish. I jumped on the train and headed to their store on 3rd Avenue and picked up a quart of each.
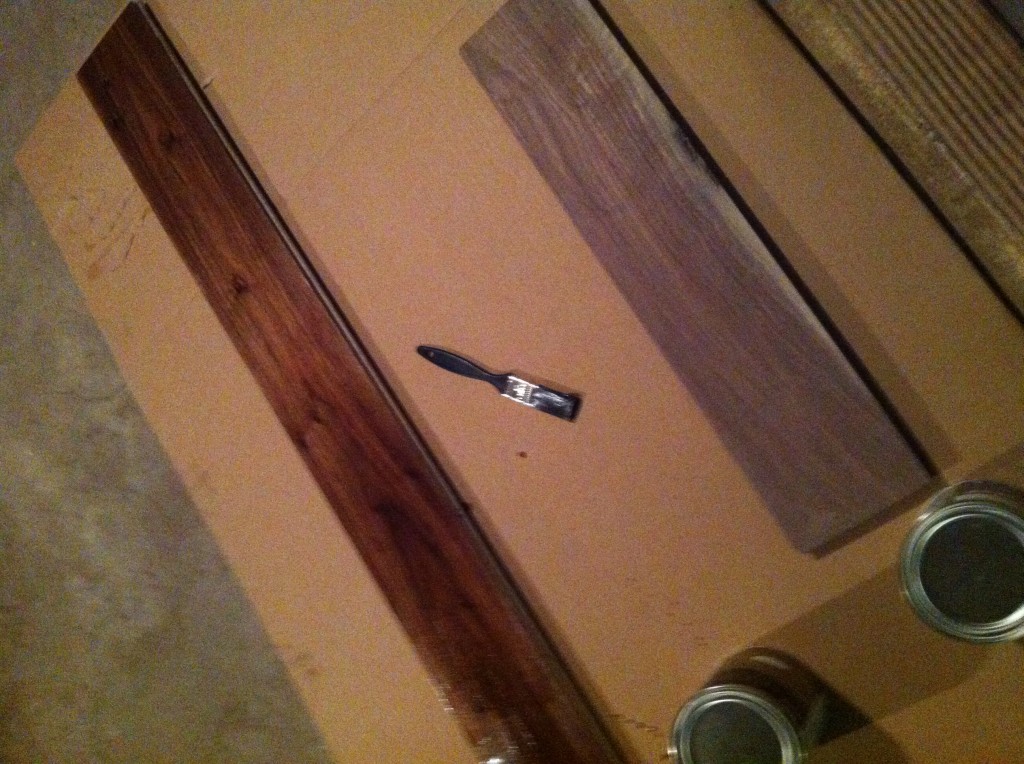
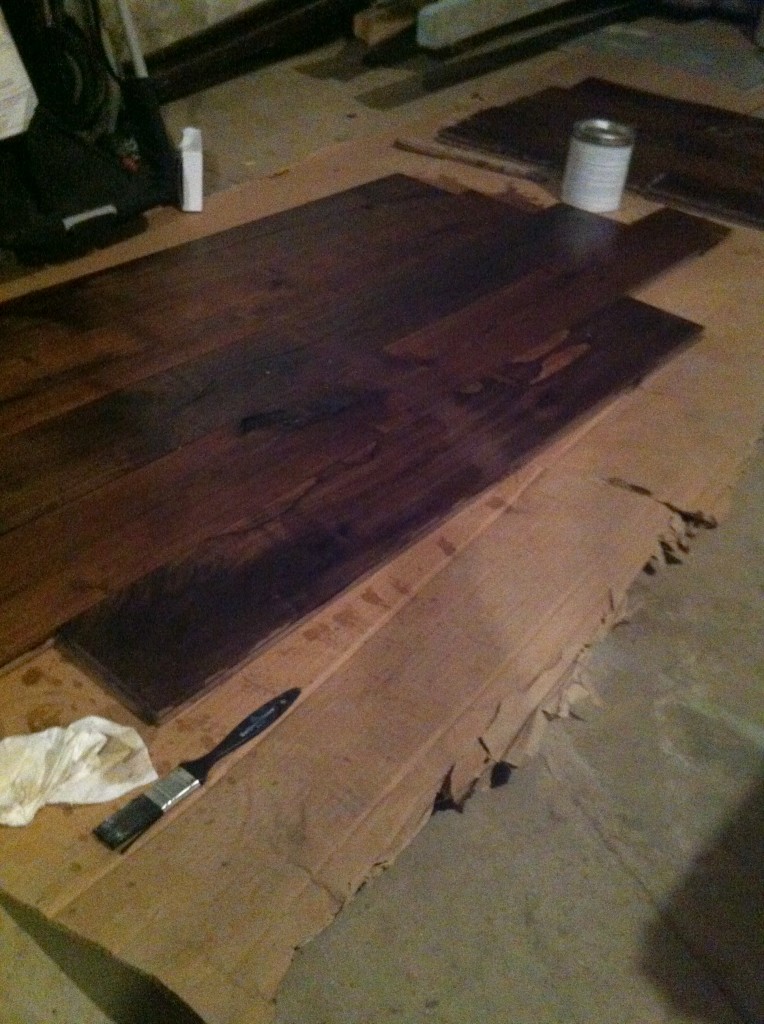
With the painters still working upstairs we setup a little testing area in the cellar and opened up the hatches for ventilation. We didn’t have time that day to do a full sealer application following by a coat of the finish so I just applied the finish to a piece of wood to see if there were any color changes.
We were encouraged by the result so setup another test the next day, this time applying the sealer and then applying the semi-gloss and the satin finish to each side of our mini-floor that we put together.
We were satisfied enough with the result to speak with our GC and ditch the tung oil plan in favor of the Woodline product.
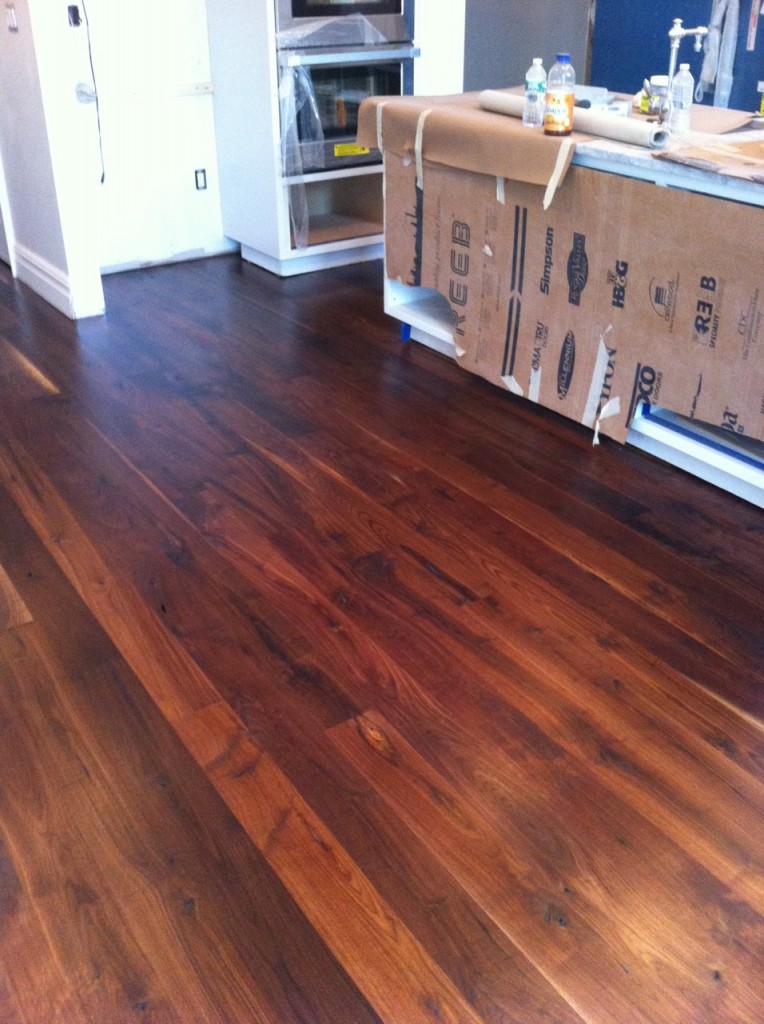
Fast forward a week: we left the house for a few days and the floor guys came in again. We were a little nervous on our return and walked up the stairs to take a look at the final results.
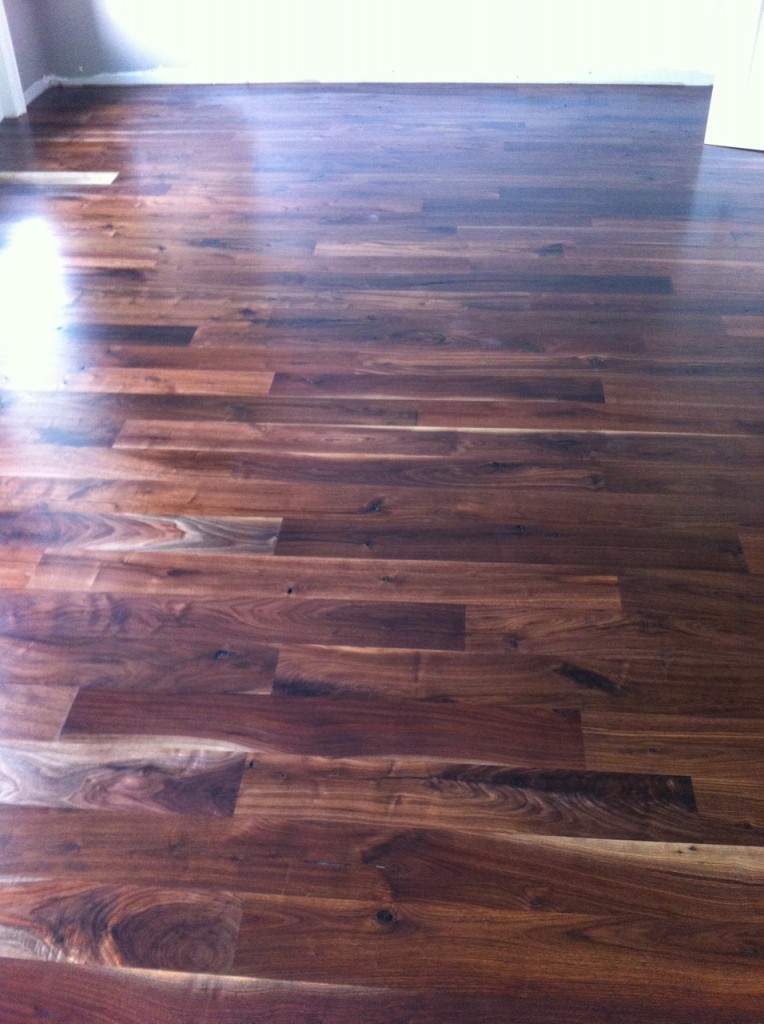
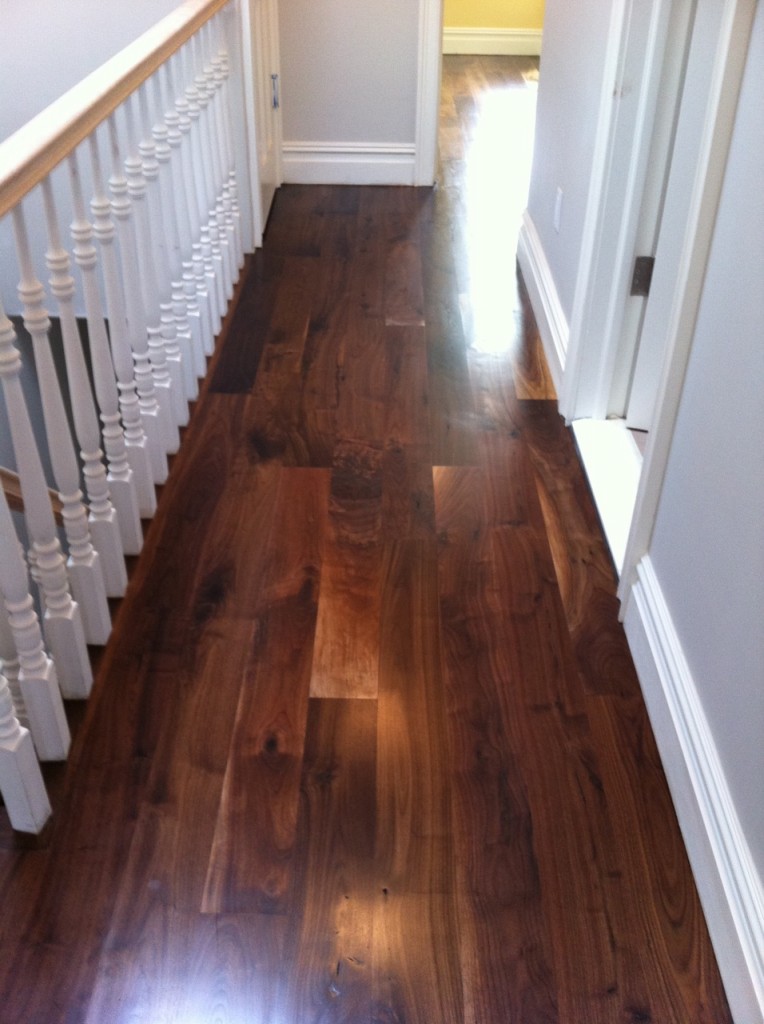
I’m not sure if we were more excited or relieved. The floors looked stunning. Exactly what we’d hoped for from that first time we saw those inspirational floors on Houzz. They are still curing upstairs but feel great under the feet and show the amazing grain and variation present in the walnut flooring. The one downside is that we’ll have to redo the floor that we are living in (with the tung oil) but in the end it’ll be worth it (at least that’s what we keep saying at each bump).

